Sony ZV-1 Settings For Controlled Environments & YouTube Videos
Table of Contents
This is a summary of my YouTube Video, you can watch the whole piece linked at the bottom of the blog post.
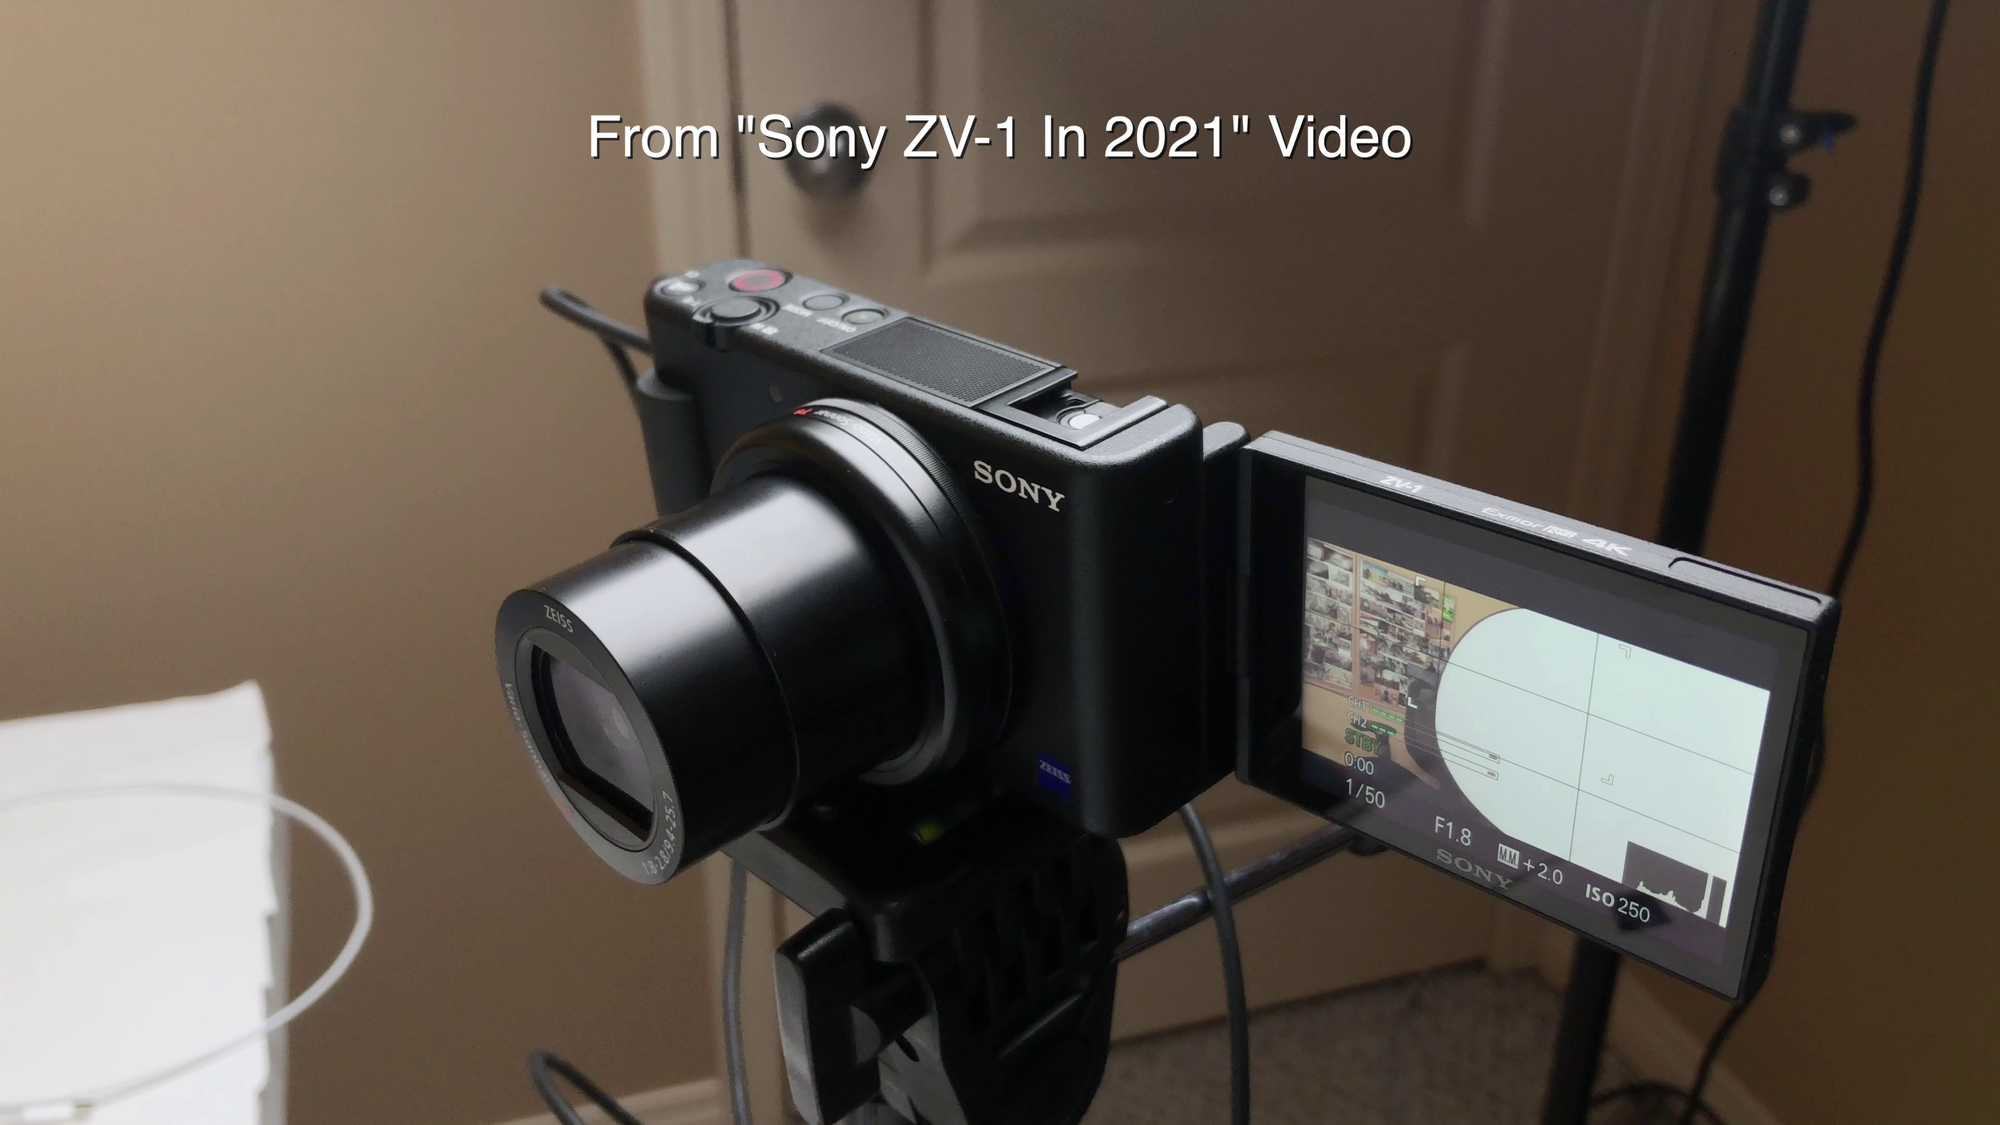
The Sony ZV-1 is a decent camera that works well in controlled environments and shooting setups. If you recently got one and you don't care about vlogging, walk and talks and you're wondering how to set it up for studio shooting, then this post is for you.
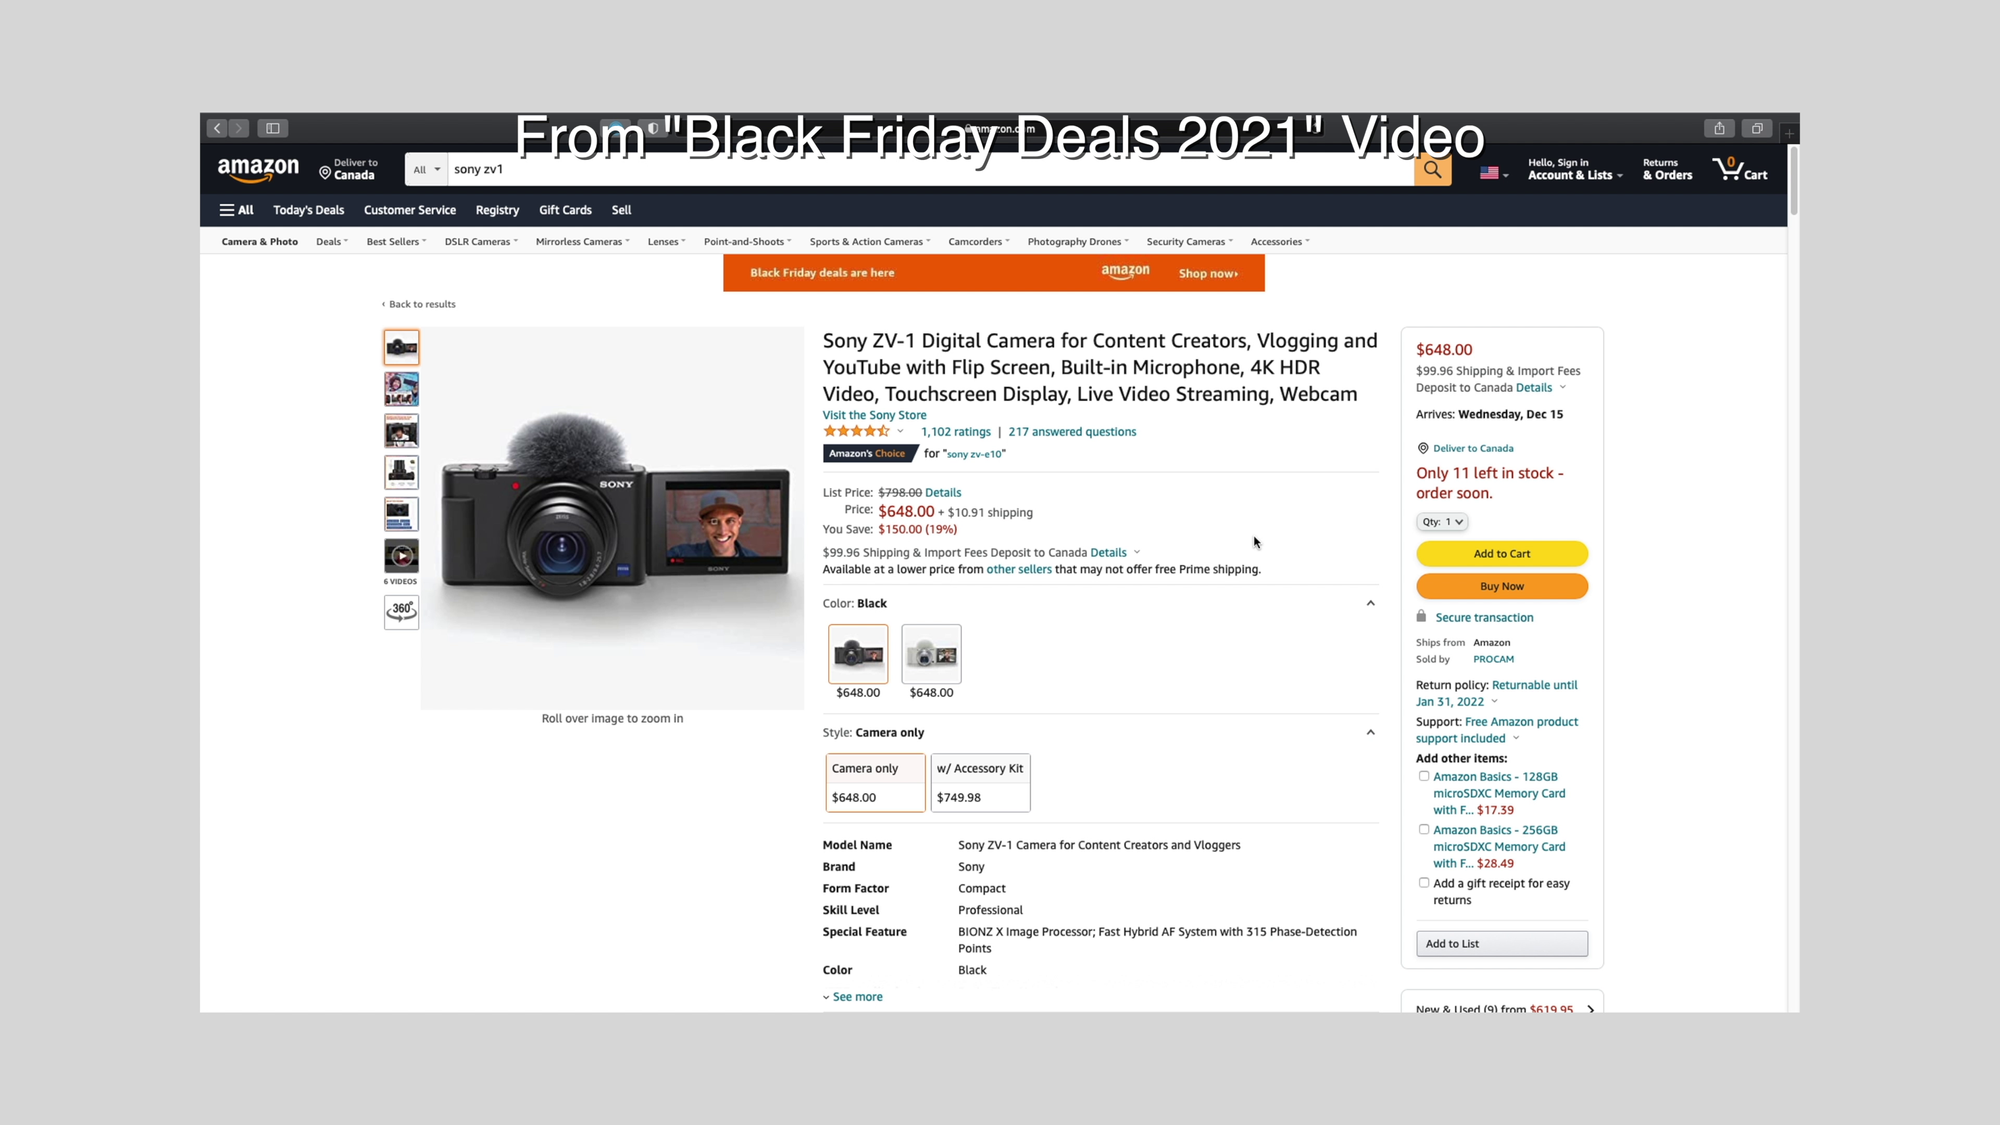
On my Black Friday Deals video, I recommended the Sony ZV-1, a decent camera at a reasonable price.
I know some of you were considering getting one and some of you did get it. And others will try to get it during the boxing week deals. So you're probably wondering what the best settings for video are.
If you watched my video about the ZV-1, then you know that although I use it and recommend it, I don't vlog, I don't walk and talk with it. If you haven't watched it already, you can do so right here:
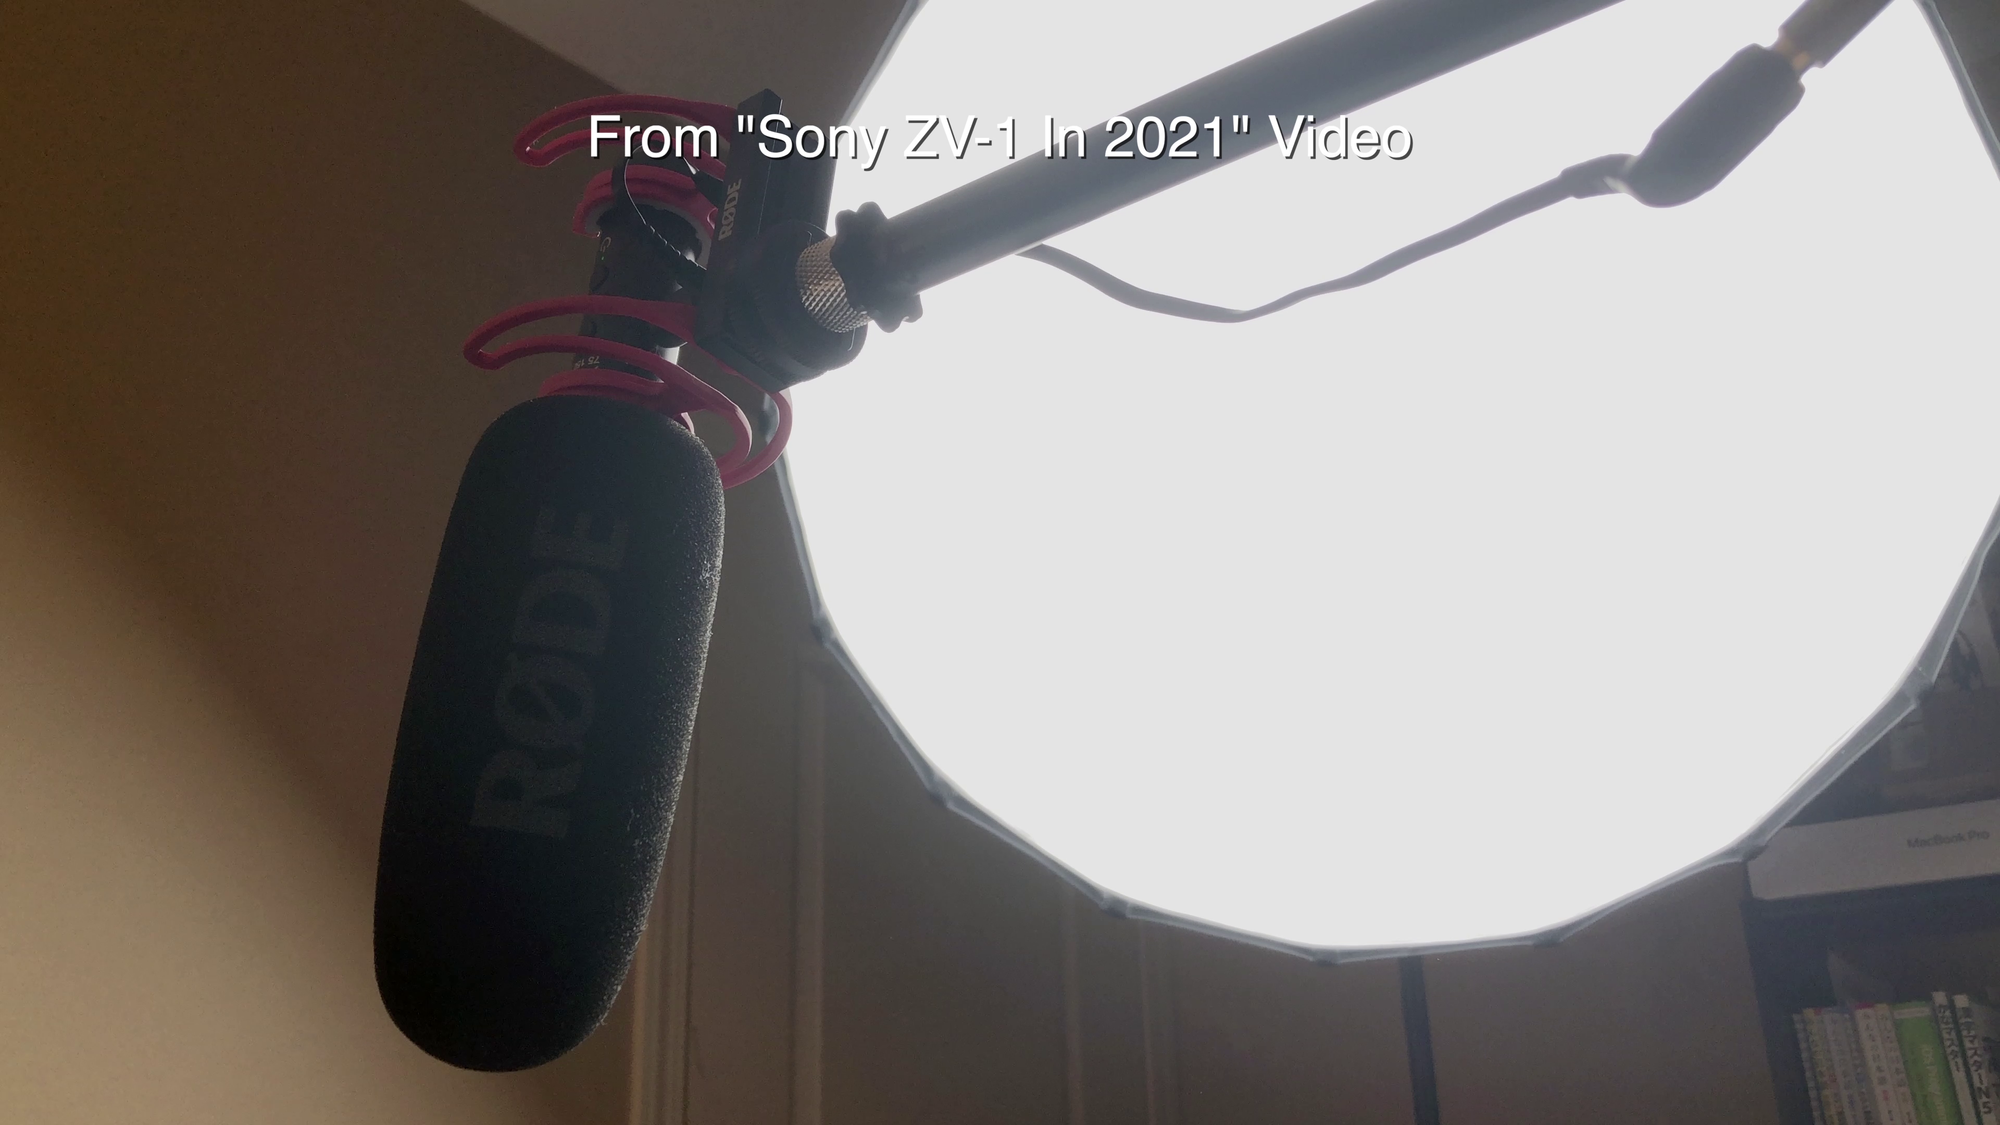
So that will be the main focus of this video, not to cover every single useless setting of the camera, but instead how to set up for controlled environments like my YouTube videos, where you have access to a decent light and a decent microphone as well. Let's get started.
Check The Firmware Before We Start
Before we start changing settings, make sure that you have the latest firmware installed.
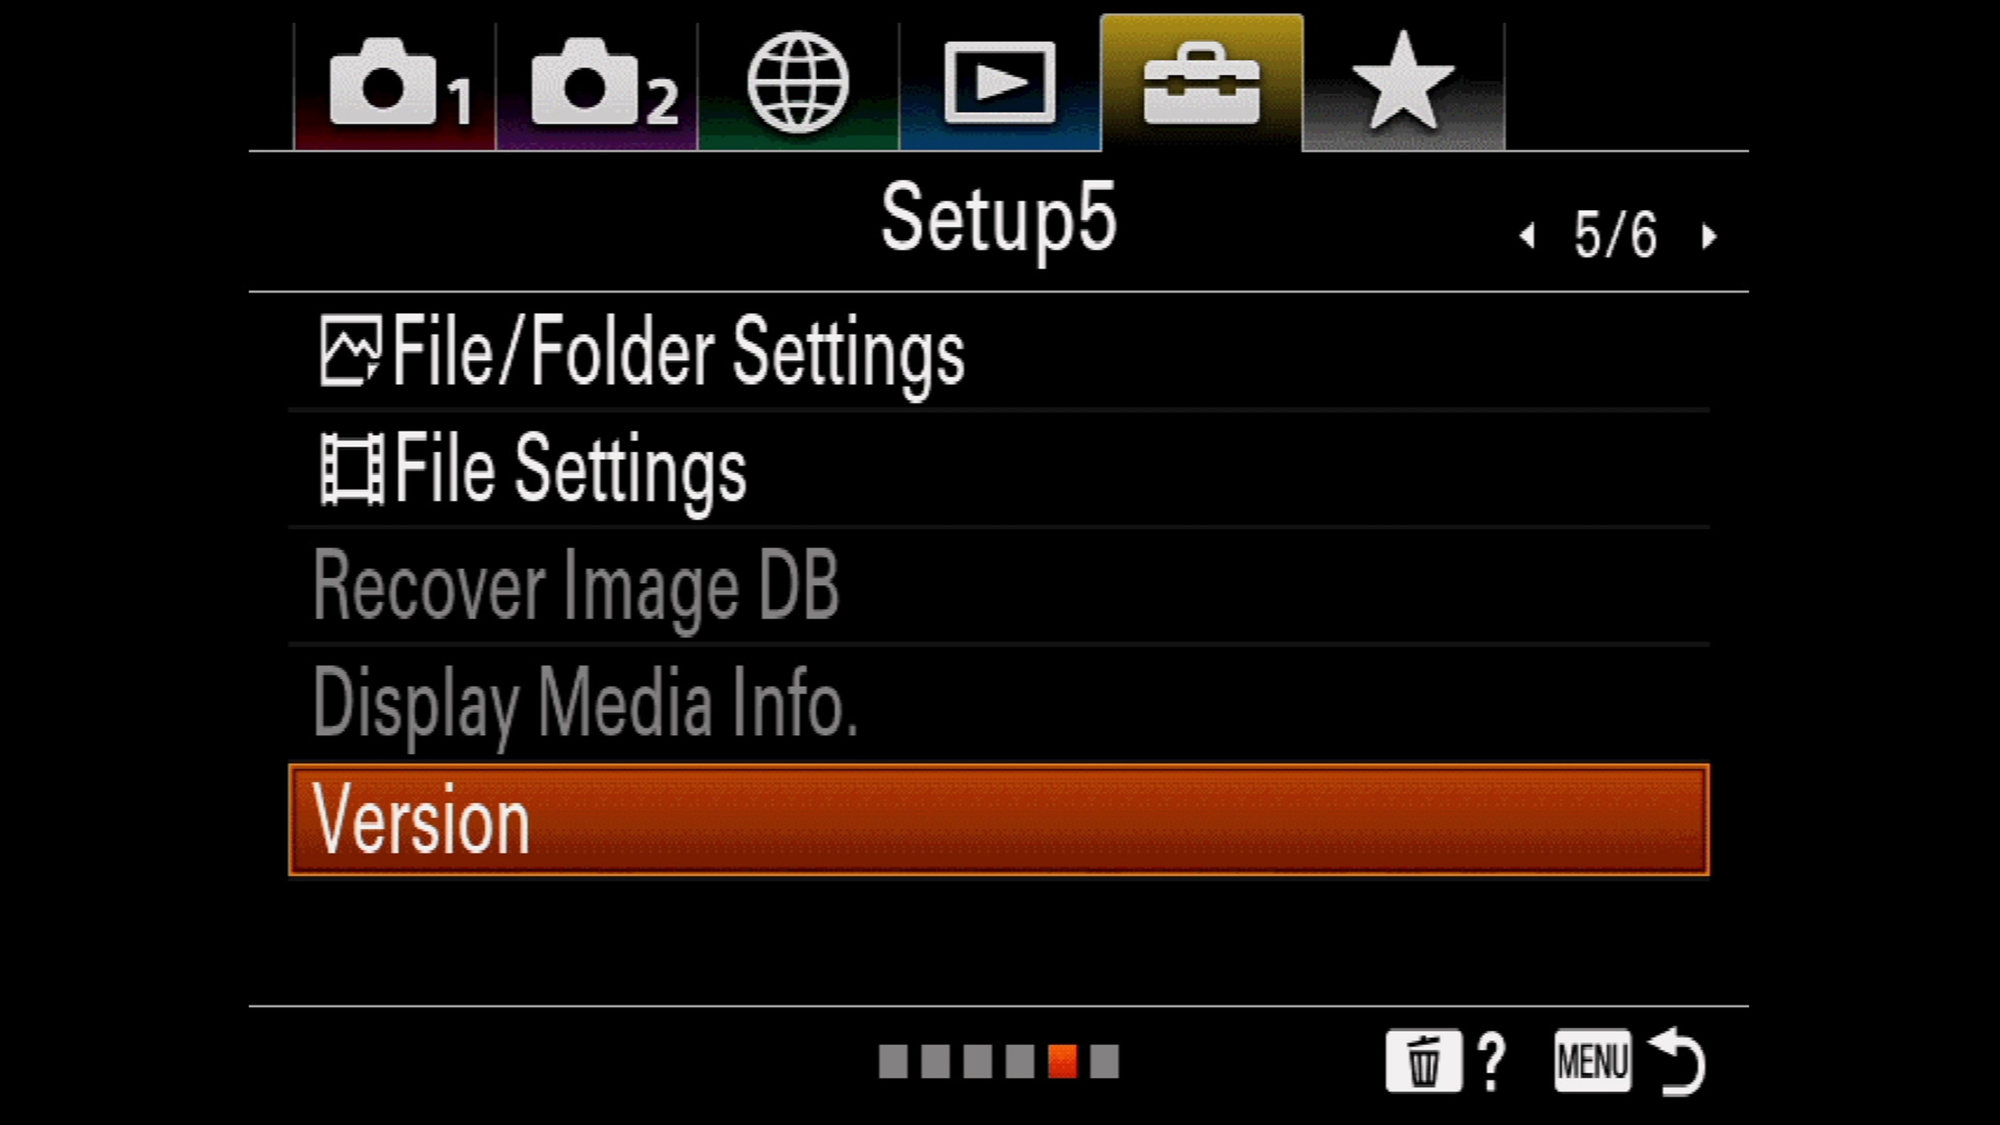
To check, press the menu button then navigate to the Setup Tab identified with the yellow toolbox icon and in the setup tab, go to page #5. Scroll to the bottom of the page and click the "Version" option. That will tell you what your current firmware version is.
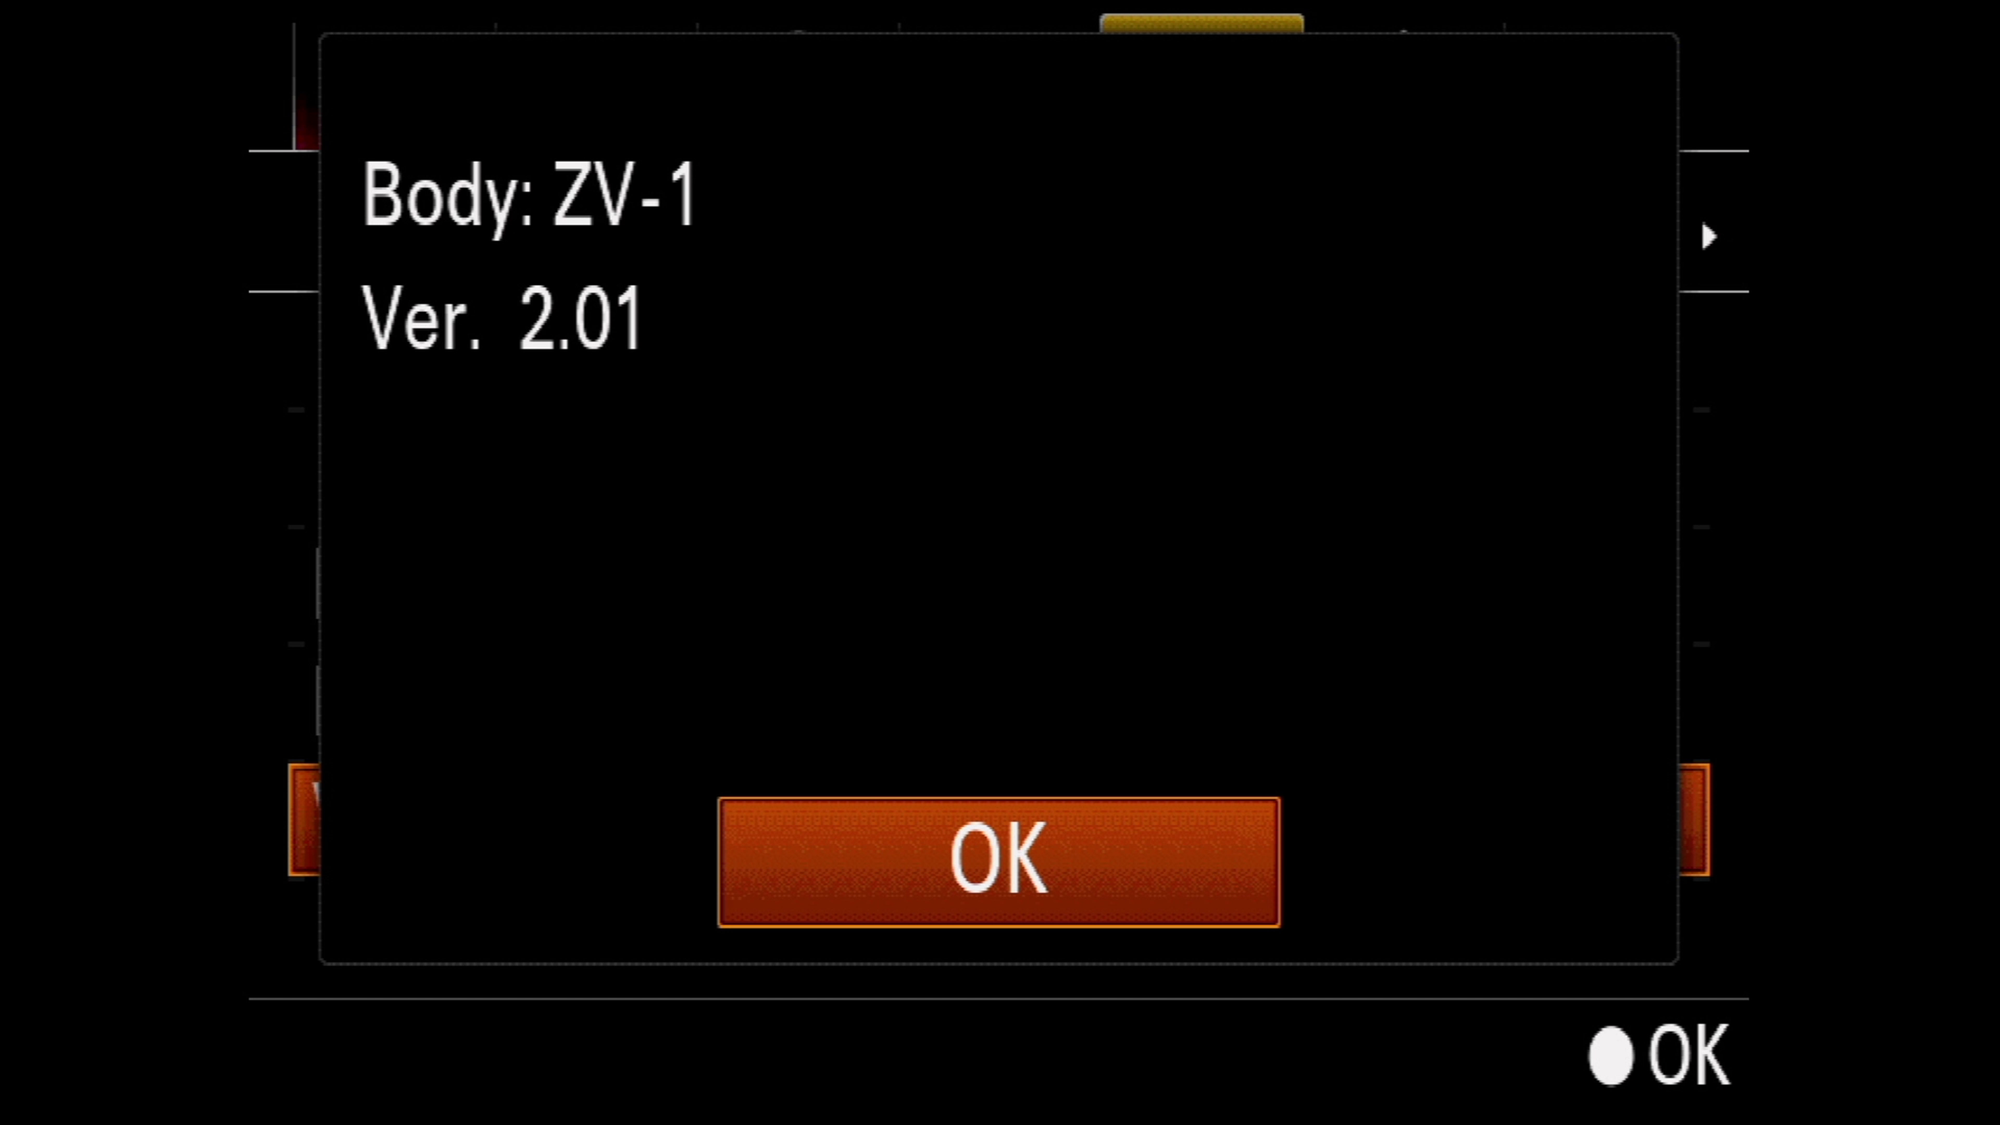
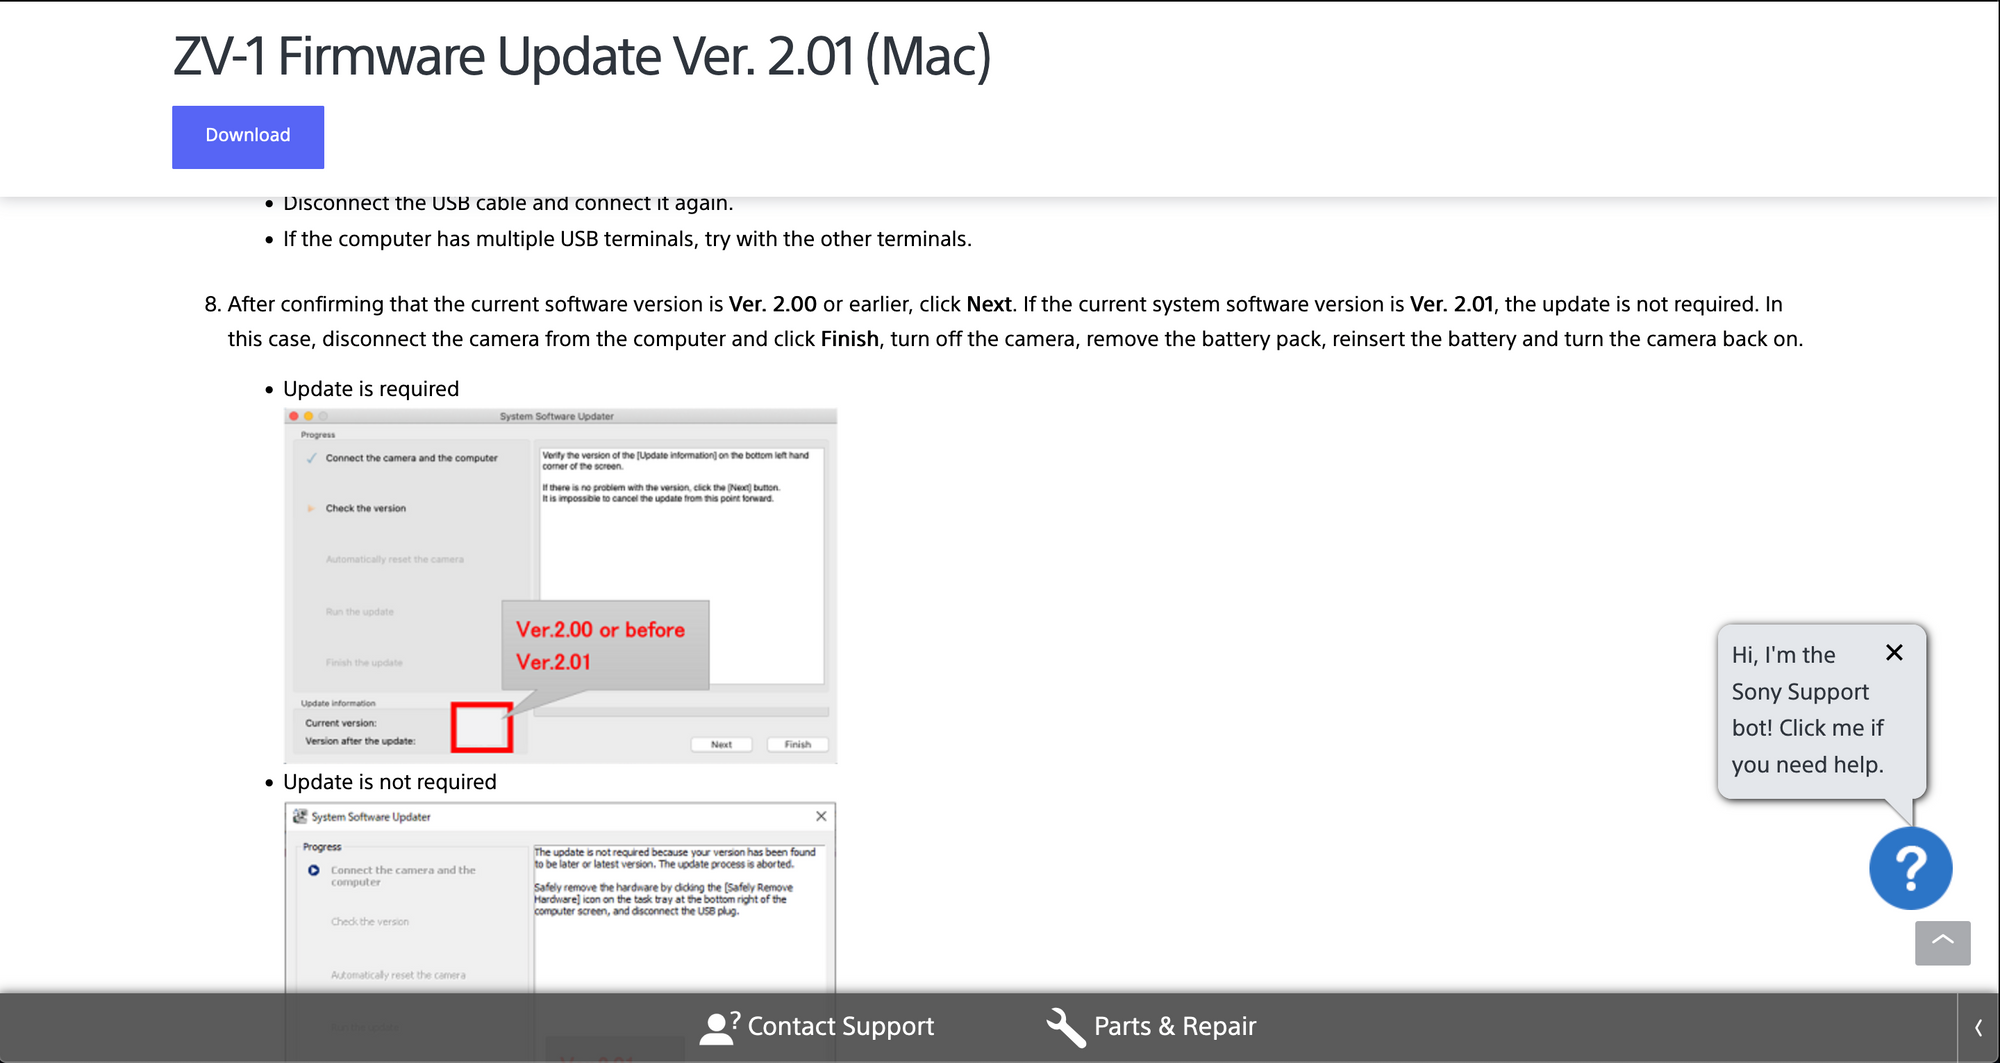
Version 2.01 is the latest available. If you don't have that, then make sure you head to the official Sony website and download the latest version here:

Once you click that, you can select the operating system of the installation, you have both the macOS and Windows versions. Click the one that works for you.
The page will present you a full step-by-step guide on how to update the camera, follow those simple steps and you should be good to go.
Once you're done updating, or if the camera was already up to date, then we can proceed with the setup.
Choose The Correct Camera Mode
We want to control the settings and the results of the camera, So first, we need to set up the correct camera mode.
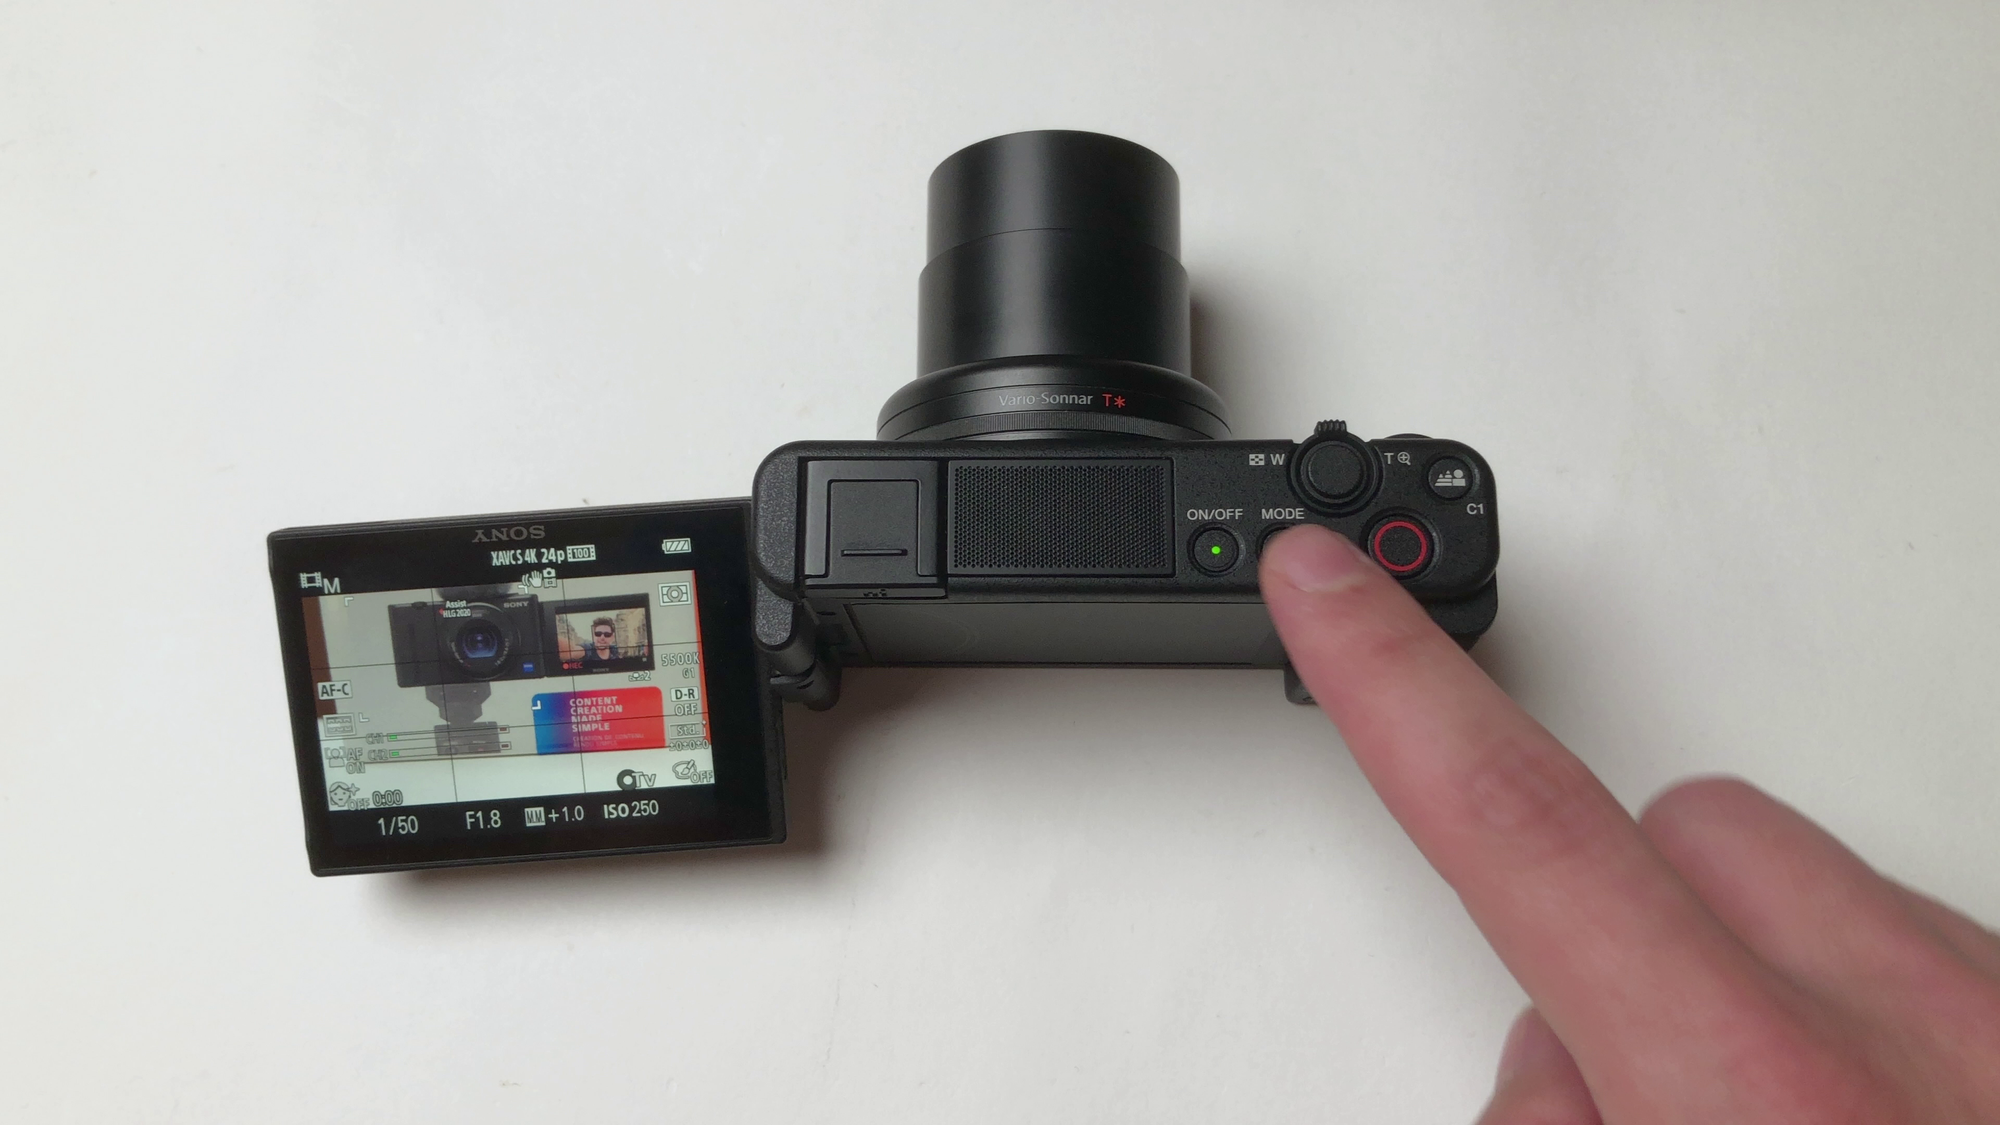
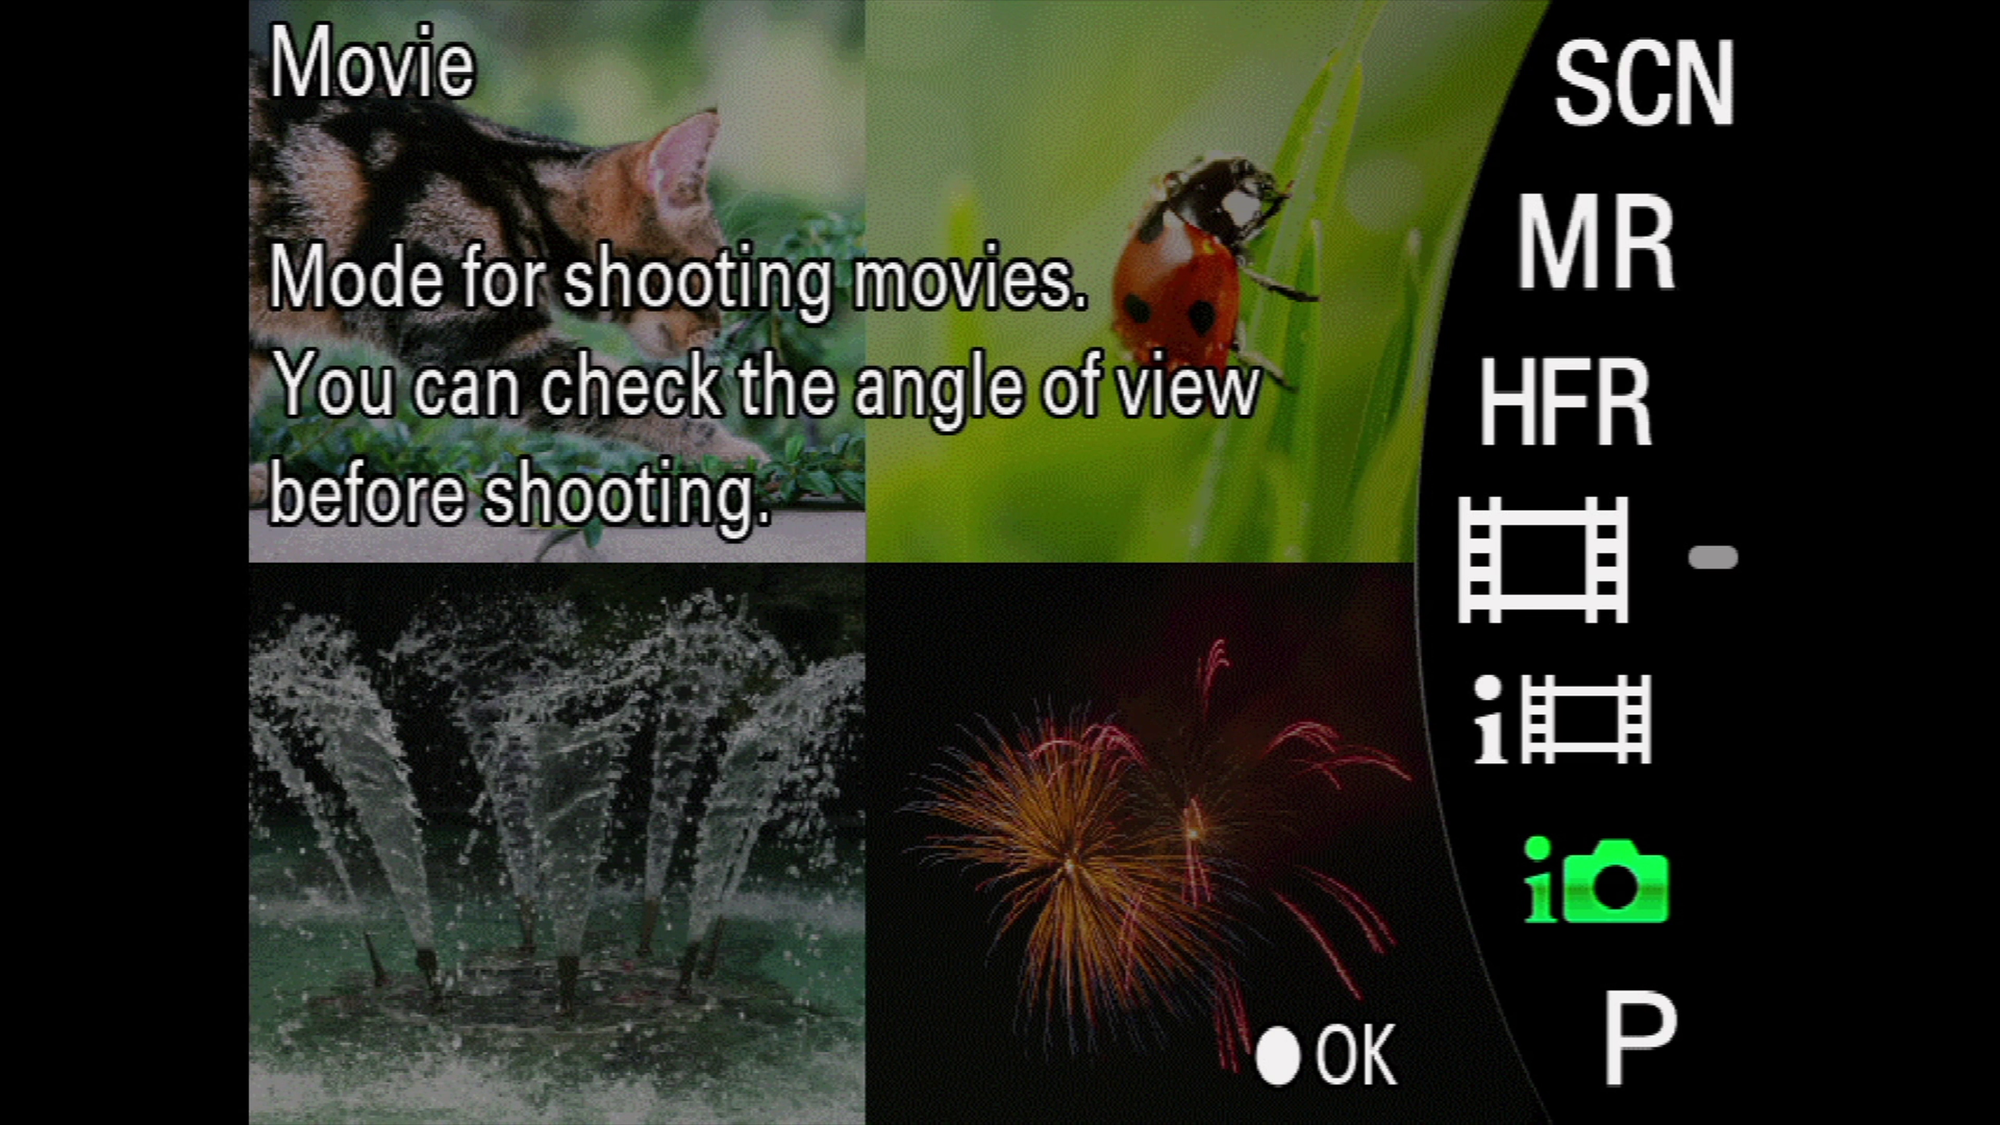
Press the MODE button, right next to the power button. Since it's a hybrid camera, it will display options for both photos and videos. Scroll down to the movie mode, and select that. Then it will ask you what time of movie mode you want. Scroll down and select Manual mode.
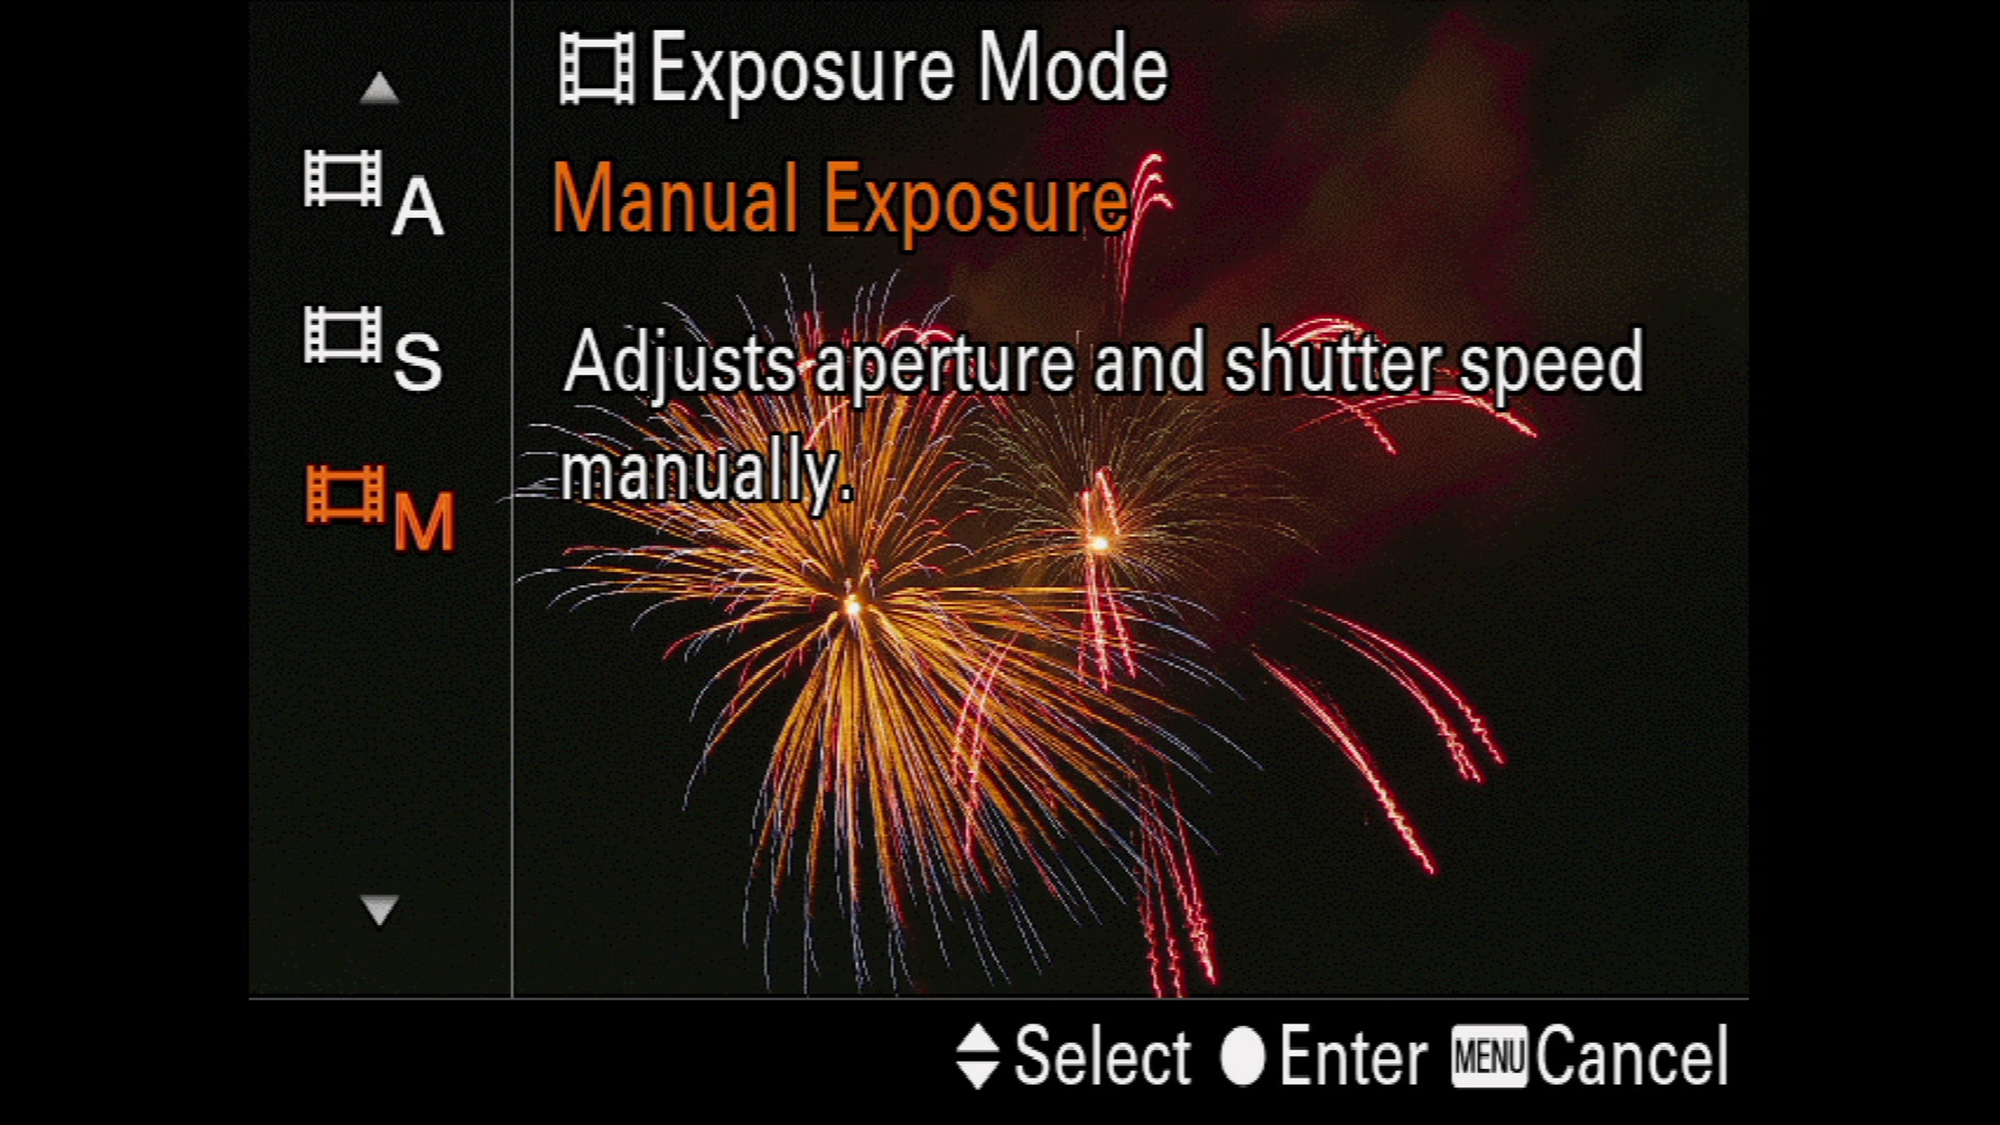
Manual mode will give you full control of the Shutter speed, ISO & Aperture.
And since we have control of the environment, meaning we have access to lights and a microphone, then the manual mode is exactly what we want.
Resolution & Framerate
Alright, let's jump to camera settings, first let's set up the resulting and framerate.
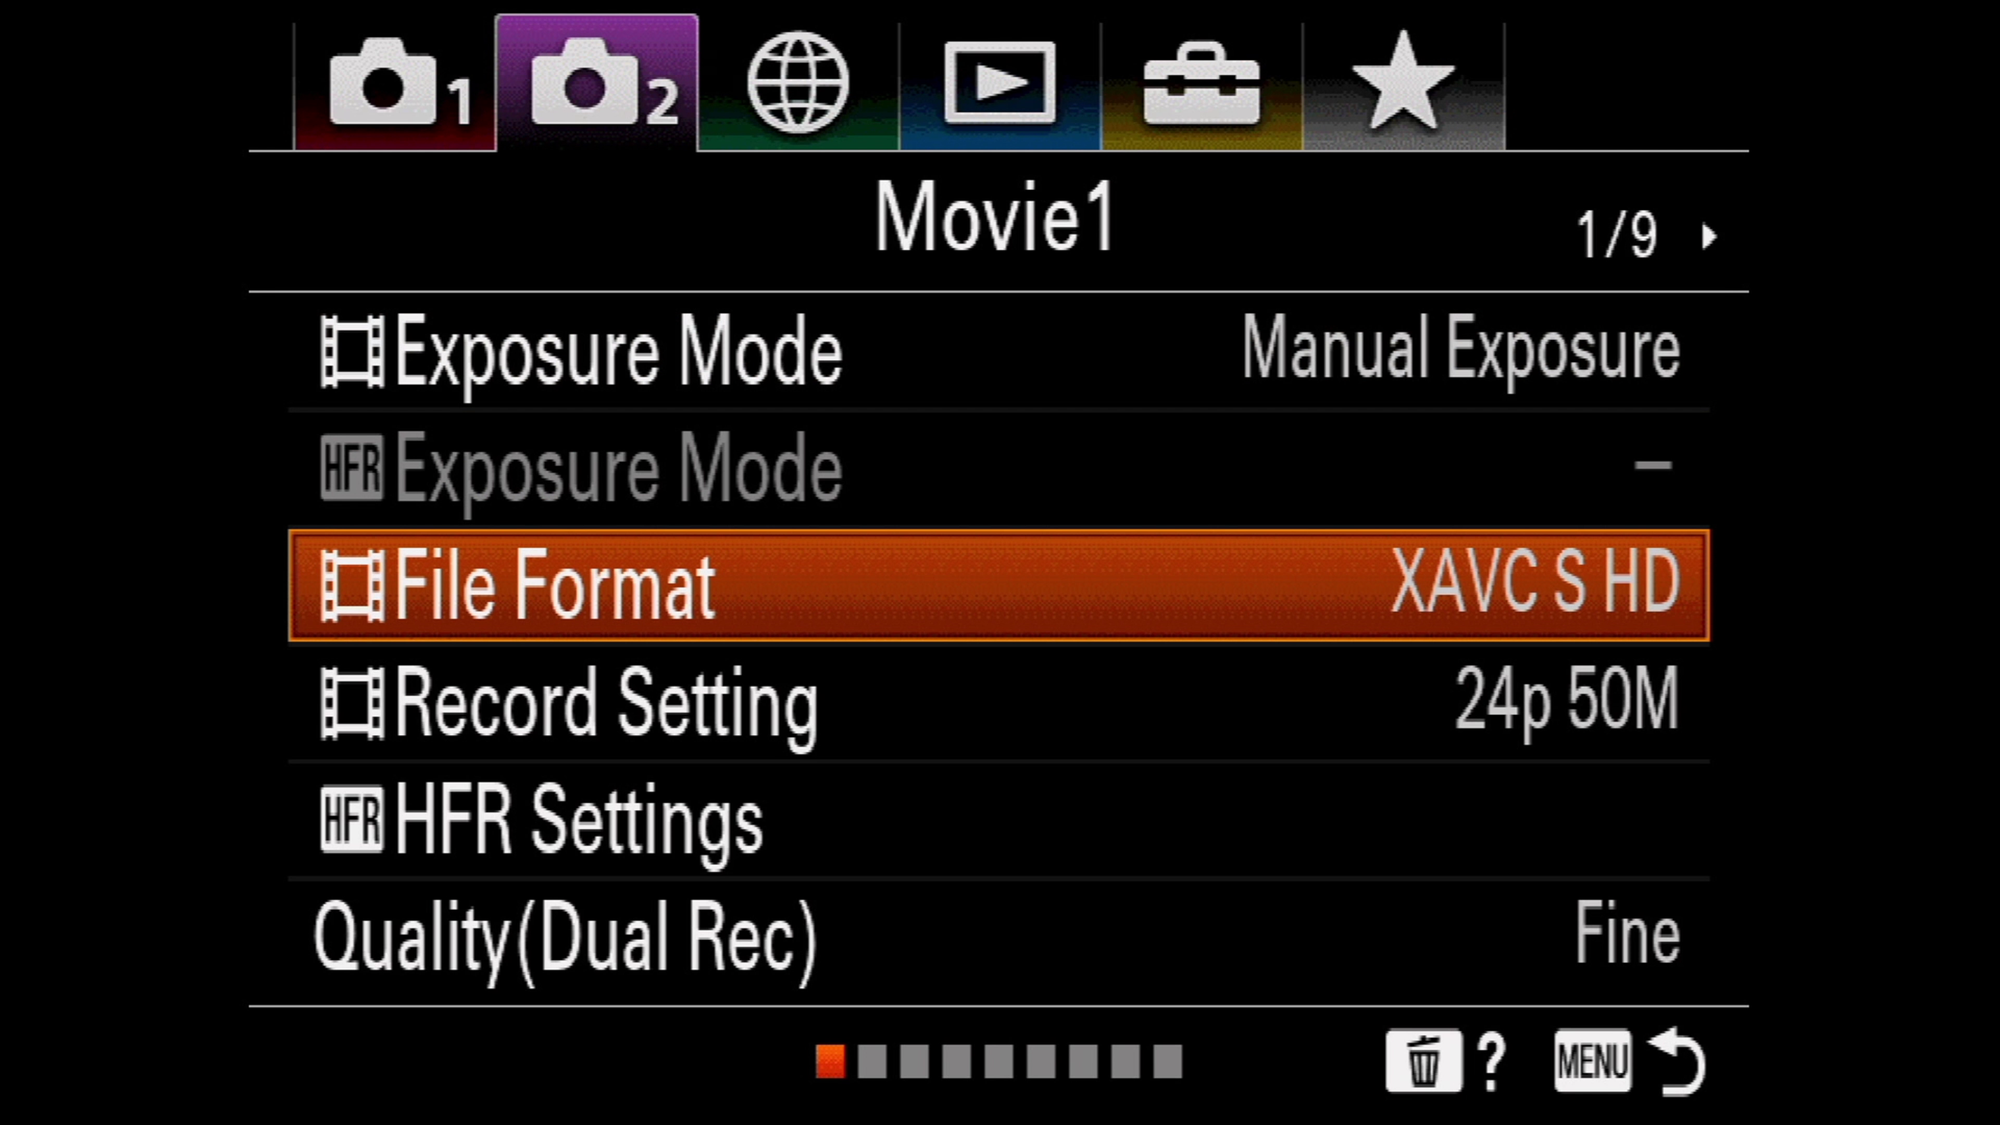
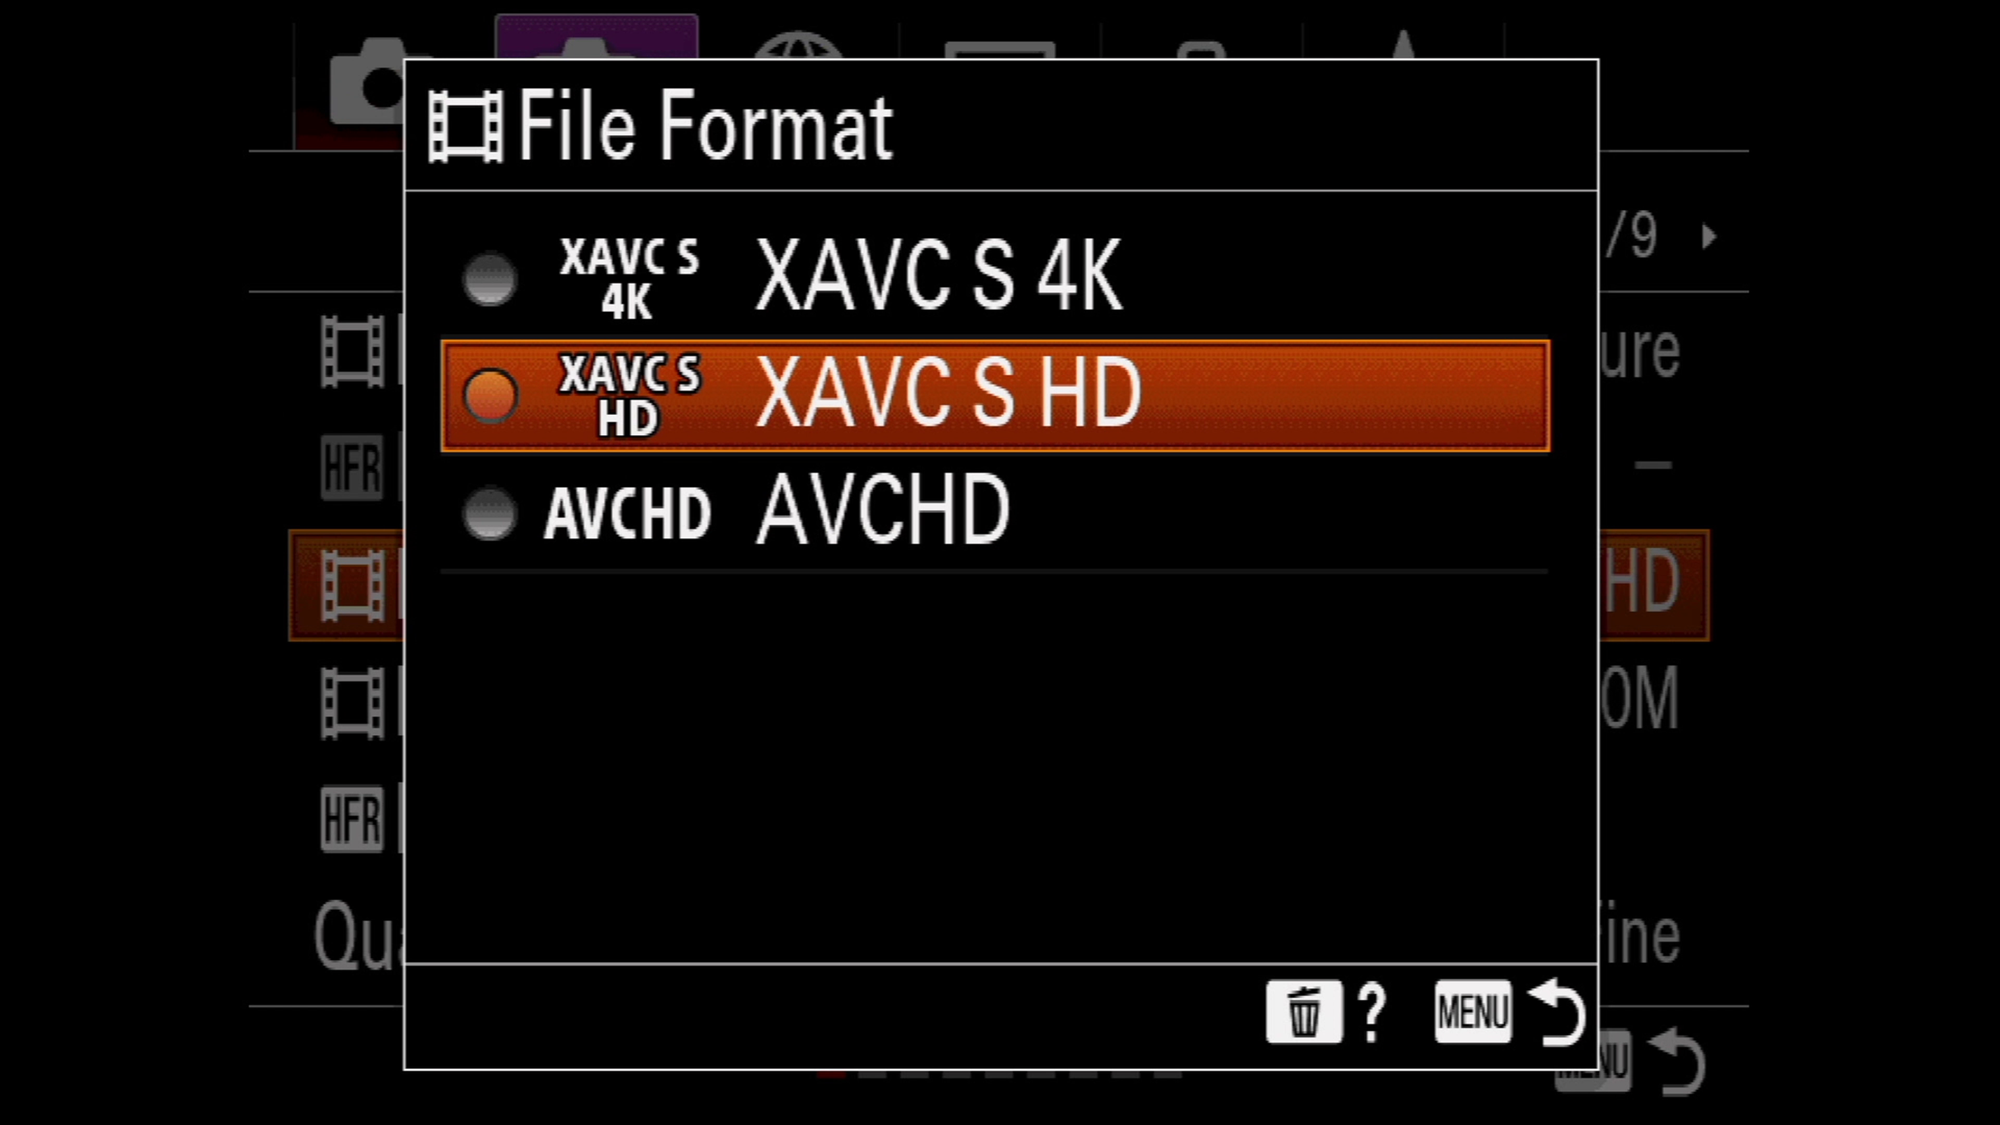
Head to the Movie tab, page #1 and scroll down to the File Format setting. In there you can change the video codec and the resolution. XAVC S HD is 1080p by the way. Now, the framerate.
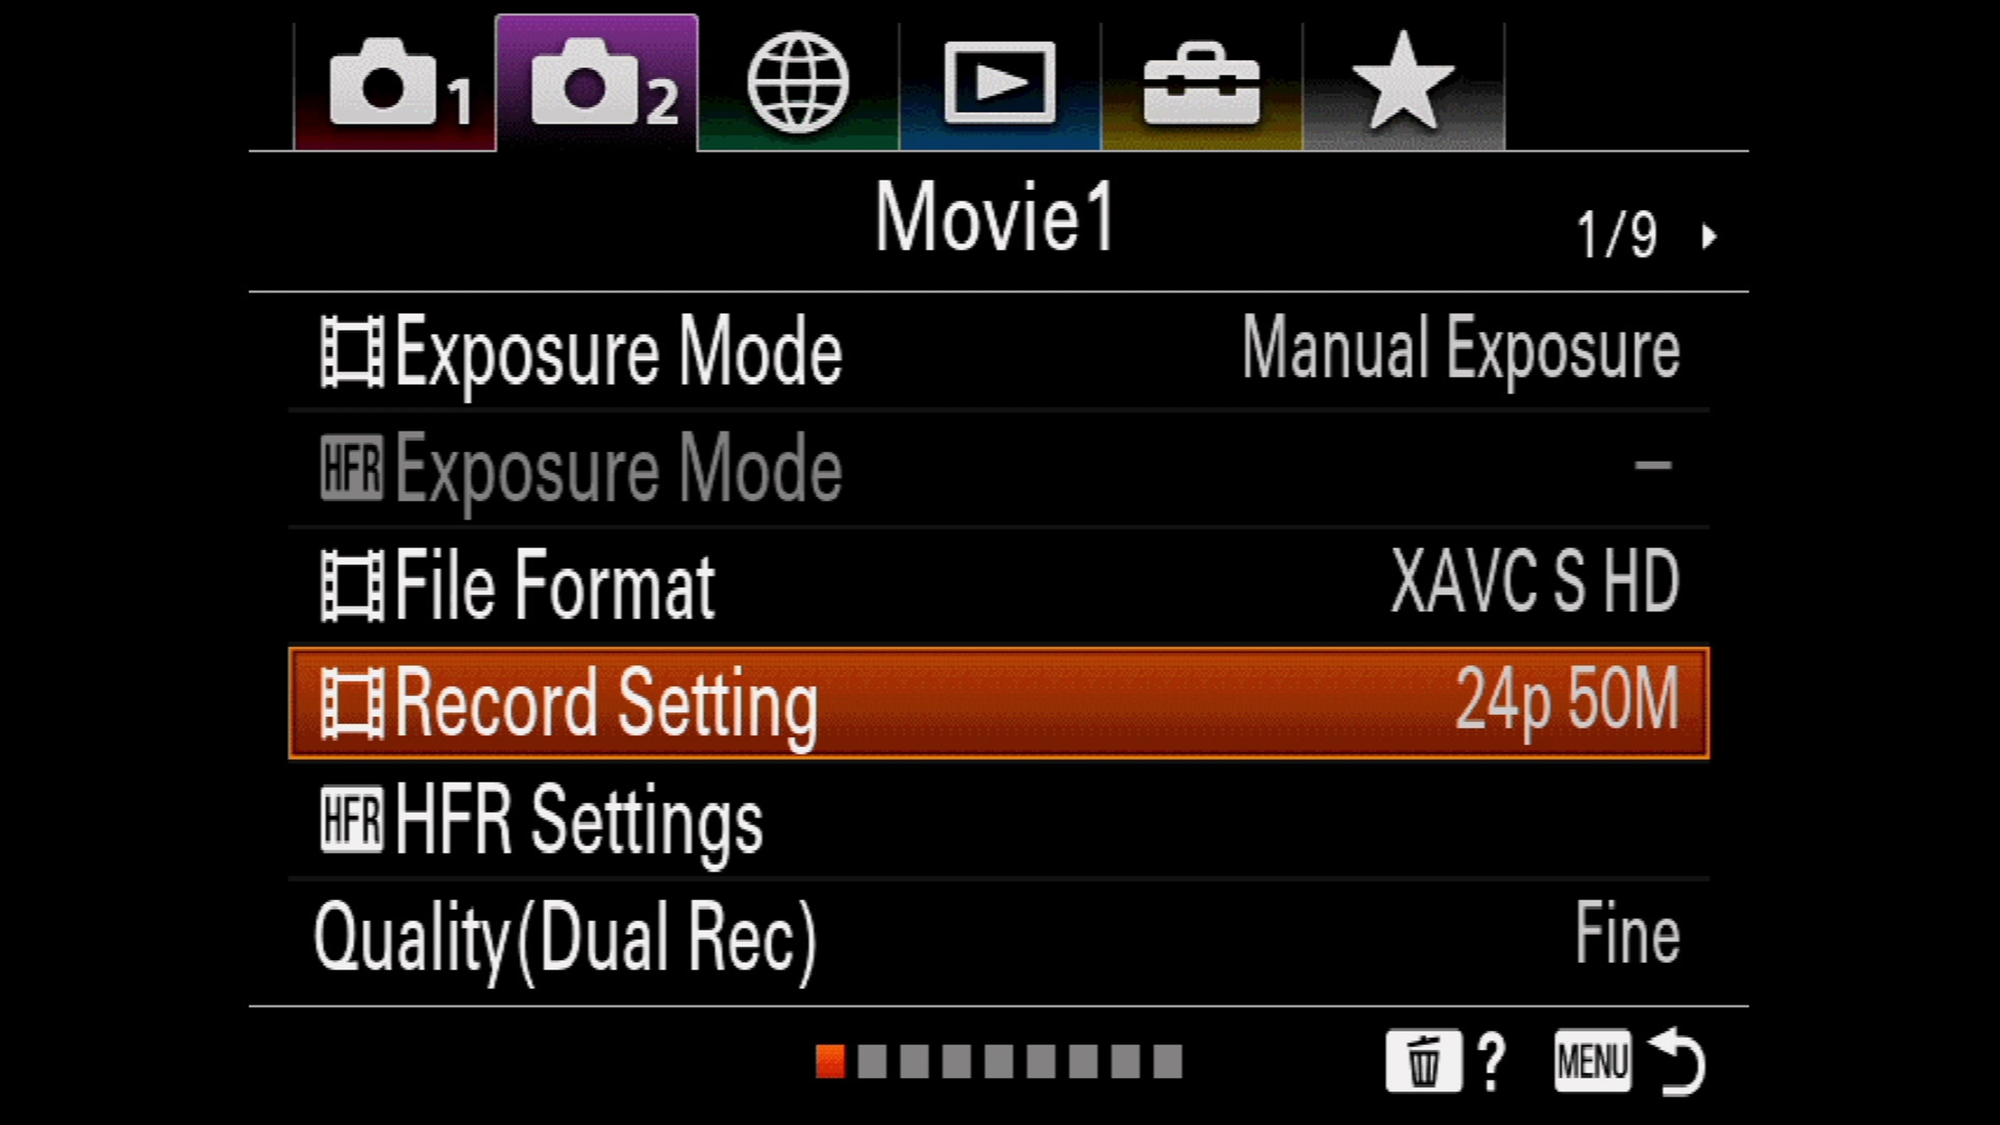
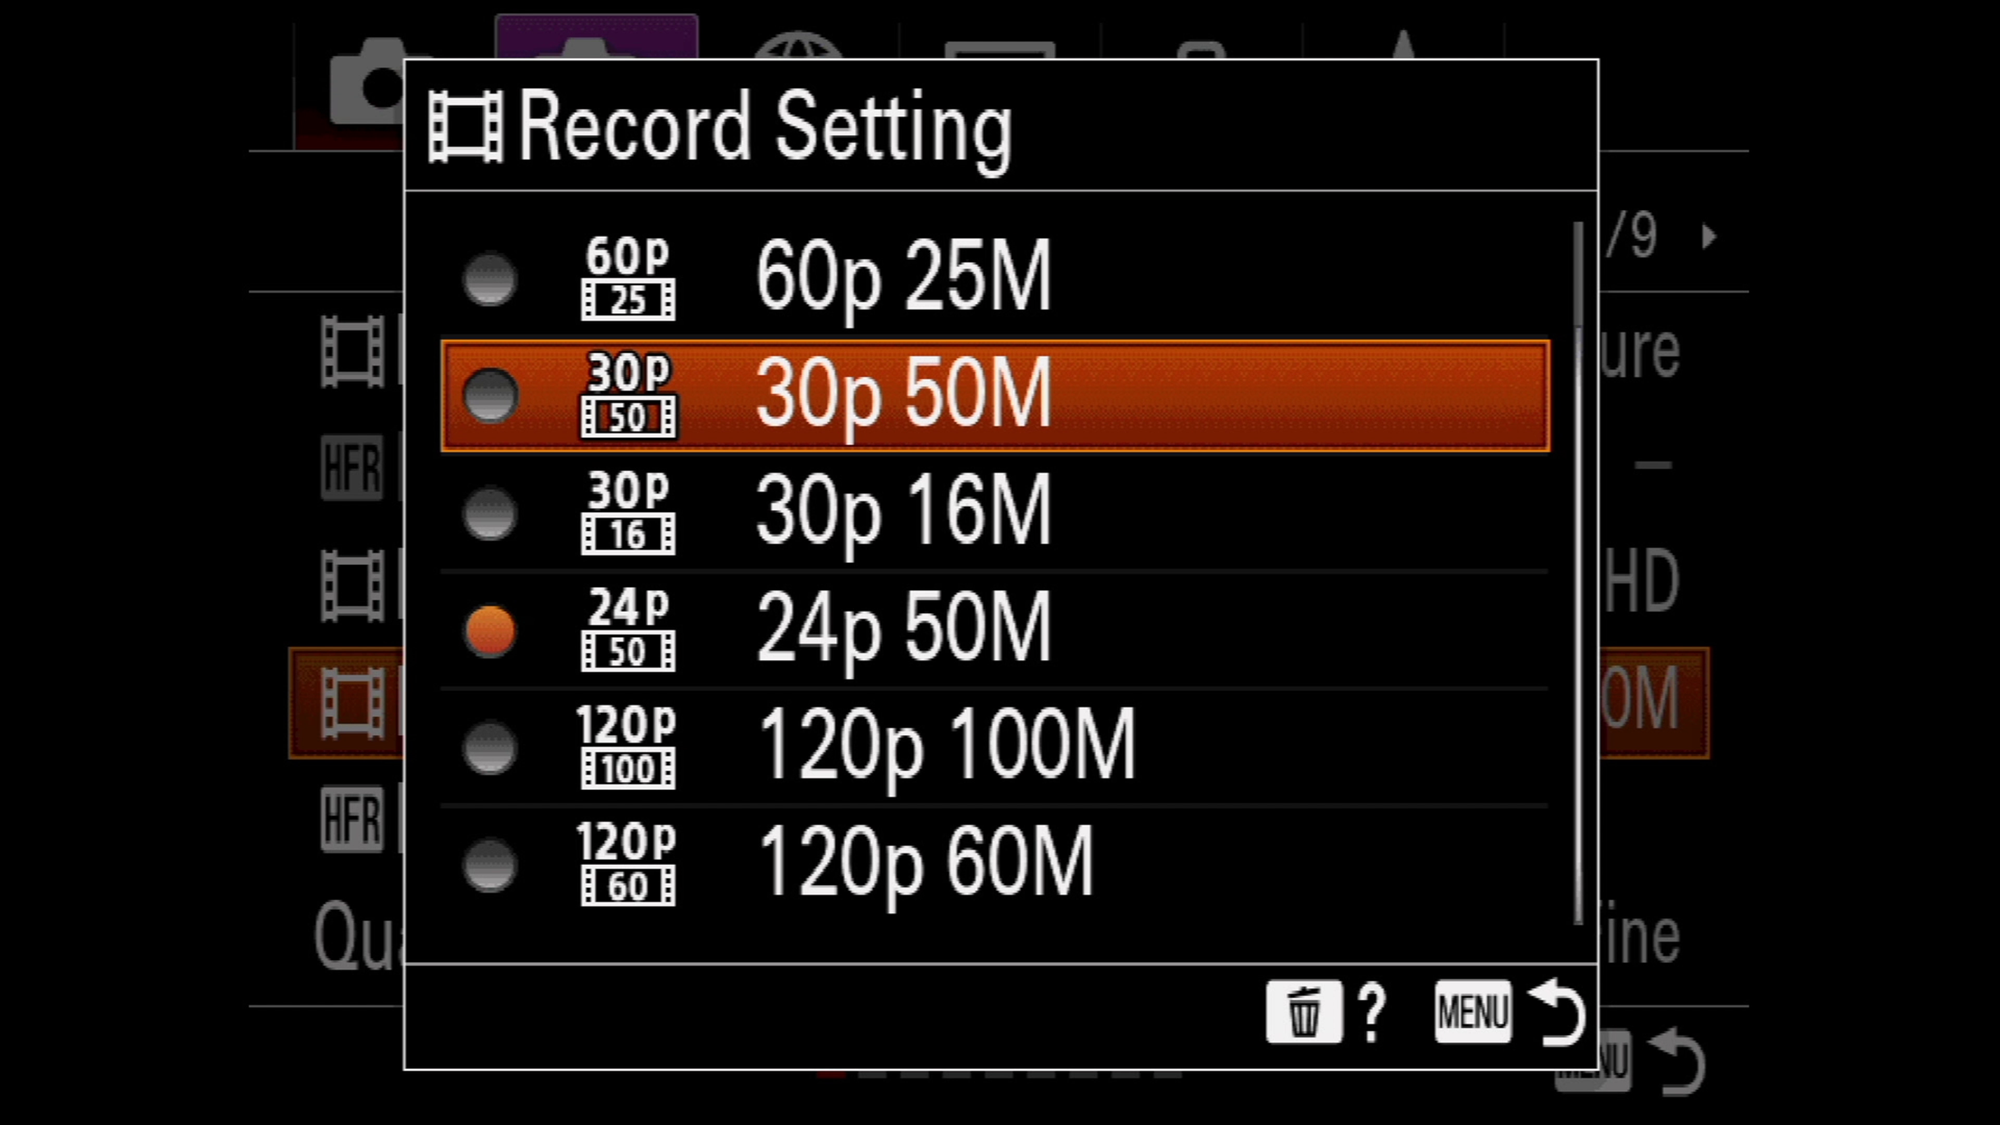
Scroll down to the Record settings, in there you can choose both the video bitrate as well as the framerate. For reference, I shoot my videos in XAVC S 4K, 24p - 100M.
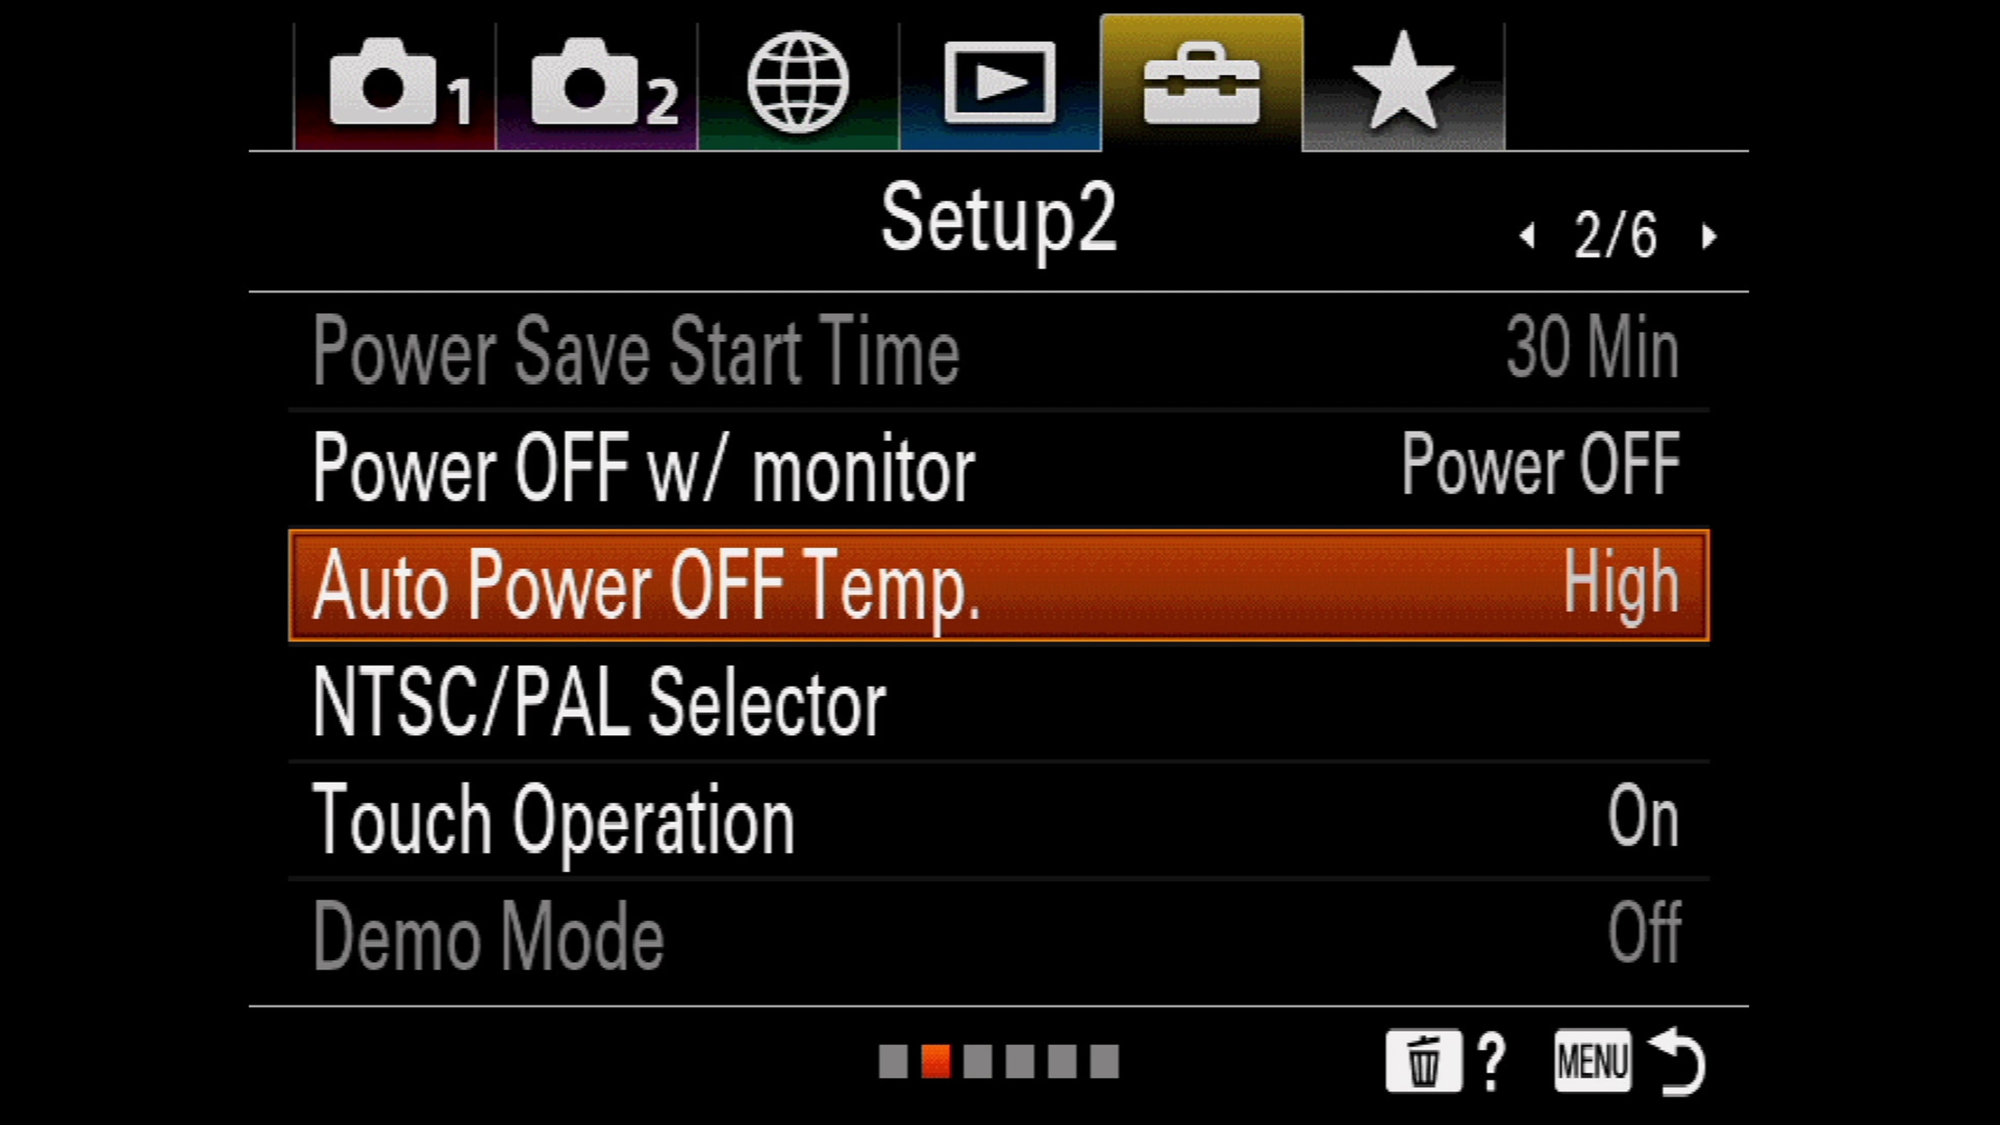
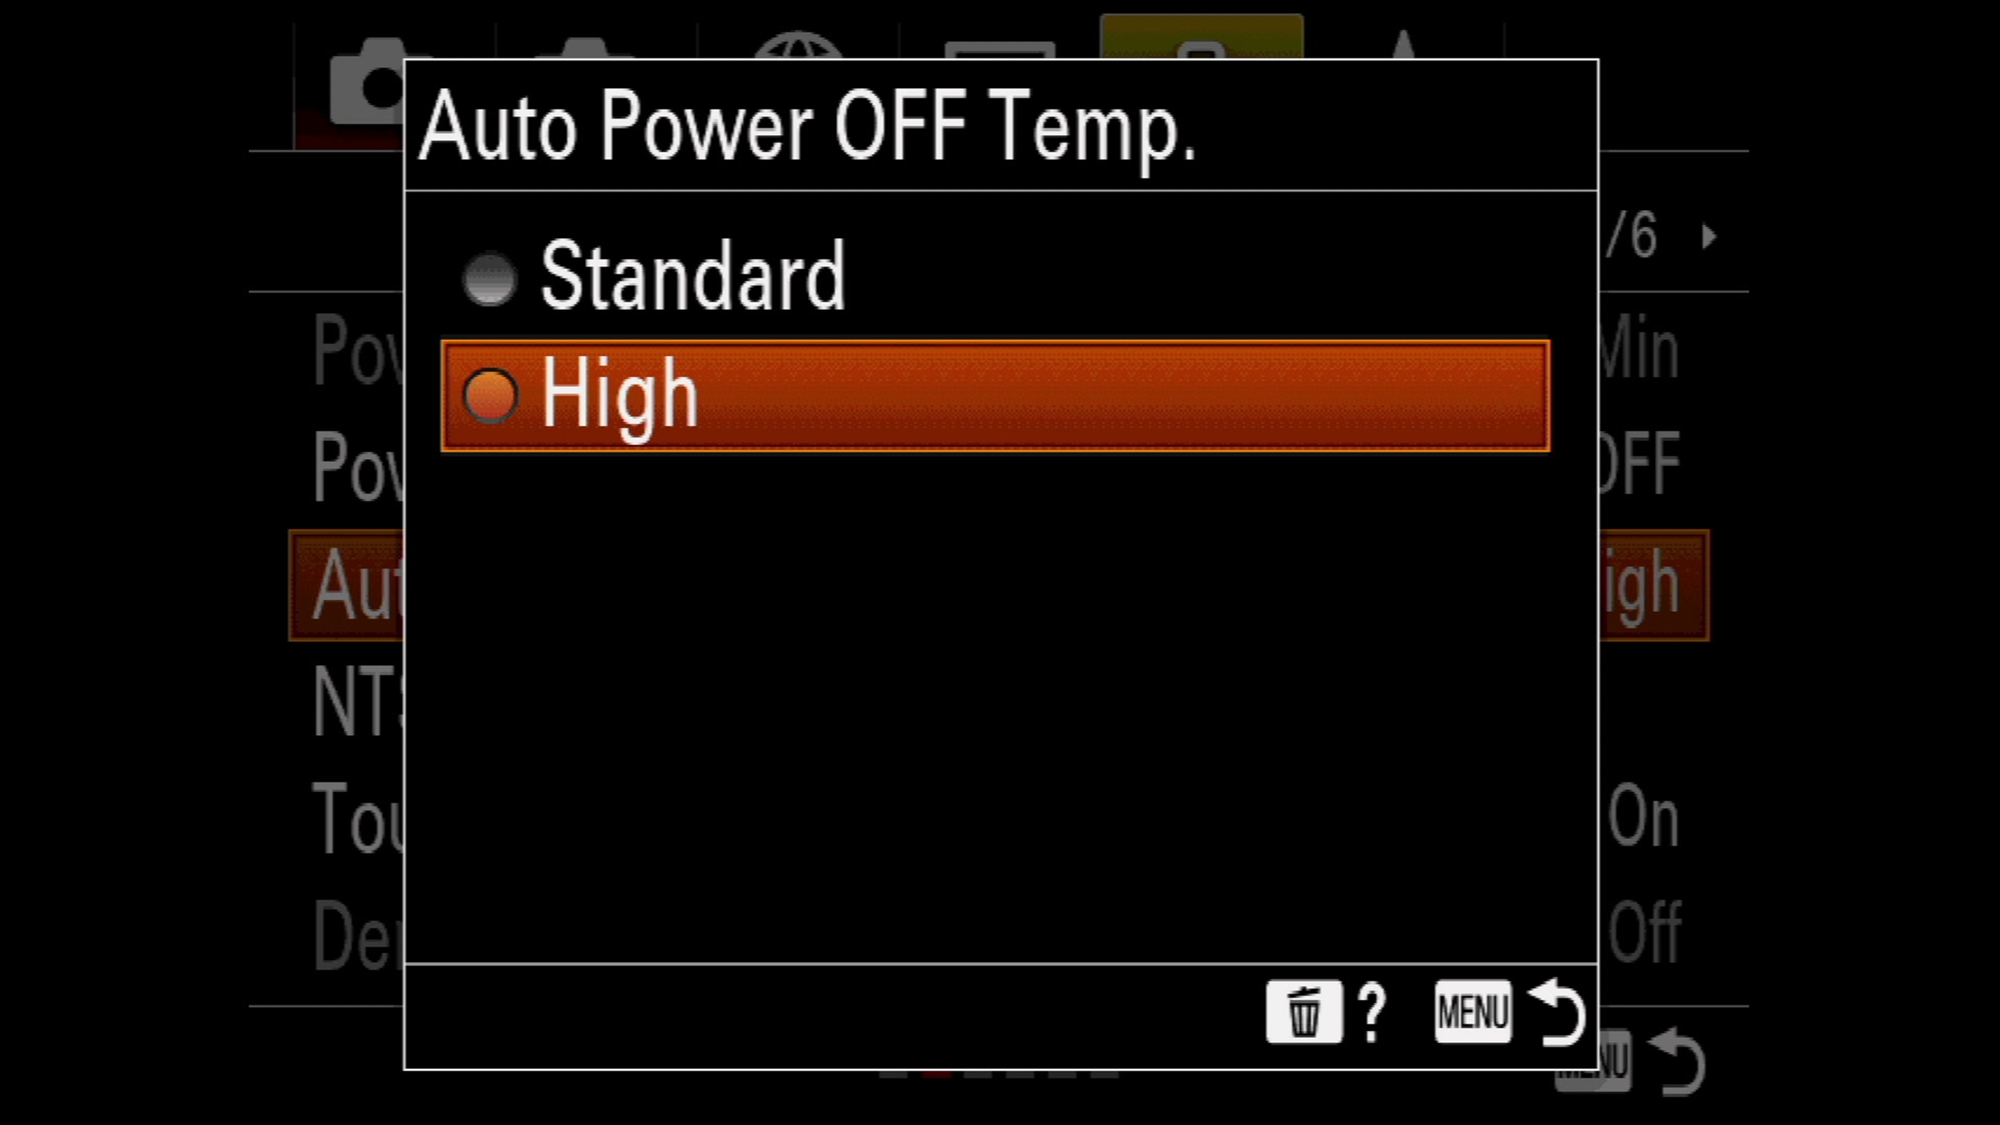
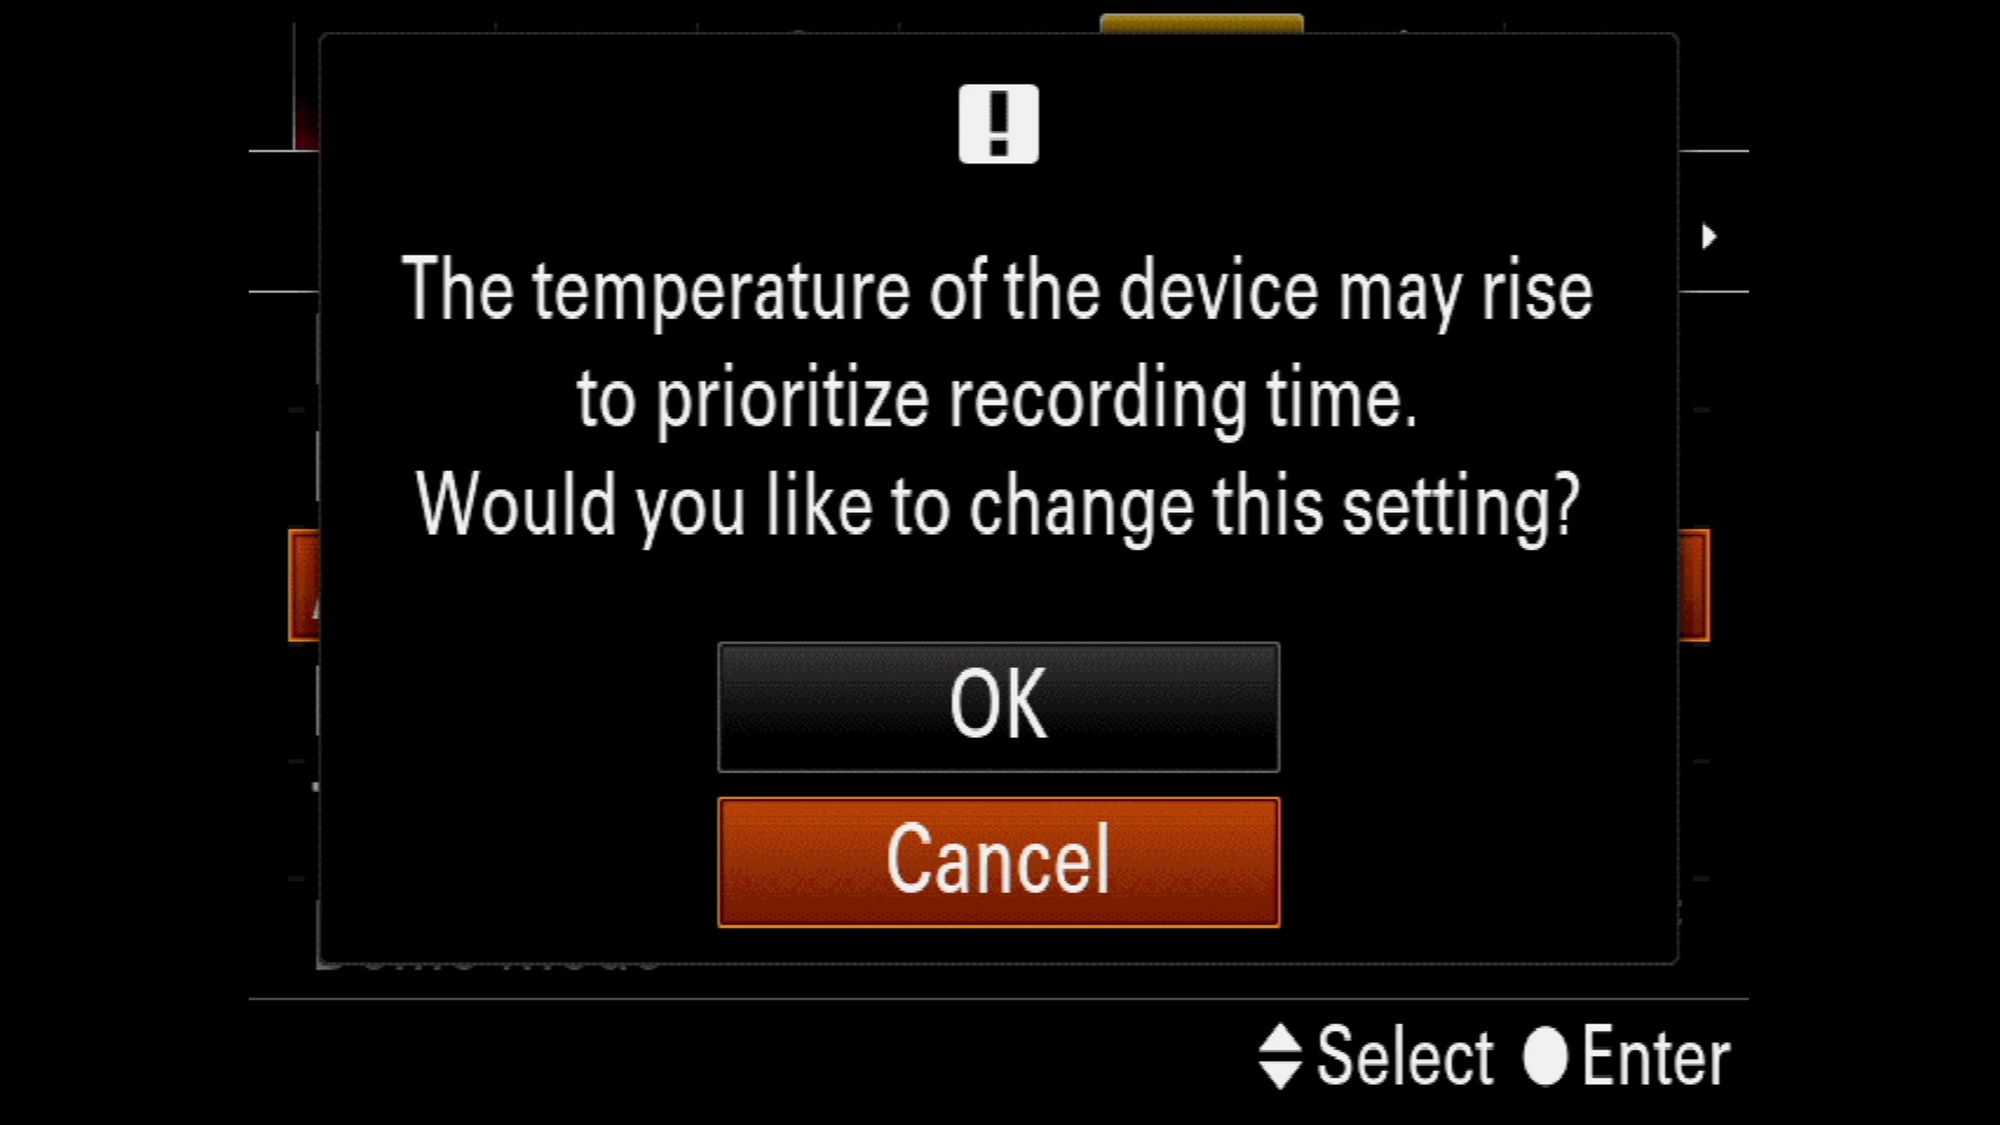
Now, go back to the Setup tab, page #2. In here you will find the Auto power off temp, by default it will be set to standard, make sure you set it to High. This will allow the camera to get a little warmer and record for longer periods of time.
Eye-tracking & Auto-focus Settings
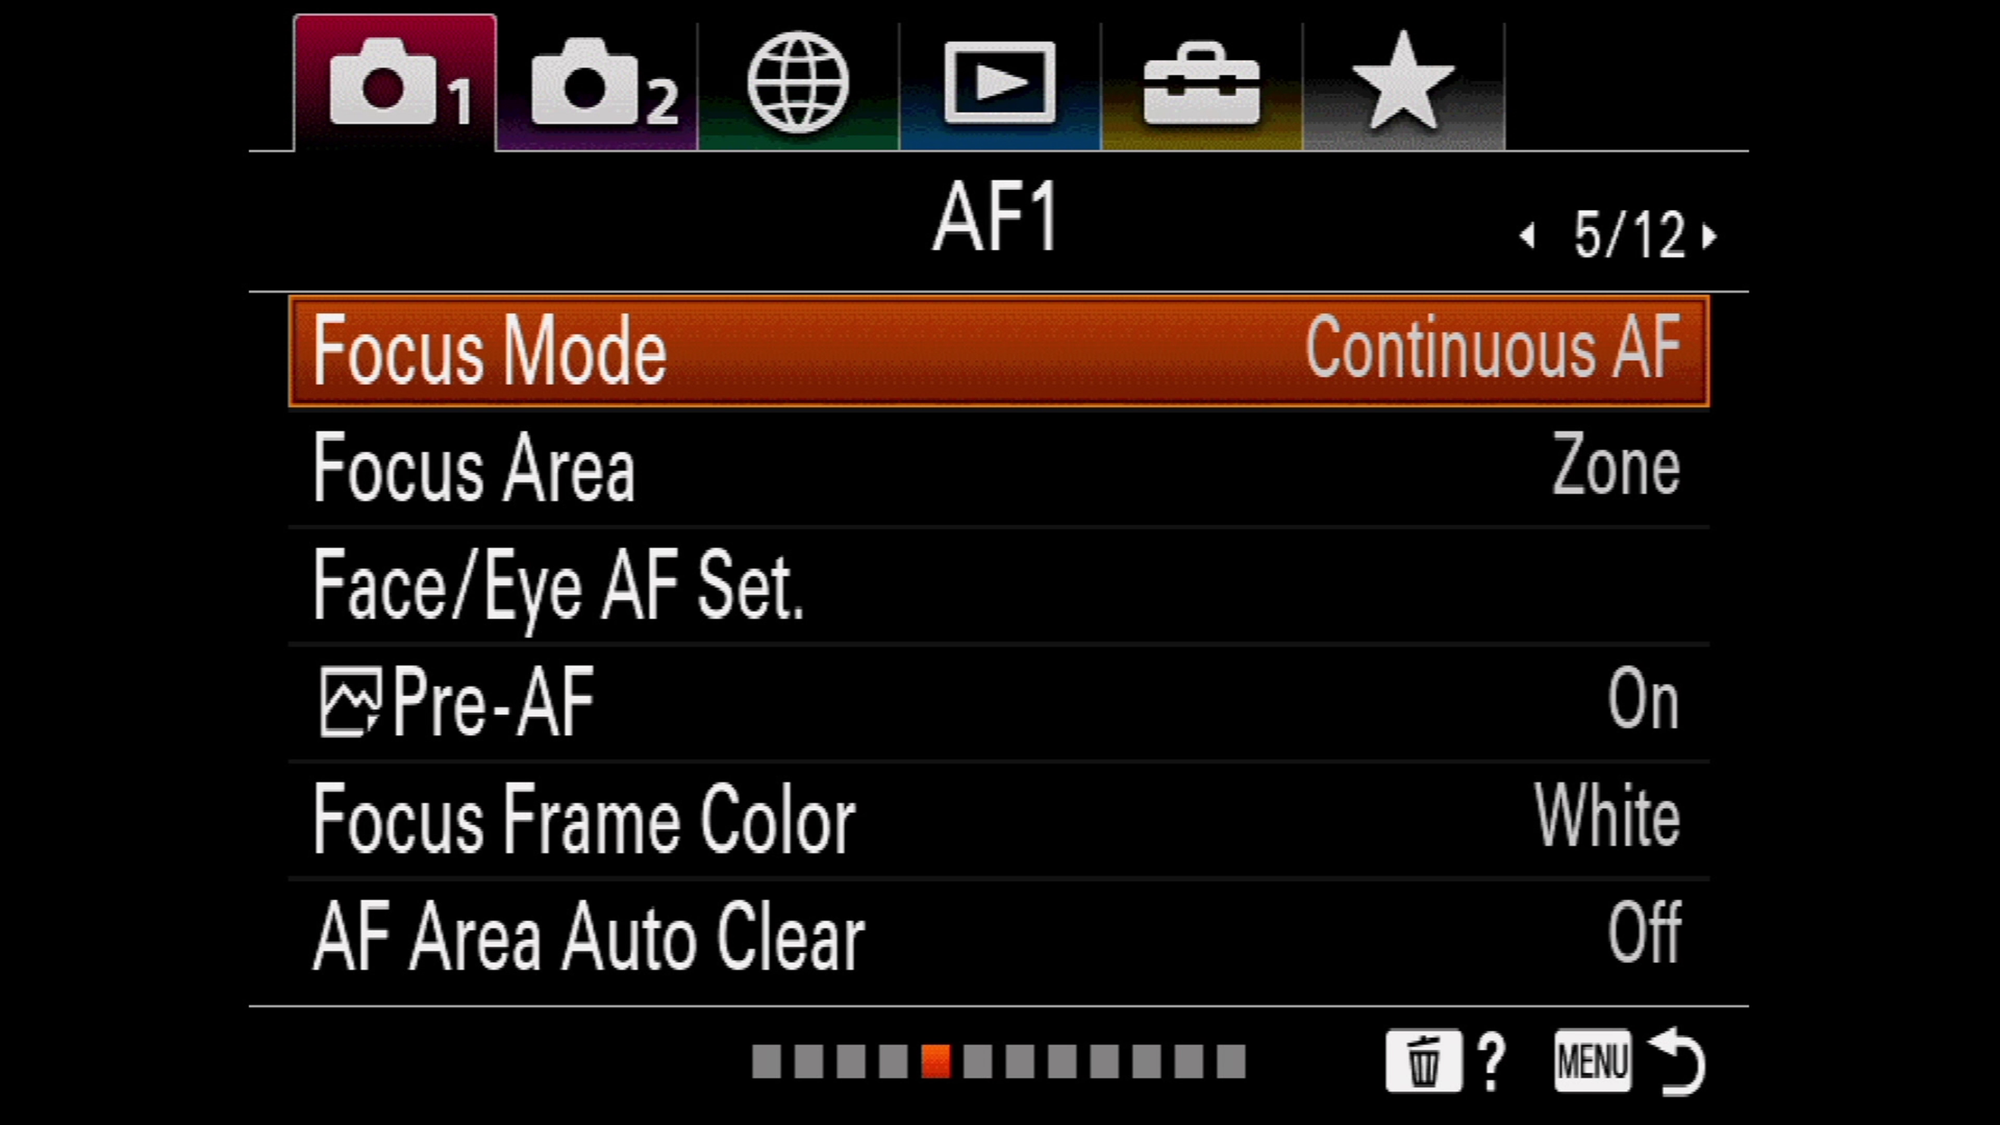
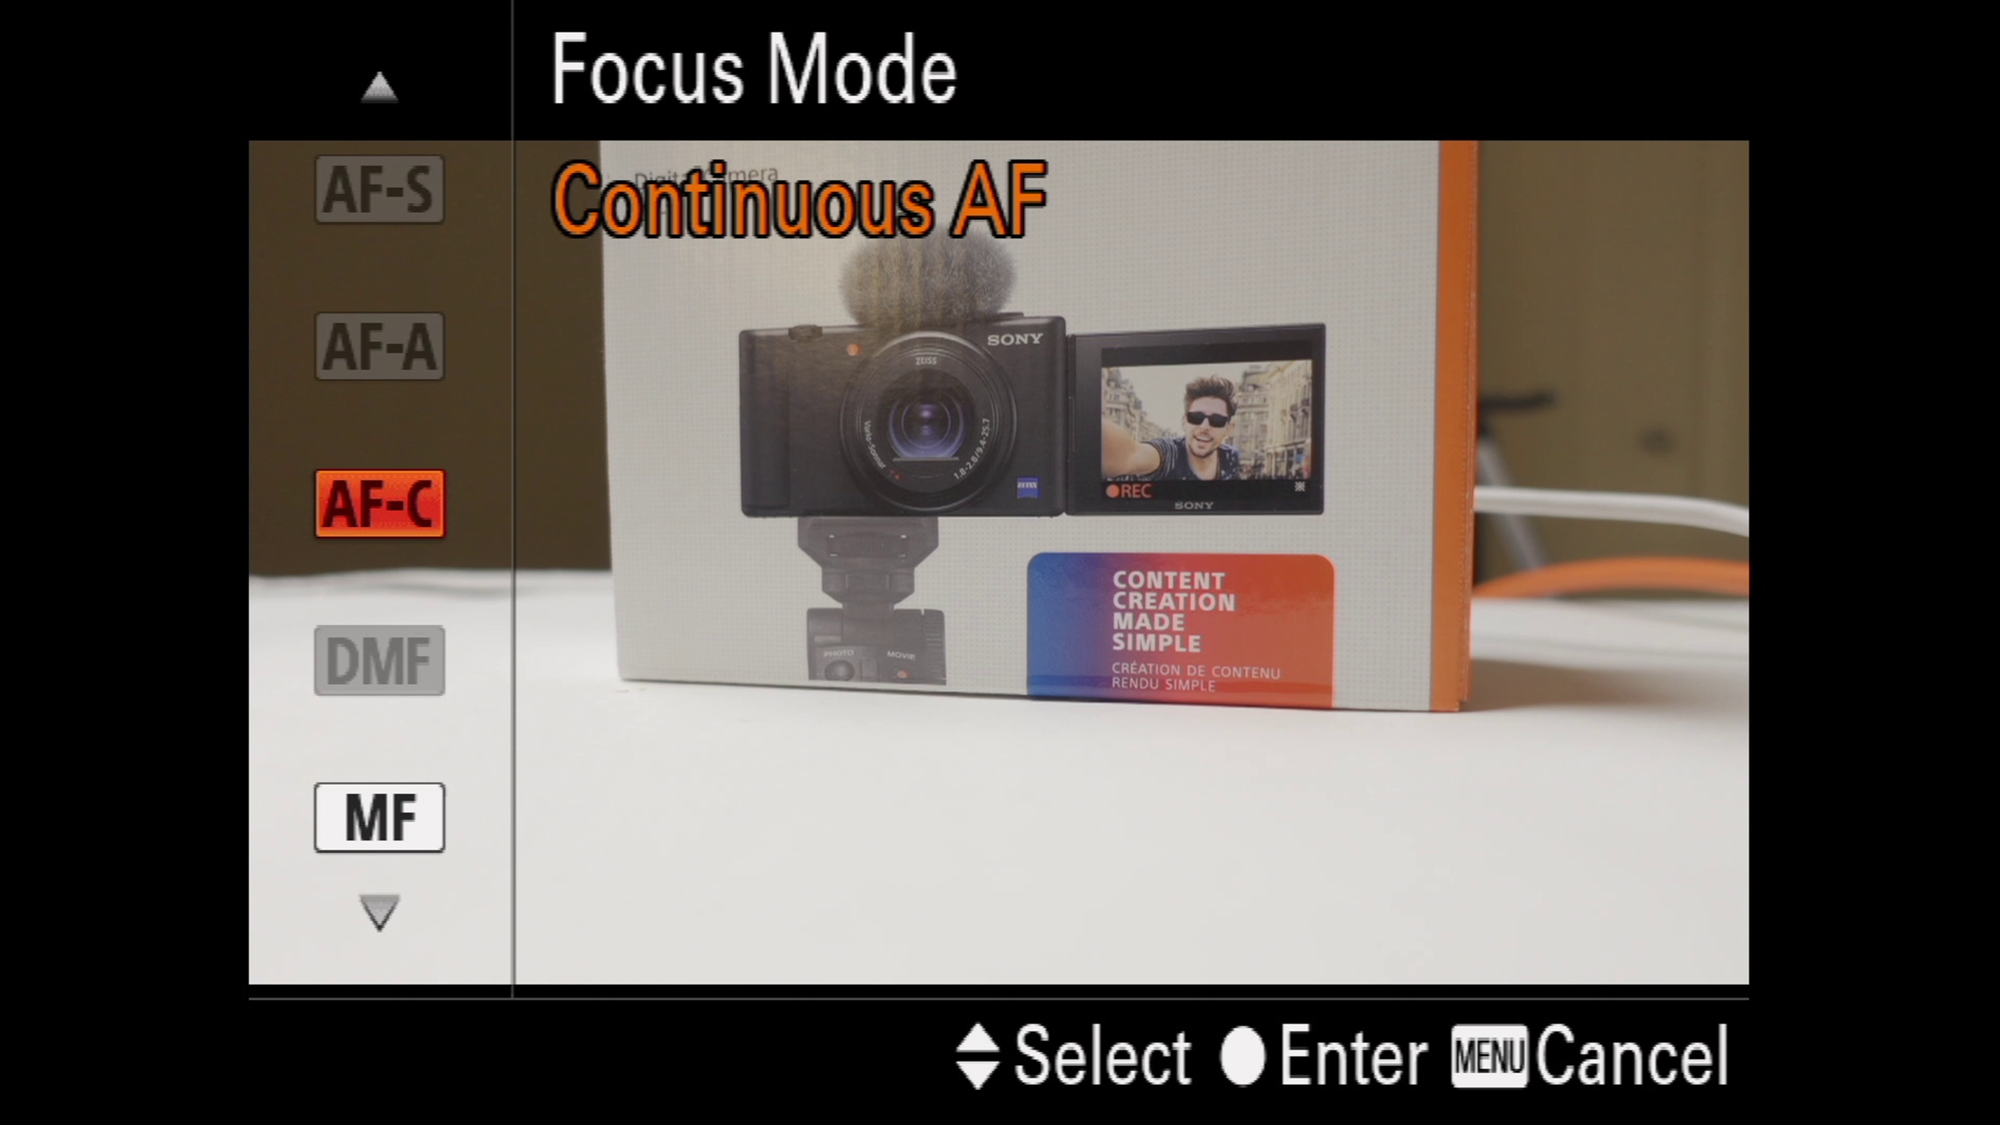
Head to the Quality tab, page #5 and open the Focus mode and make sure you have continuous autofocus selected, then move down to the Focus area.
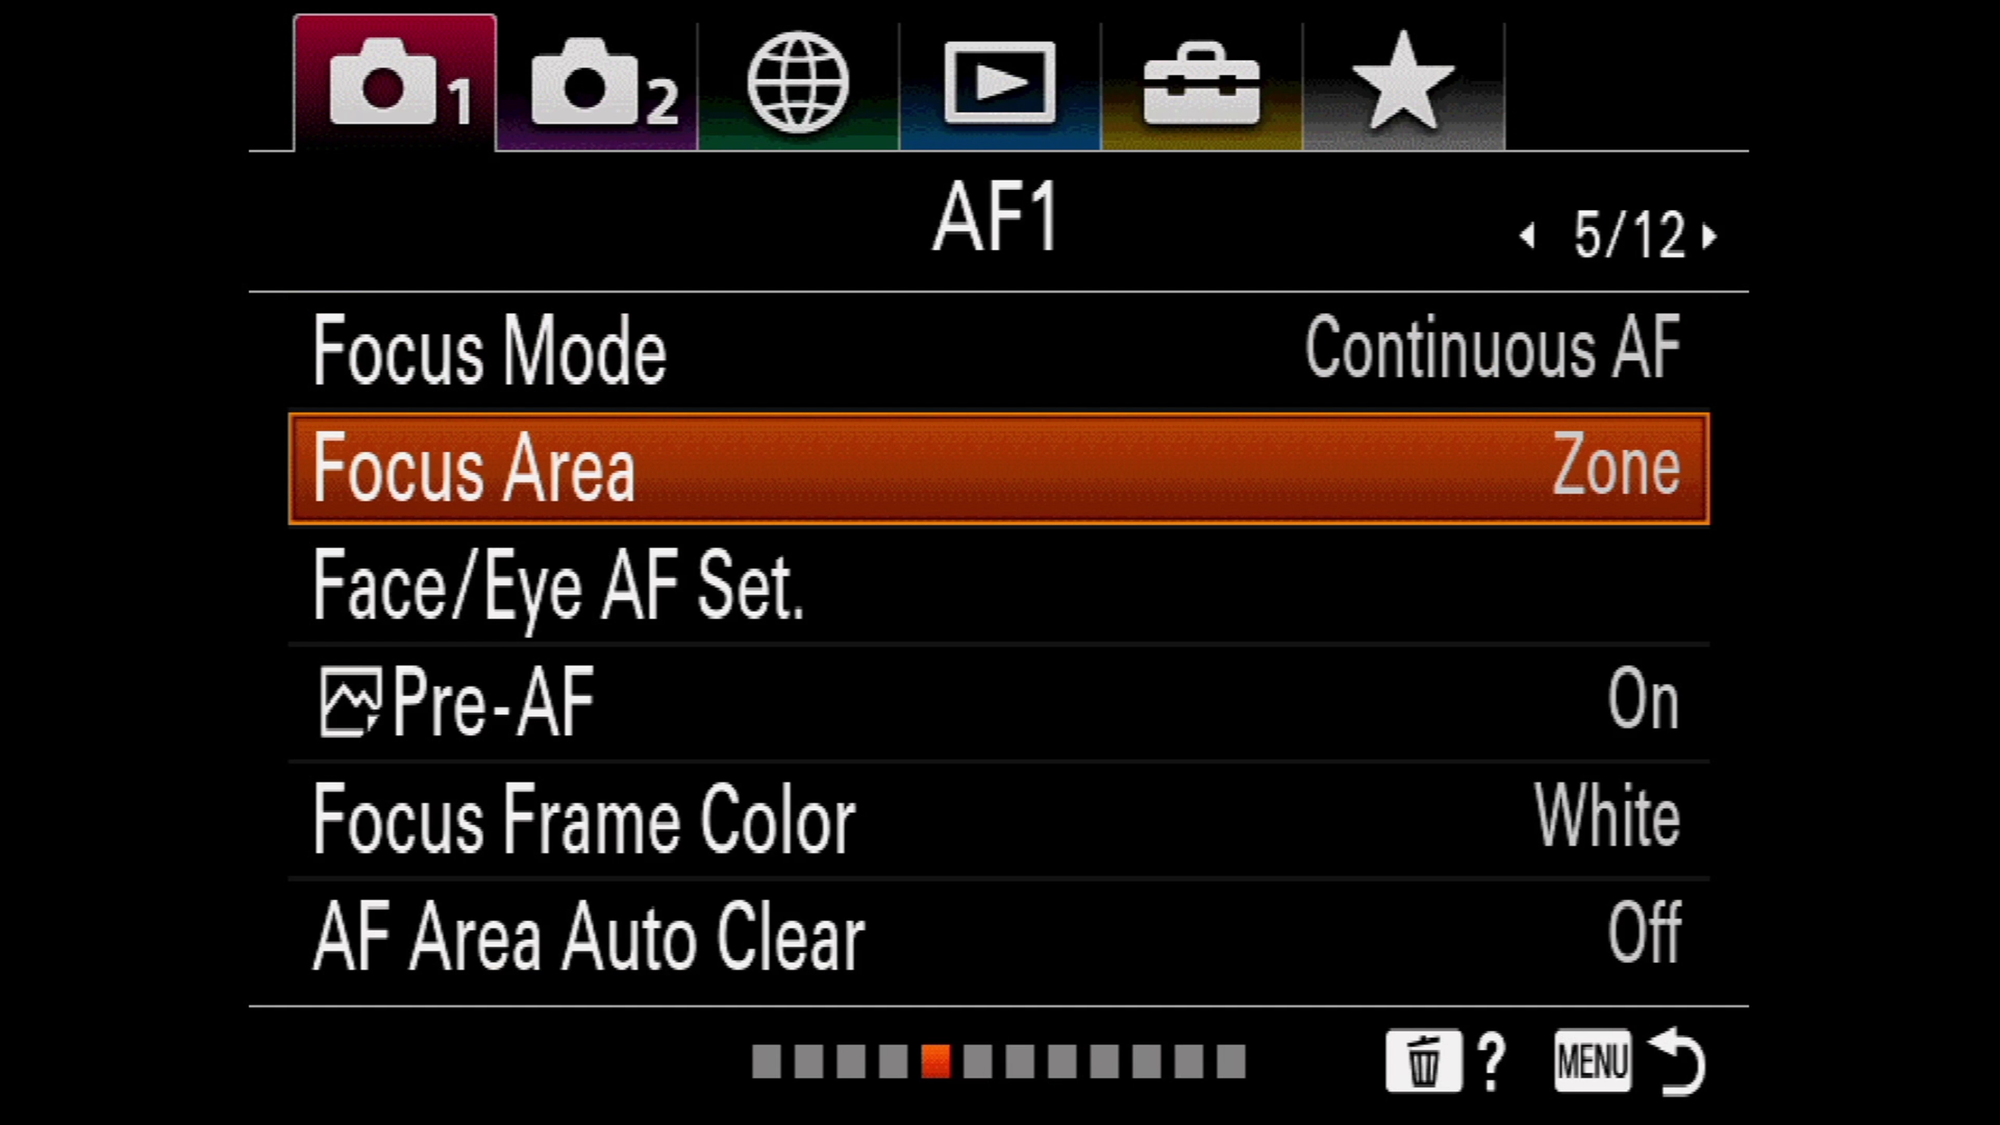
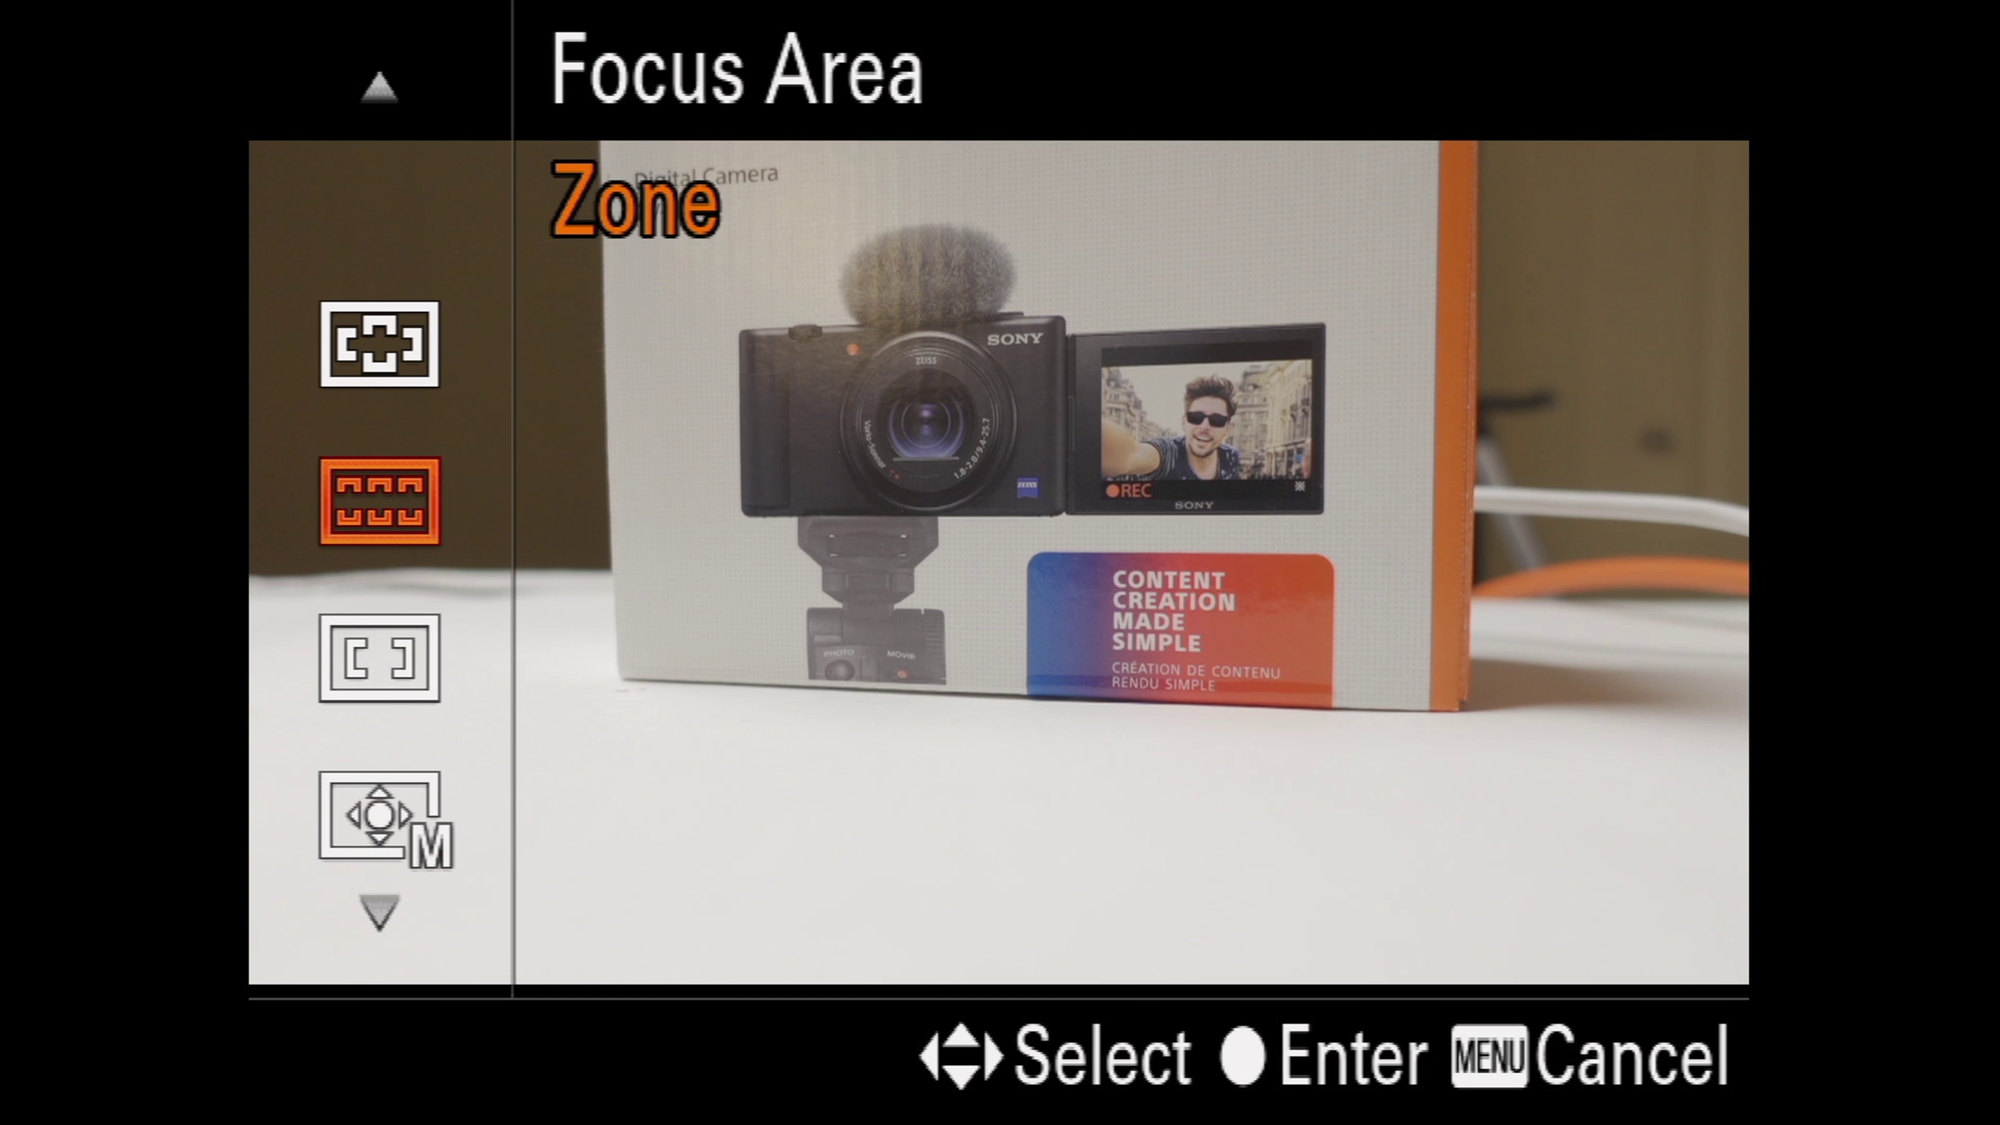
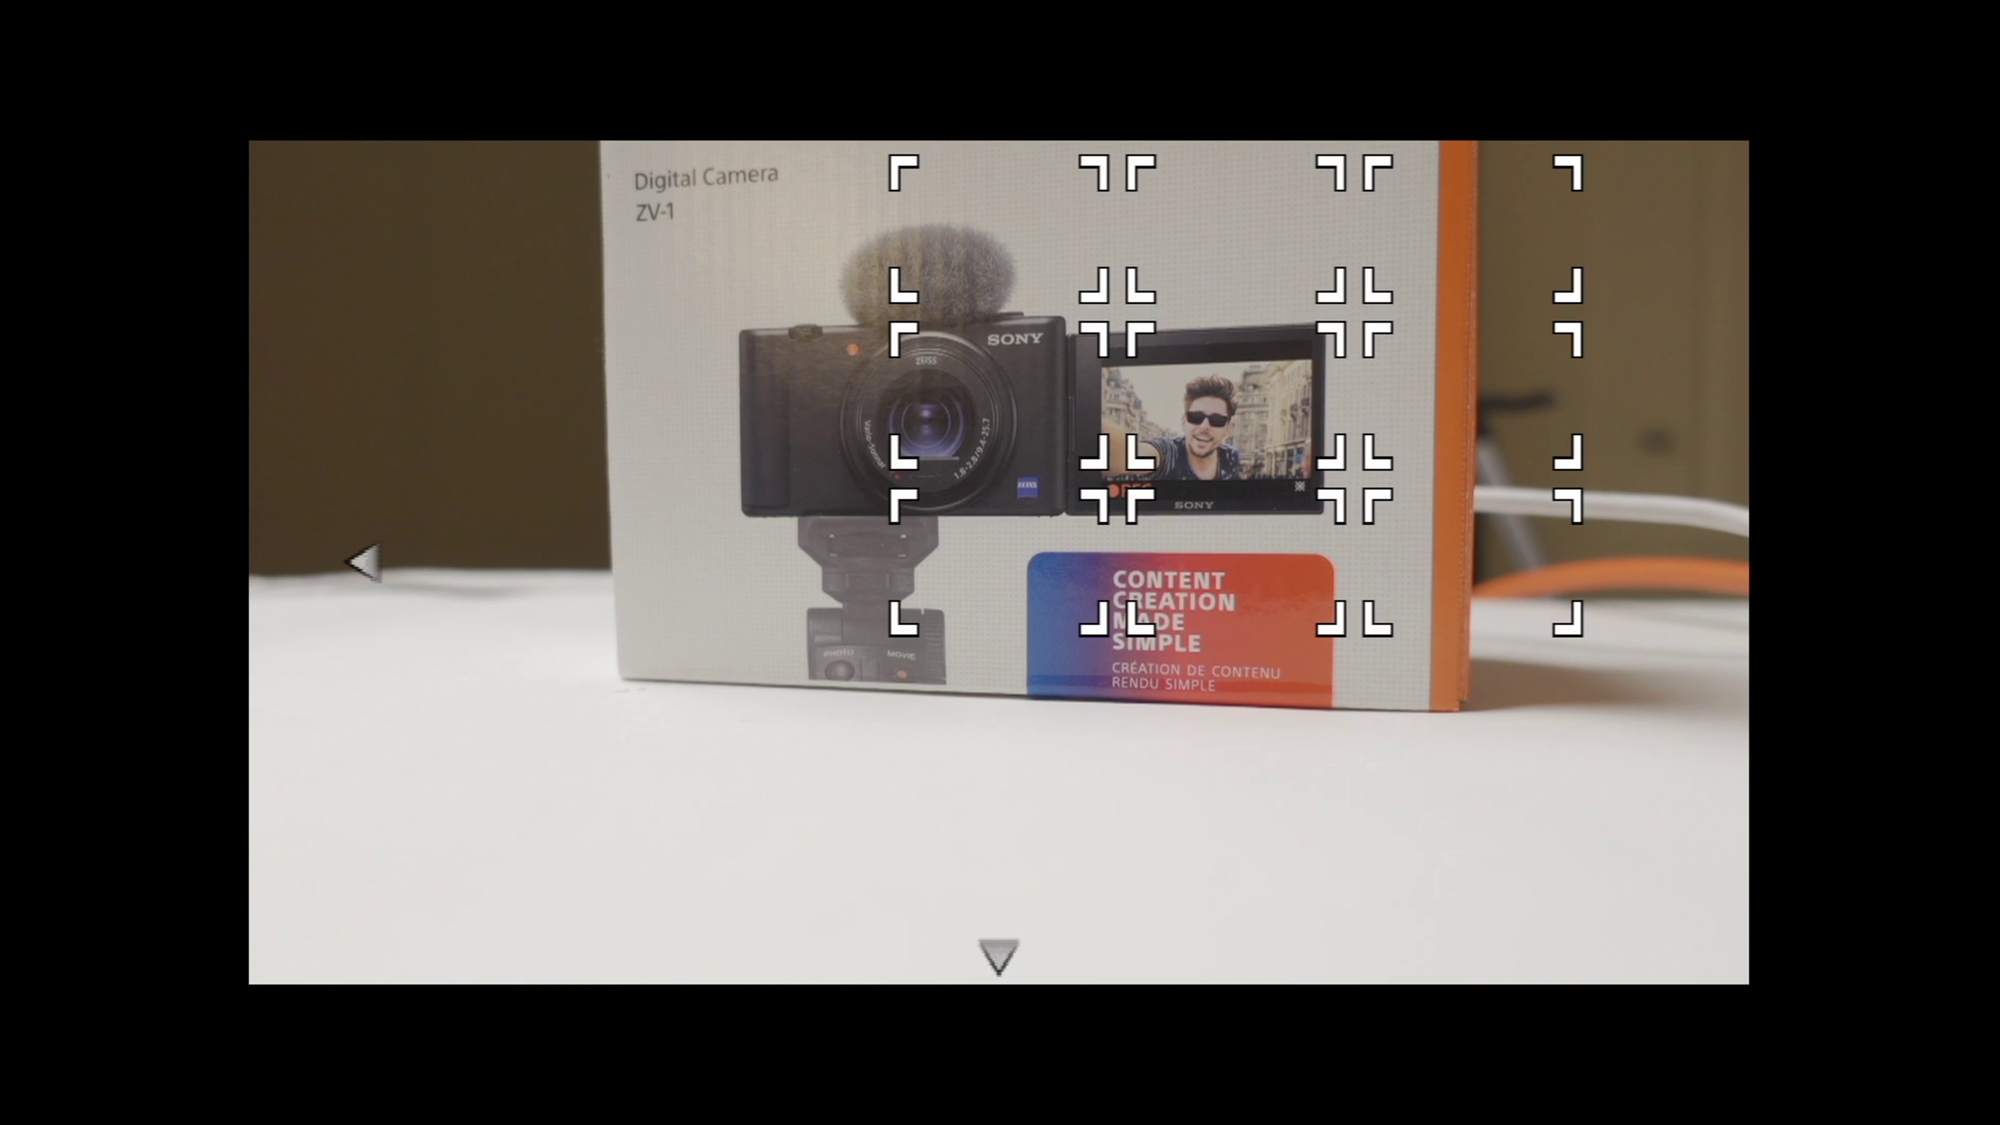
You can choose between center or Zone or Wide, I personally use the zone area, once you select it you can actually choose the zone that works best for you. And any subject inside that area will be tracked.
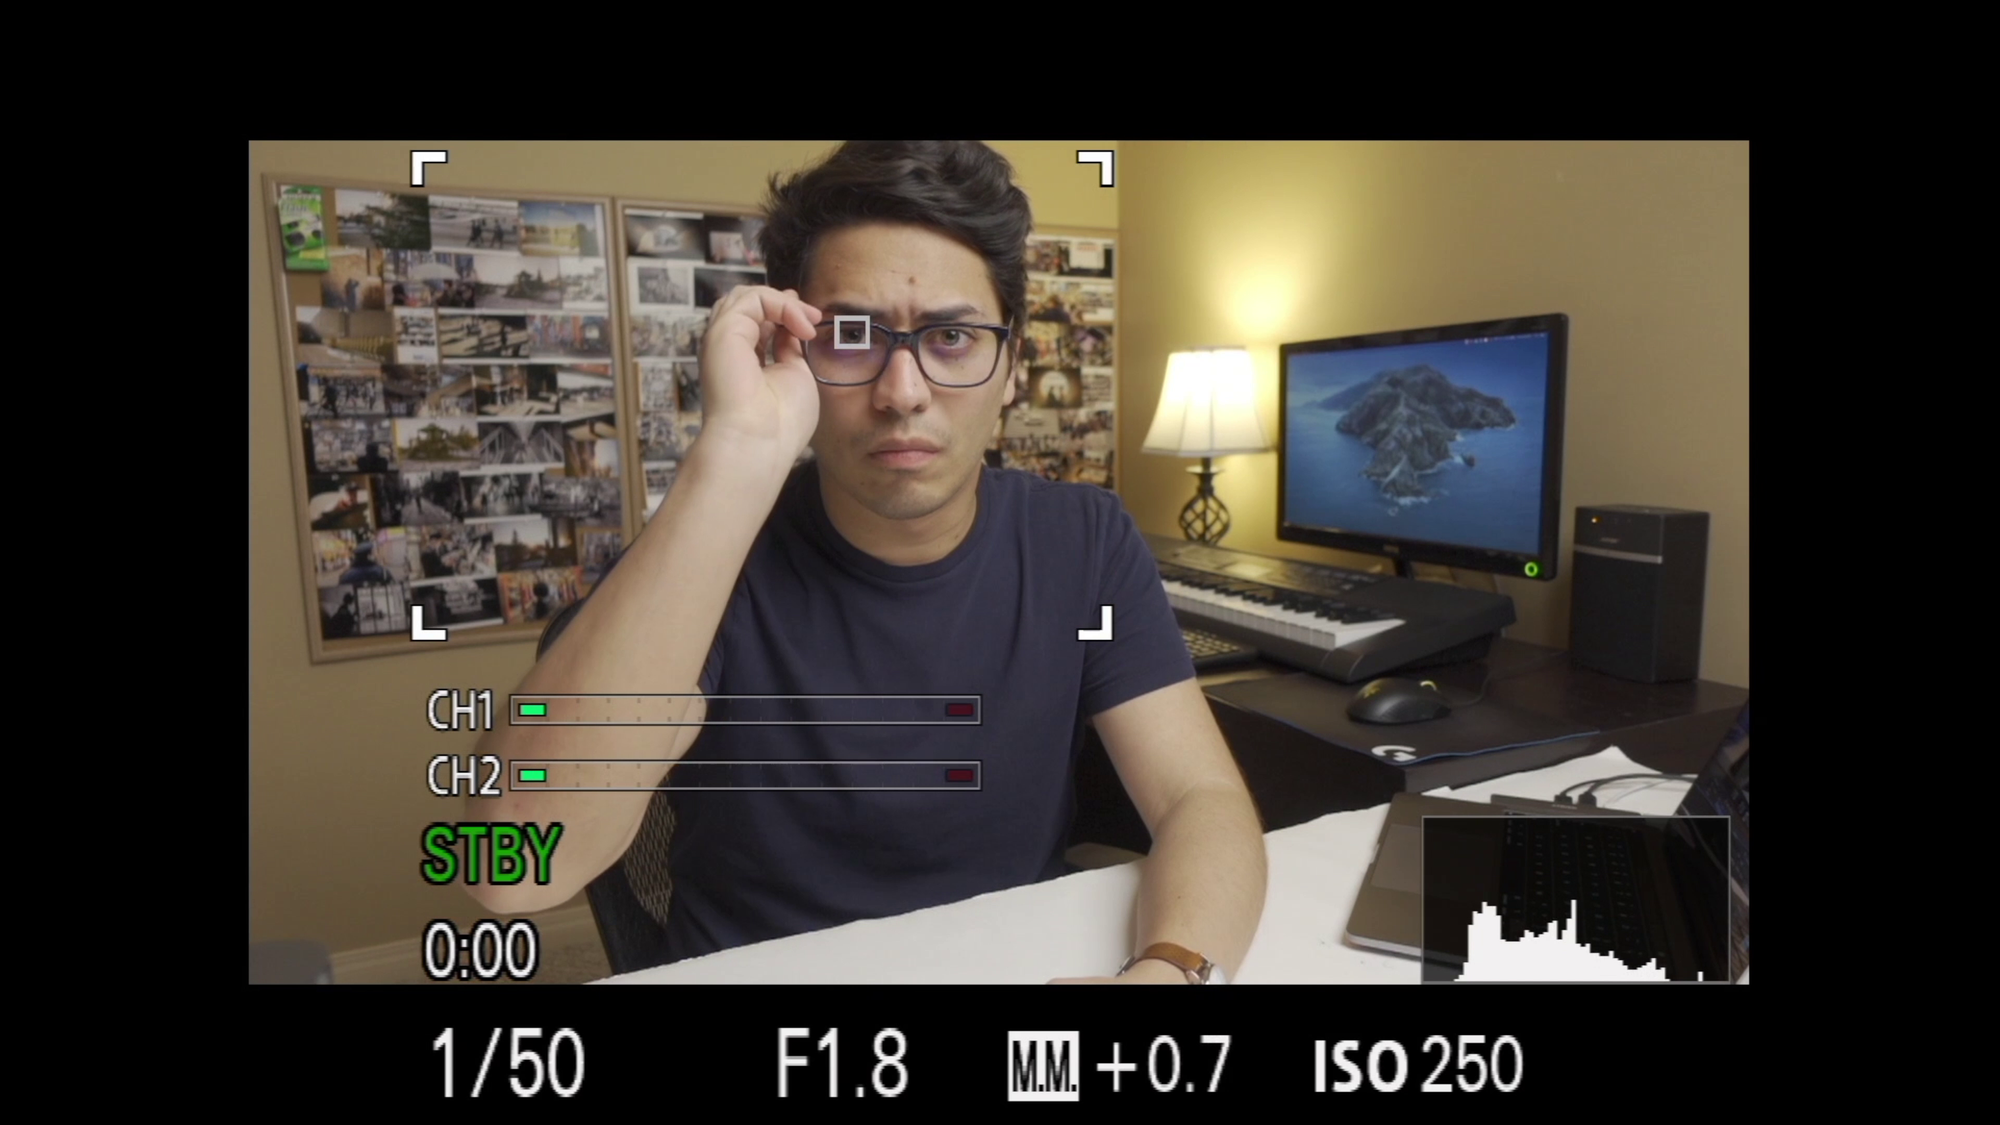
Head down to the eye autofocus settings, in here make sure it’s enabled, the subject detection is set to human. Choose a right or left eye preference if you have any. Leave animal display off, which will make the camera track you easier
Now it’s time to change the speed of the tracking.
Go back to the Movie tab, page #2. Here we have the AF drive speed and the tracking sensitivity. Since my videos don’t require fast-paced movement I left my settings on normal and standard. But if you moving a lot then you might want to change these.
Picture Profiles & White Balance
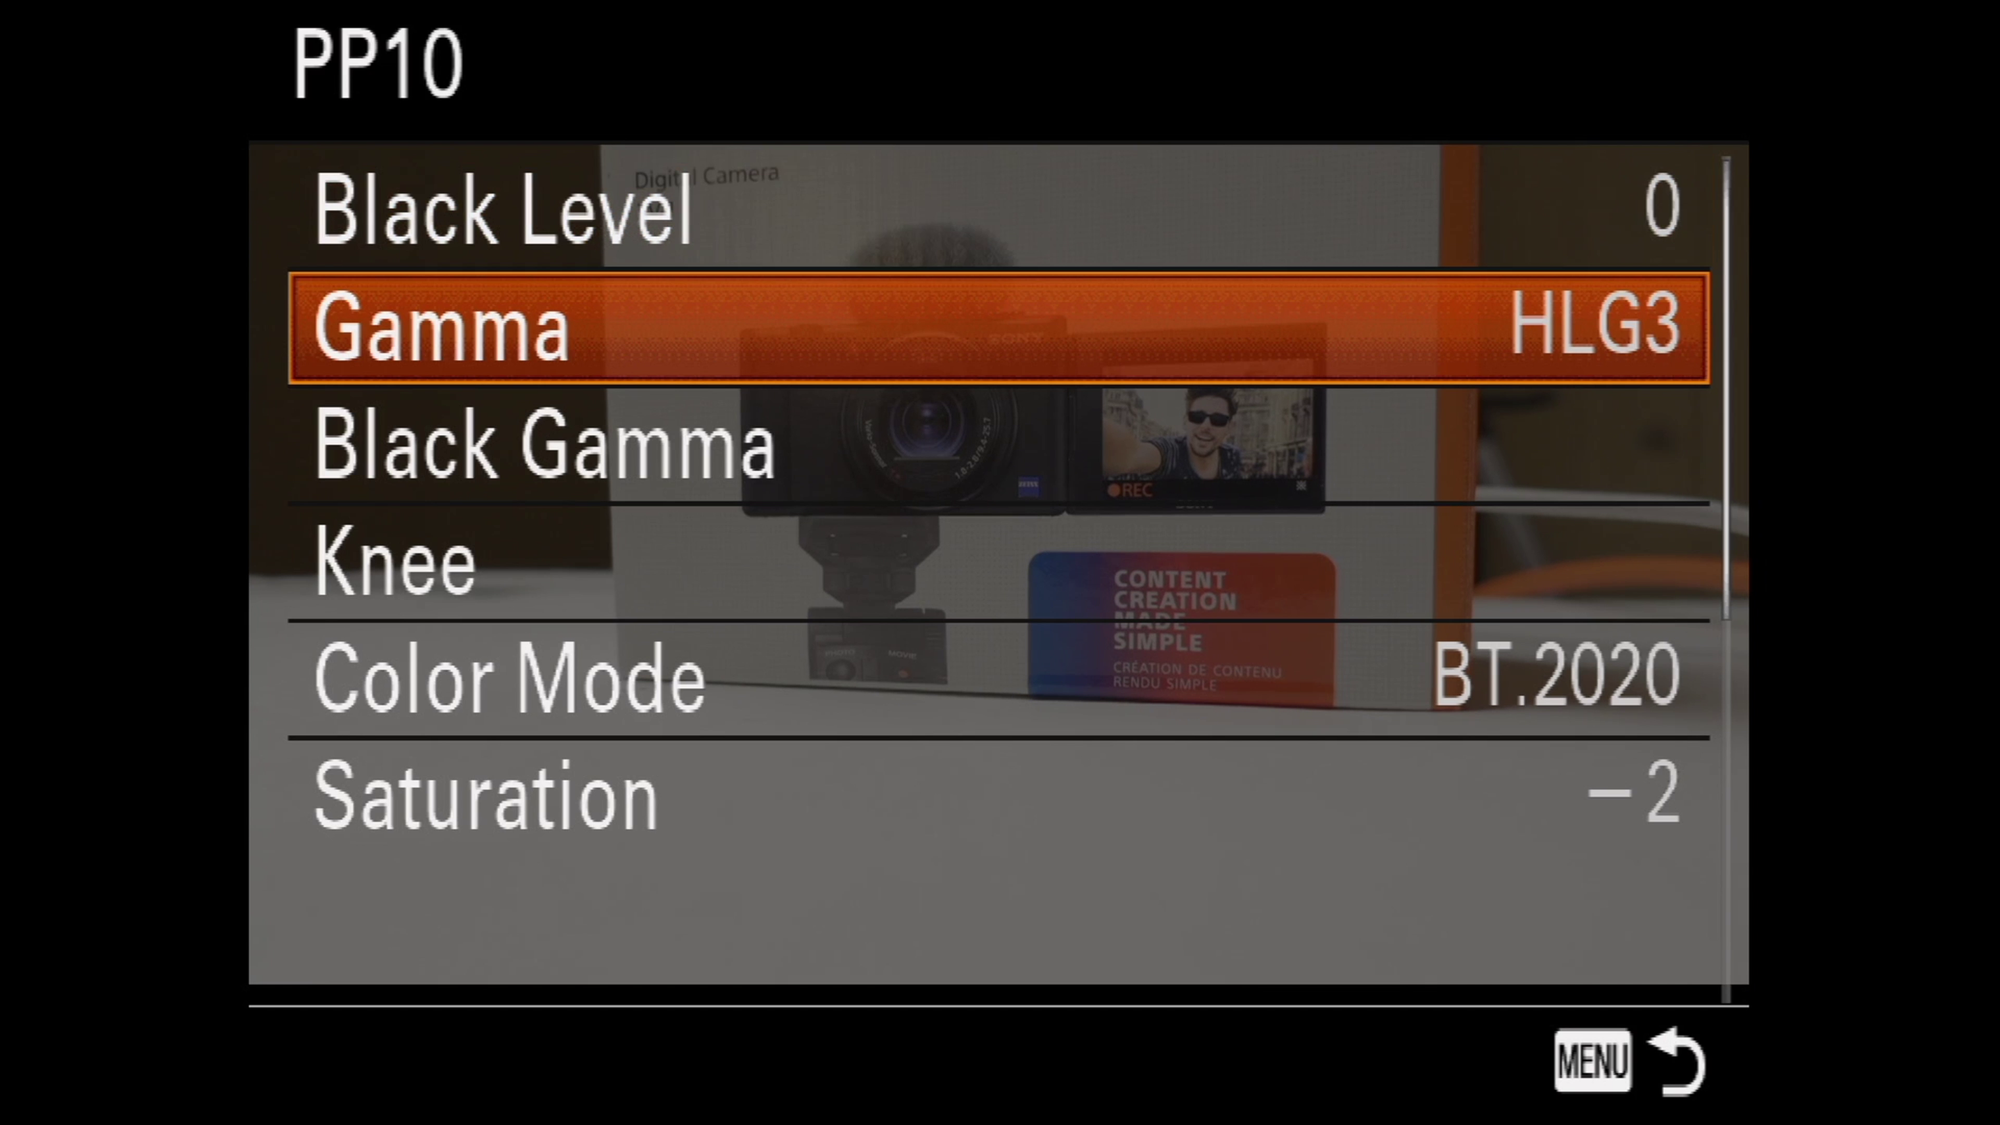
Go to the Image Quality tab, page #9. Here we have the profiles and white balance settings. Leave the creative statue on standard, and the picture effect off.
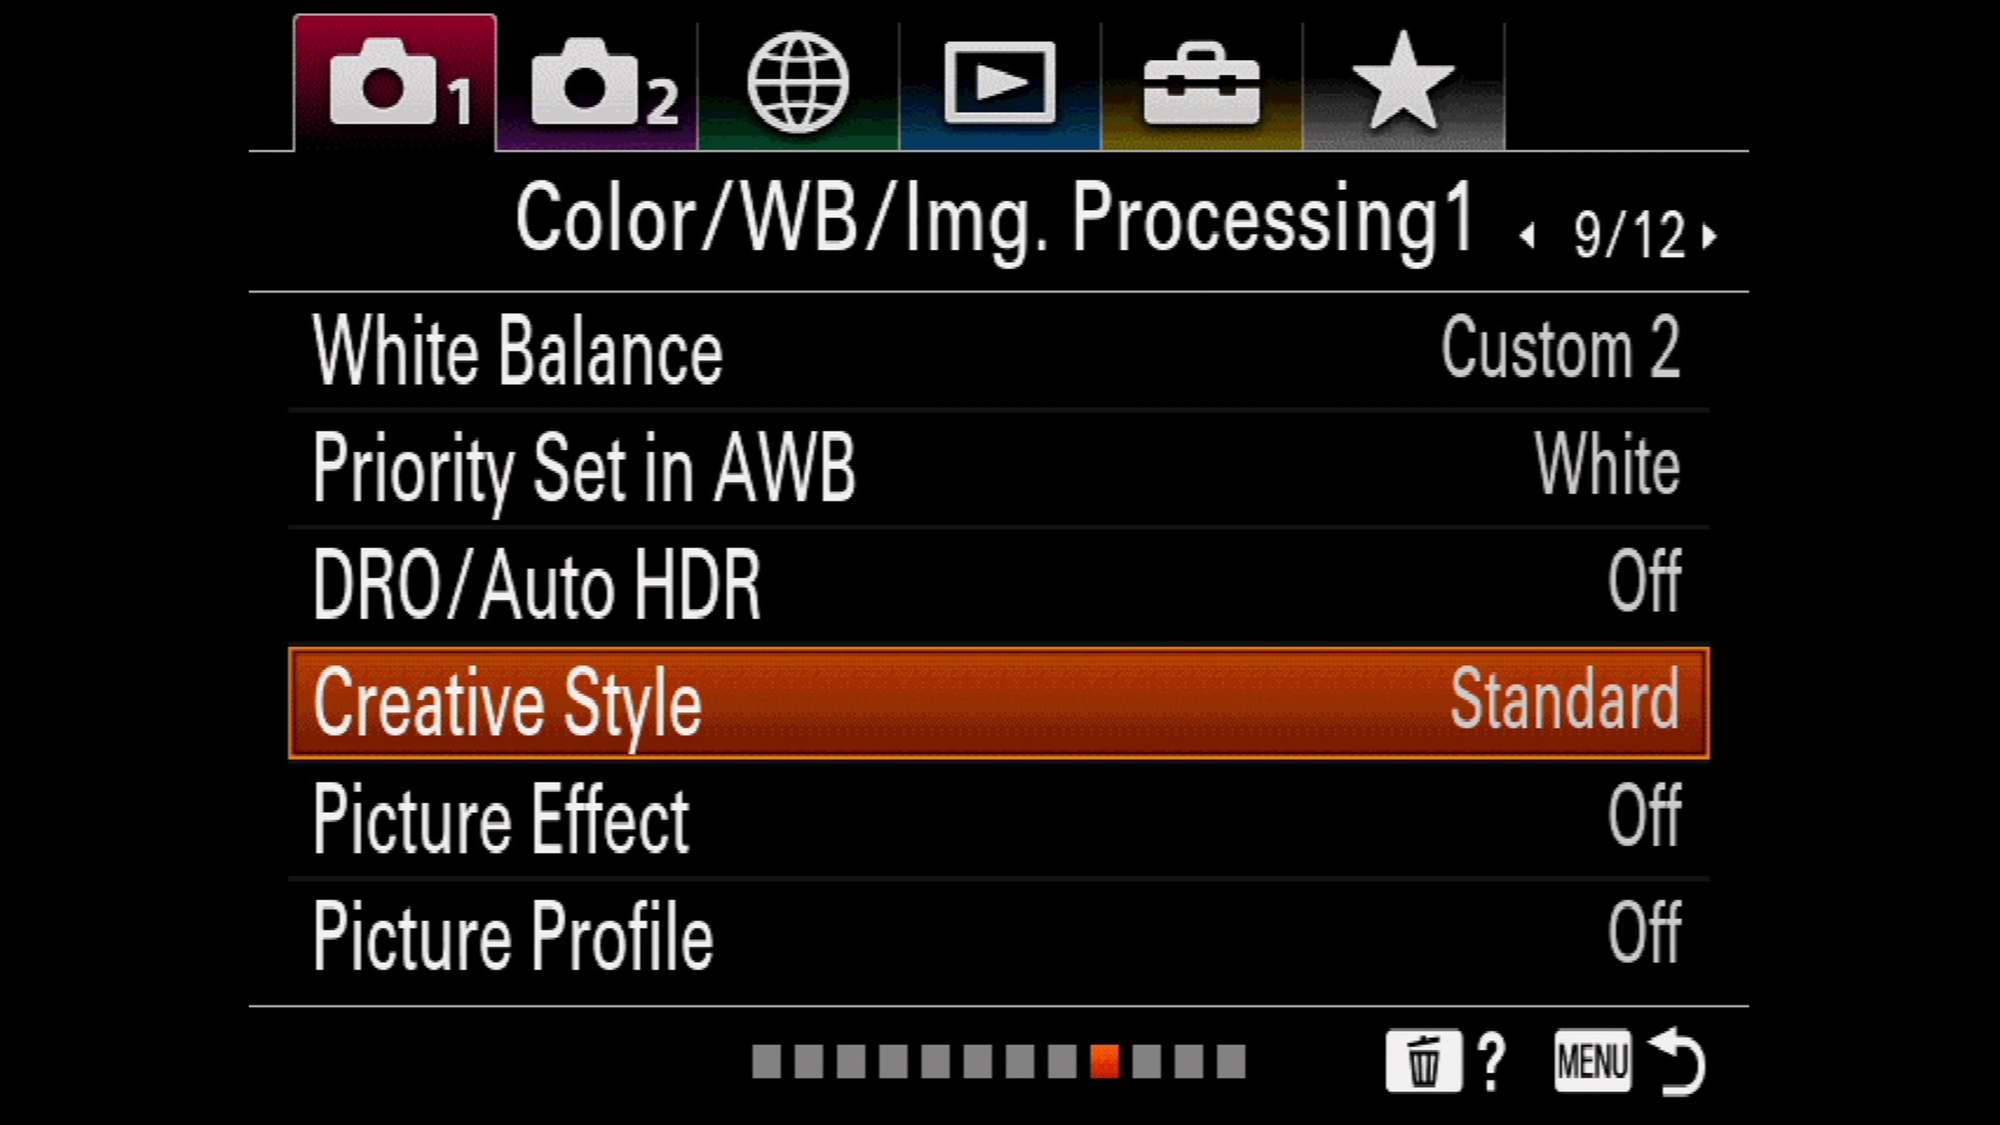
But choose a picture profile. You have 10 customizable options including cine, Slog-2, Slog-3 and HLG.
I customized my picture profile 10 to be set to HLG3, with BT.2020 colour mode. Saturation set to -2, and detail set to -7 as well.
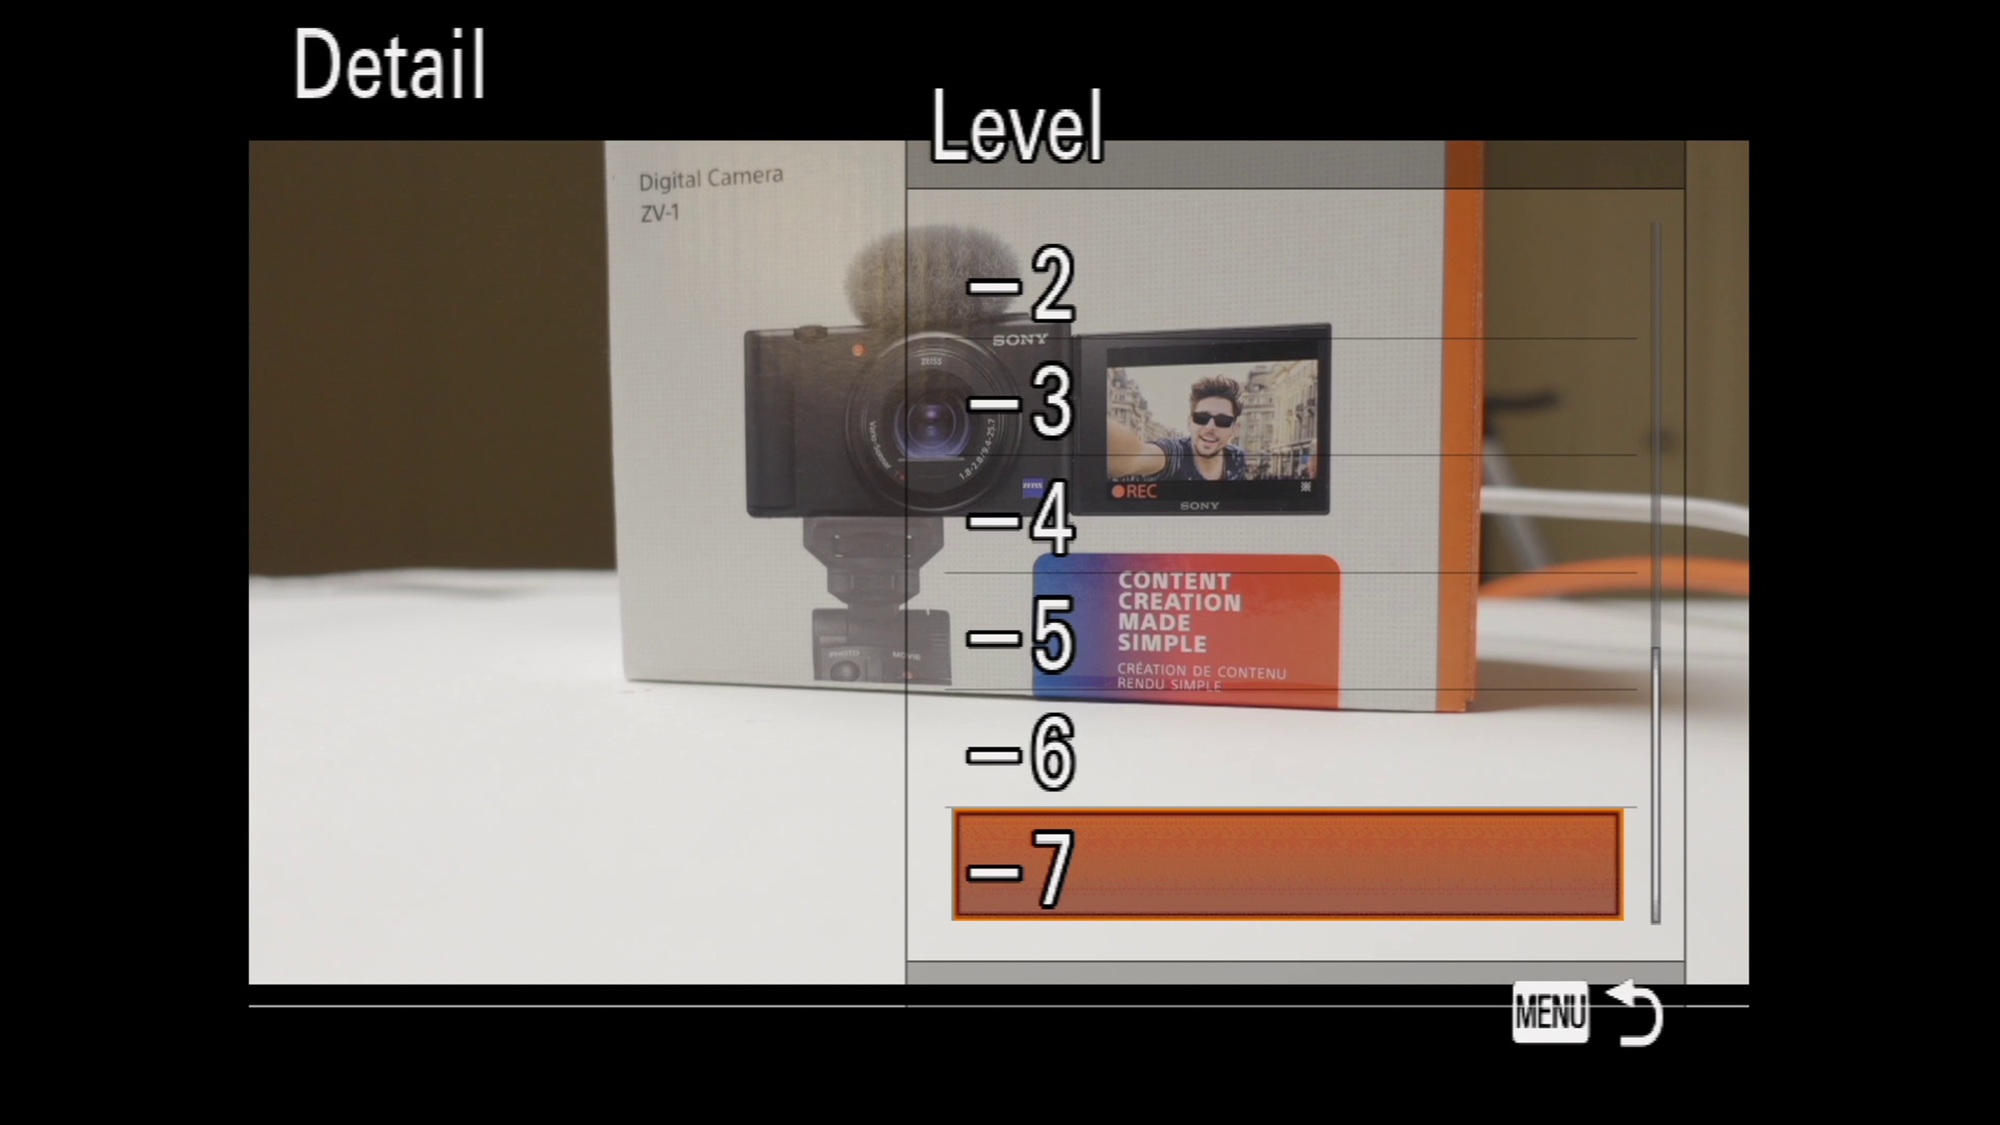
These are the settings that work for me, I suggest you play with the profiles and fine-tune them to your liking. Now that the picture profile is set, we can change the white balance.
Ideally, you would use a colour calibration tool or a white balance tool. But for demonstrating purposes, I’ll use a white reflector. Choose the area to set the custom white balance.
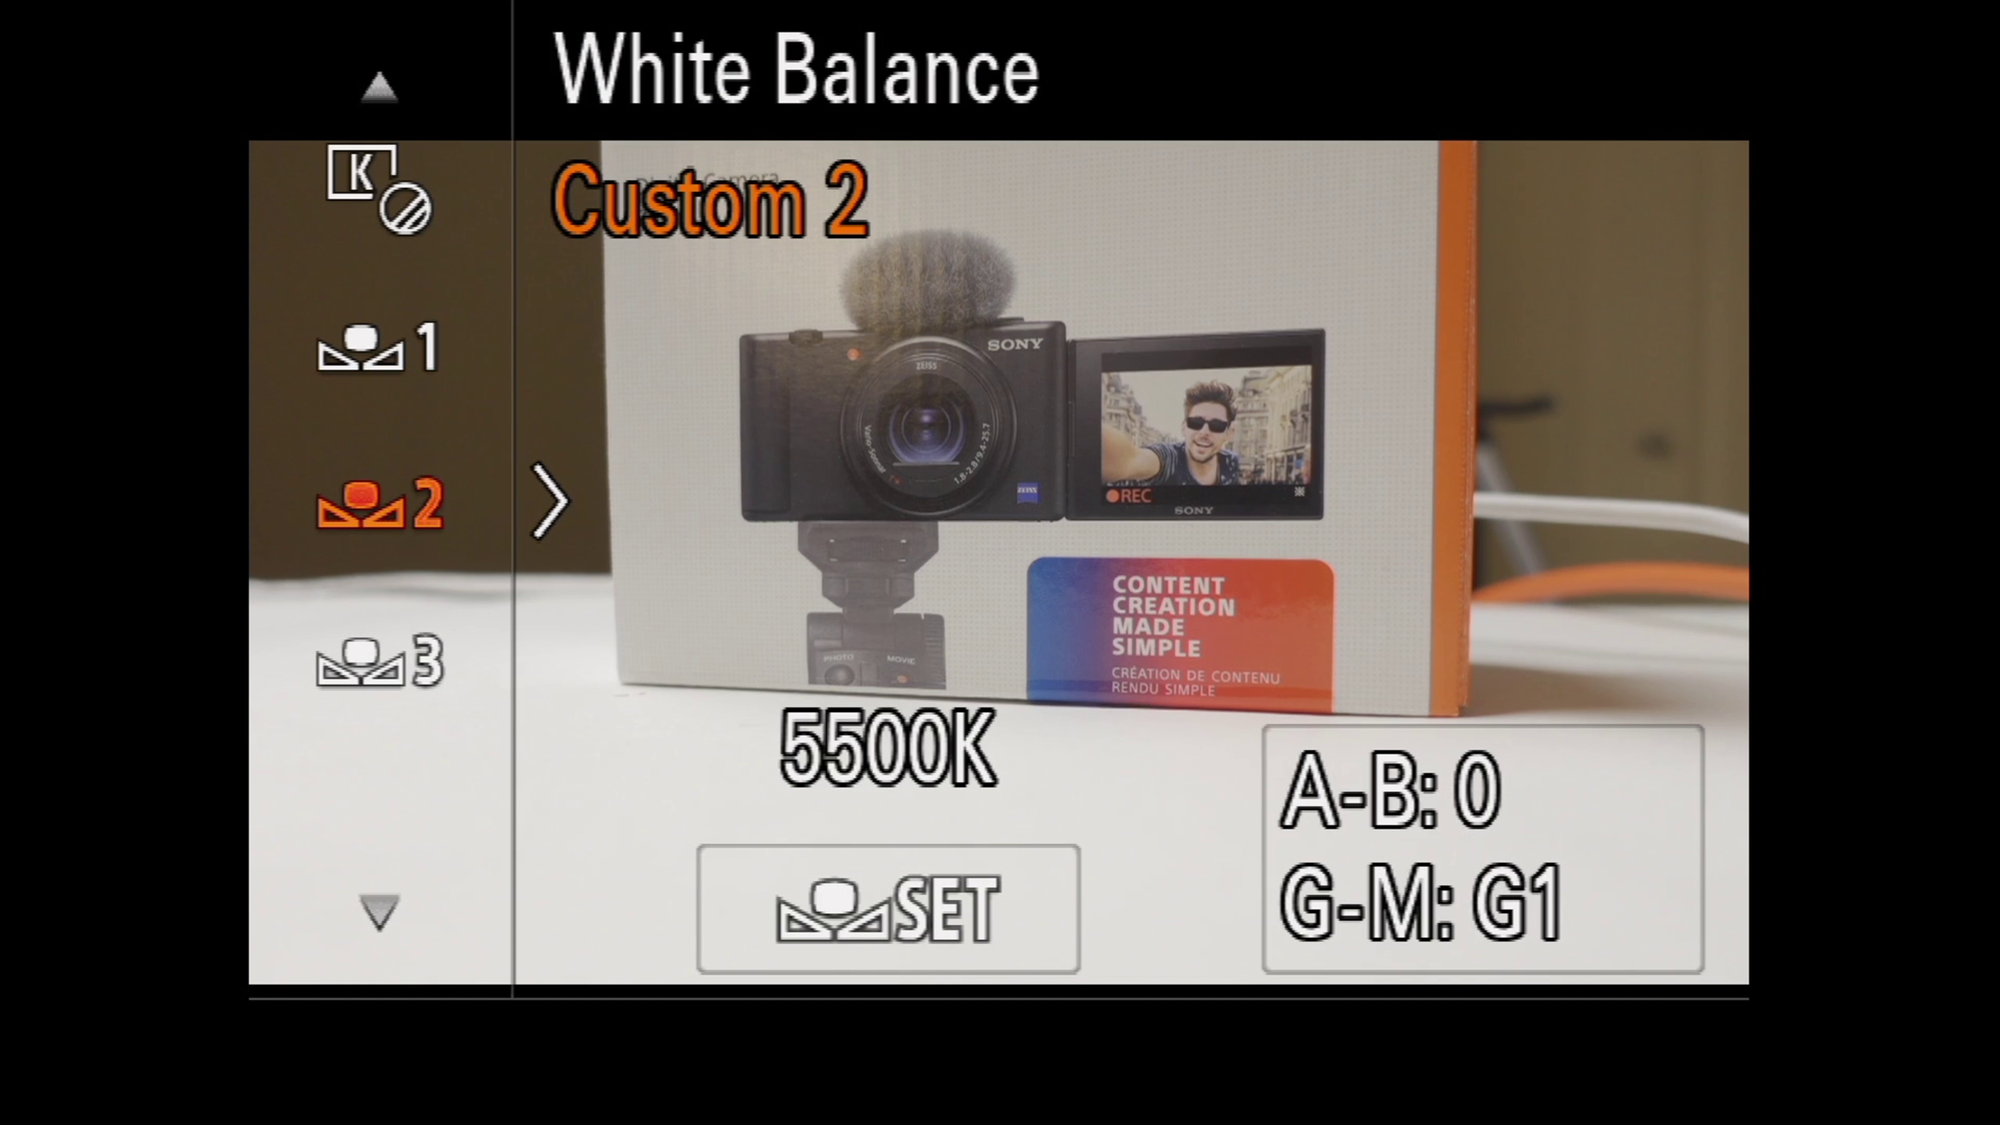
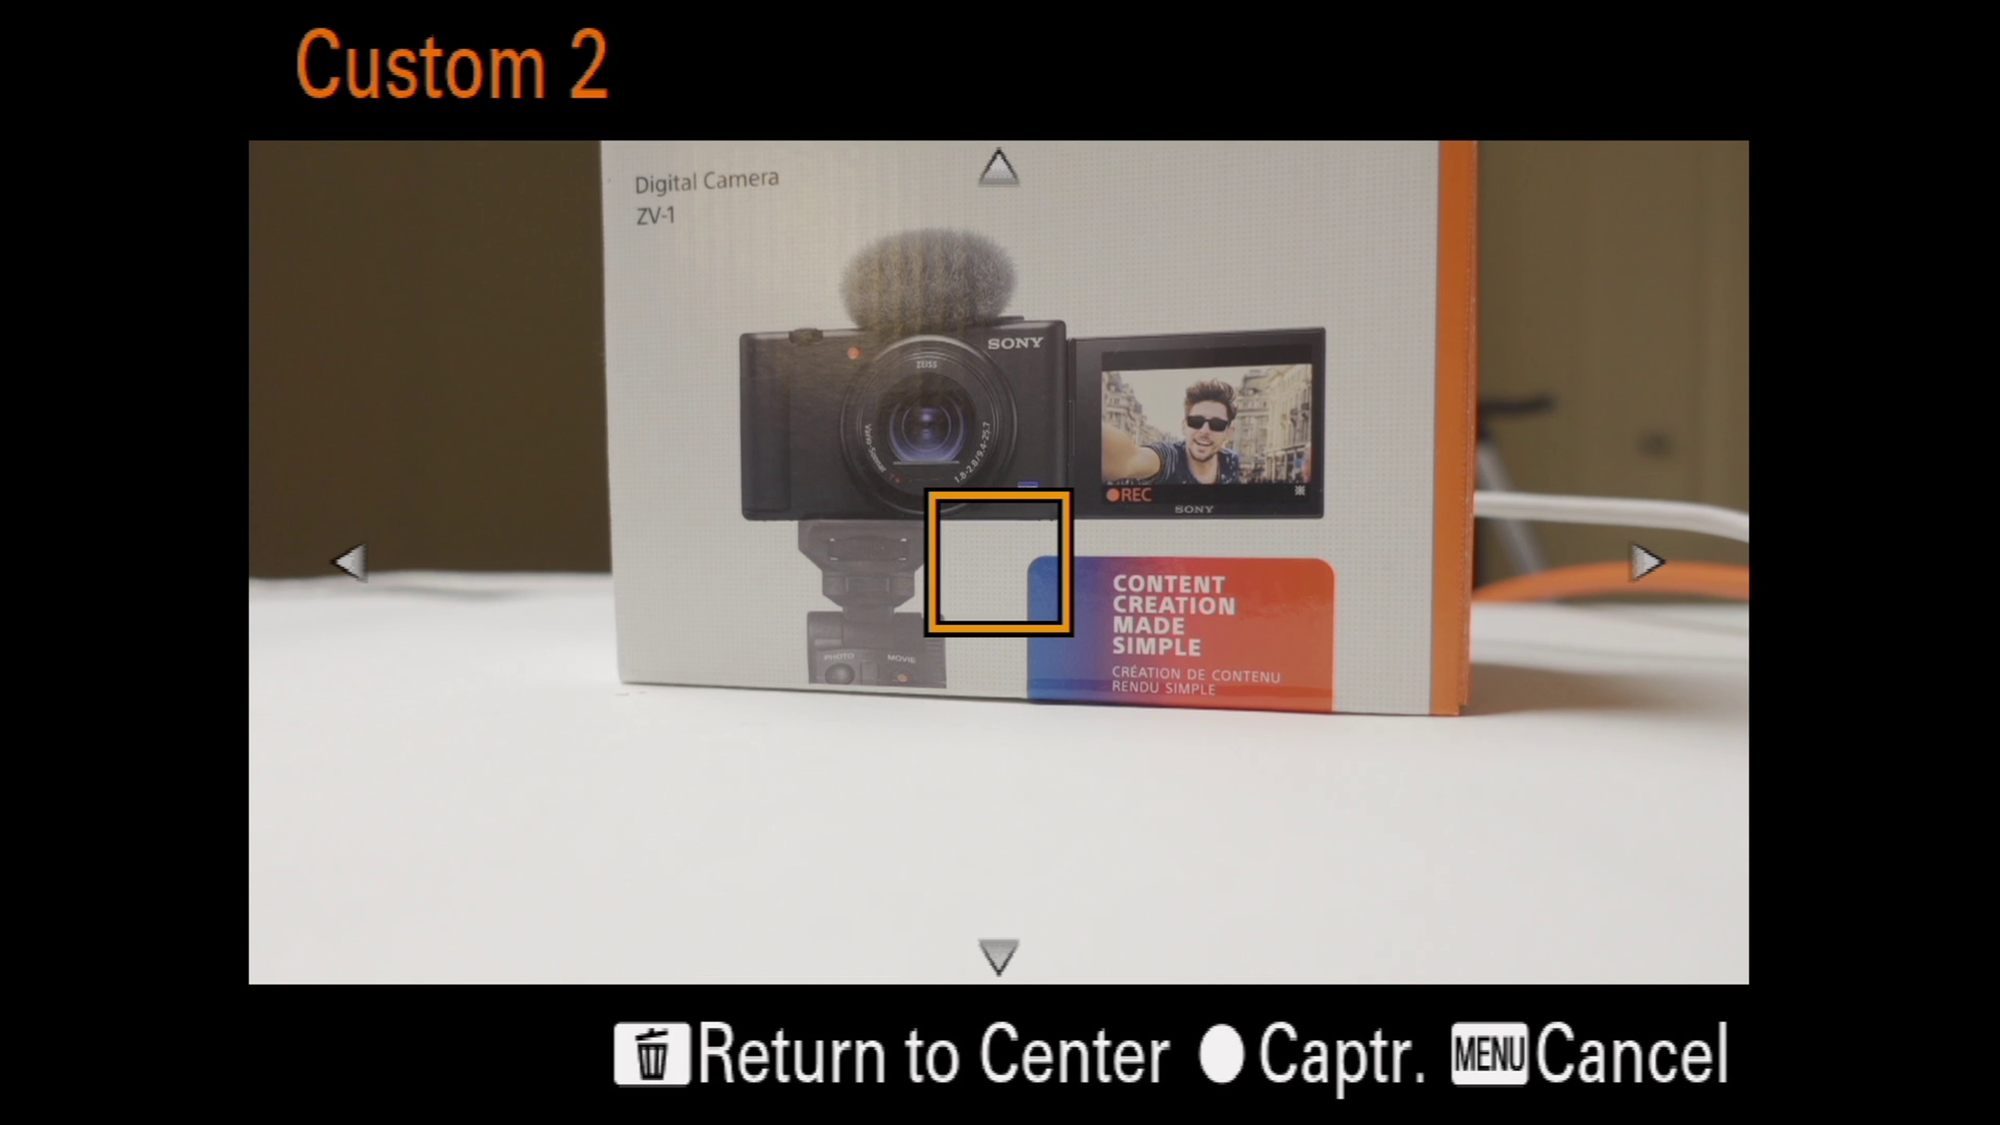
Head to the bottom and choose one of the custom settings then choose set the white balance. Move around the box and make sure it is on the white balance tool or reflector and select that as your white source.
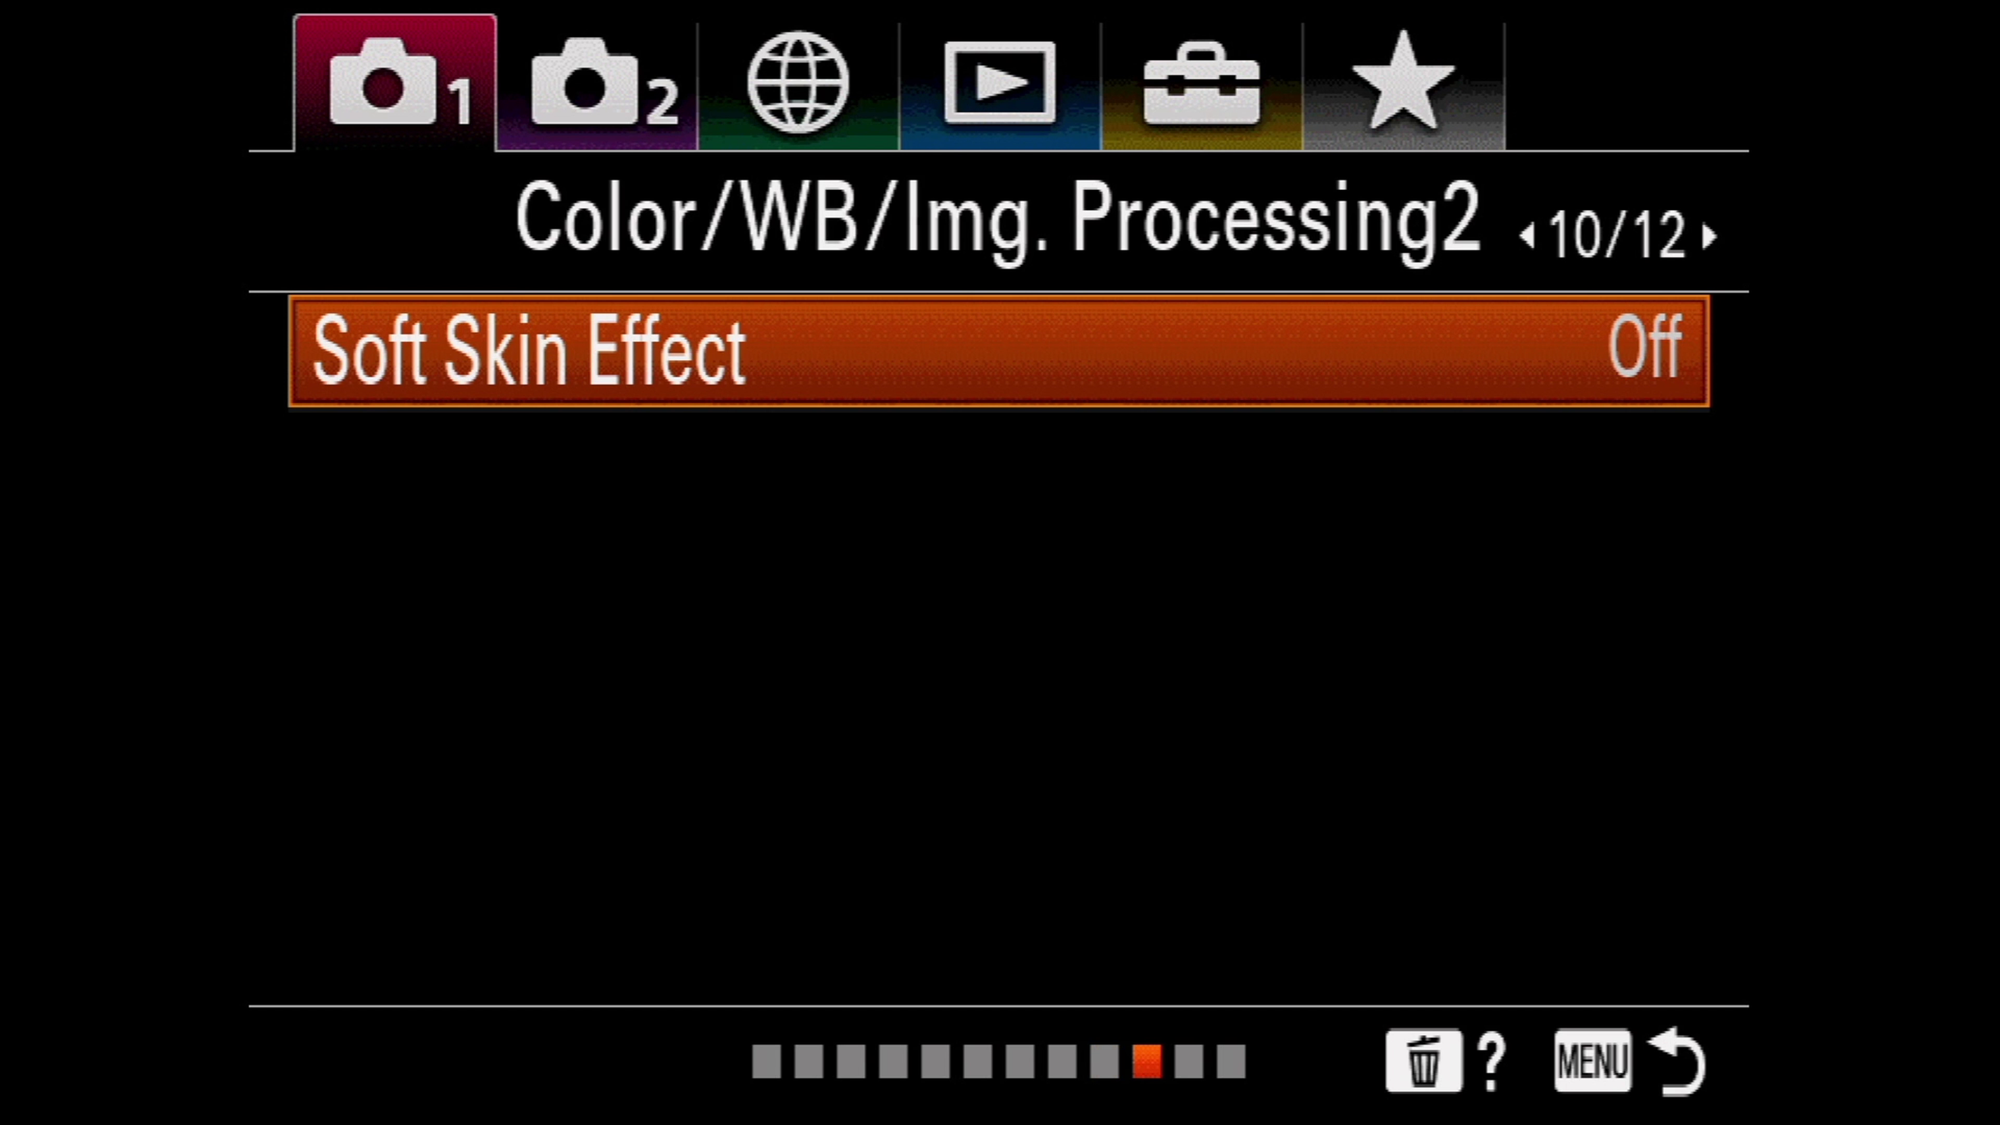
Now go to page 10, and disable the soft skin effect.
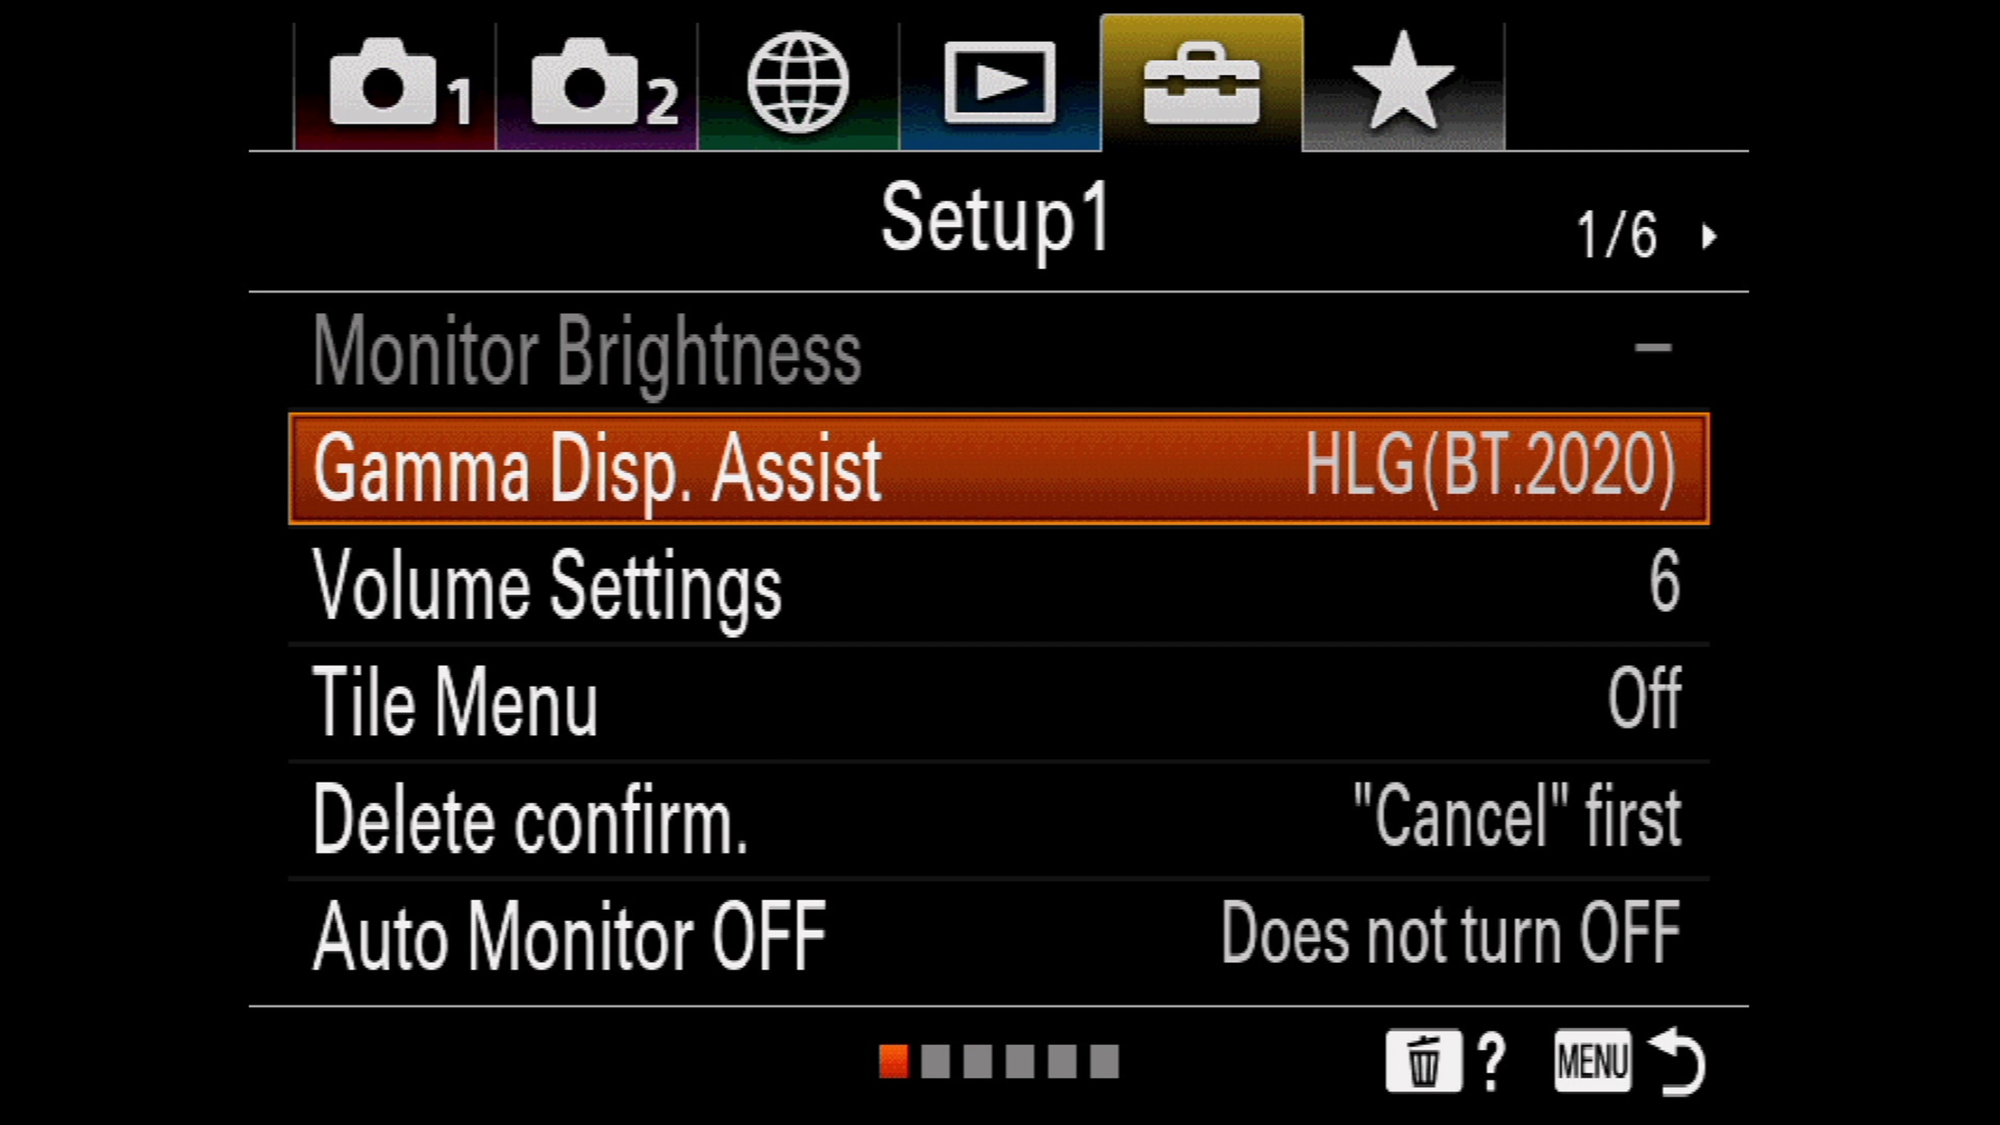
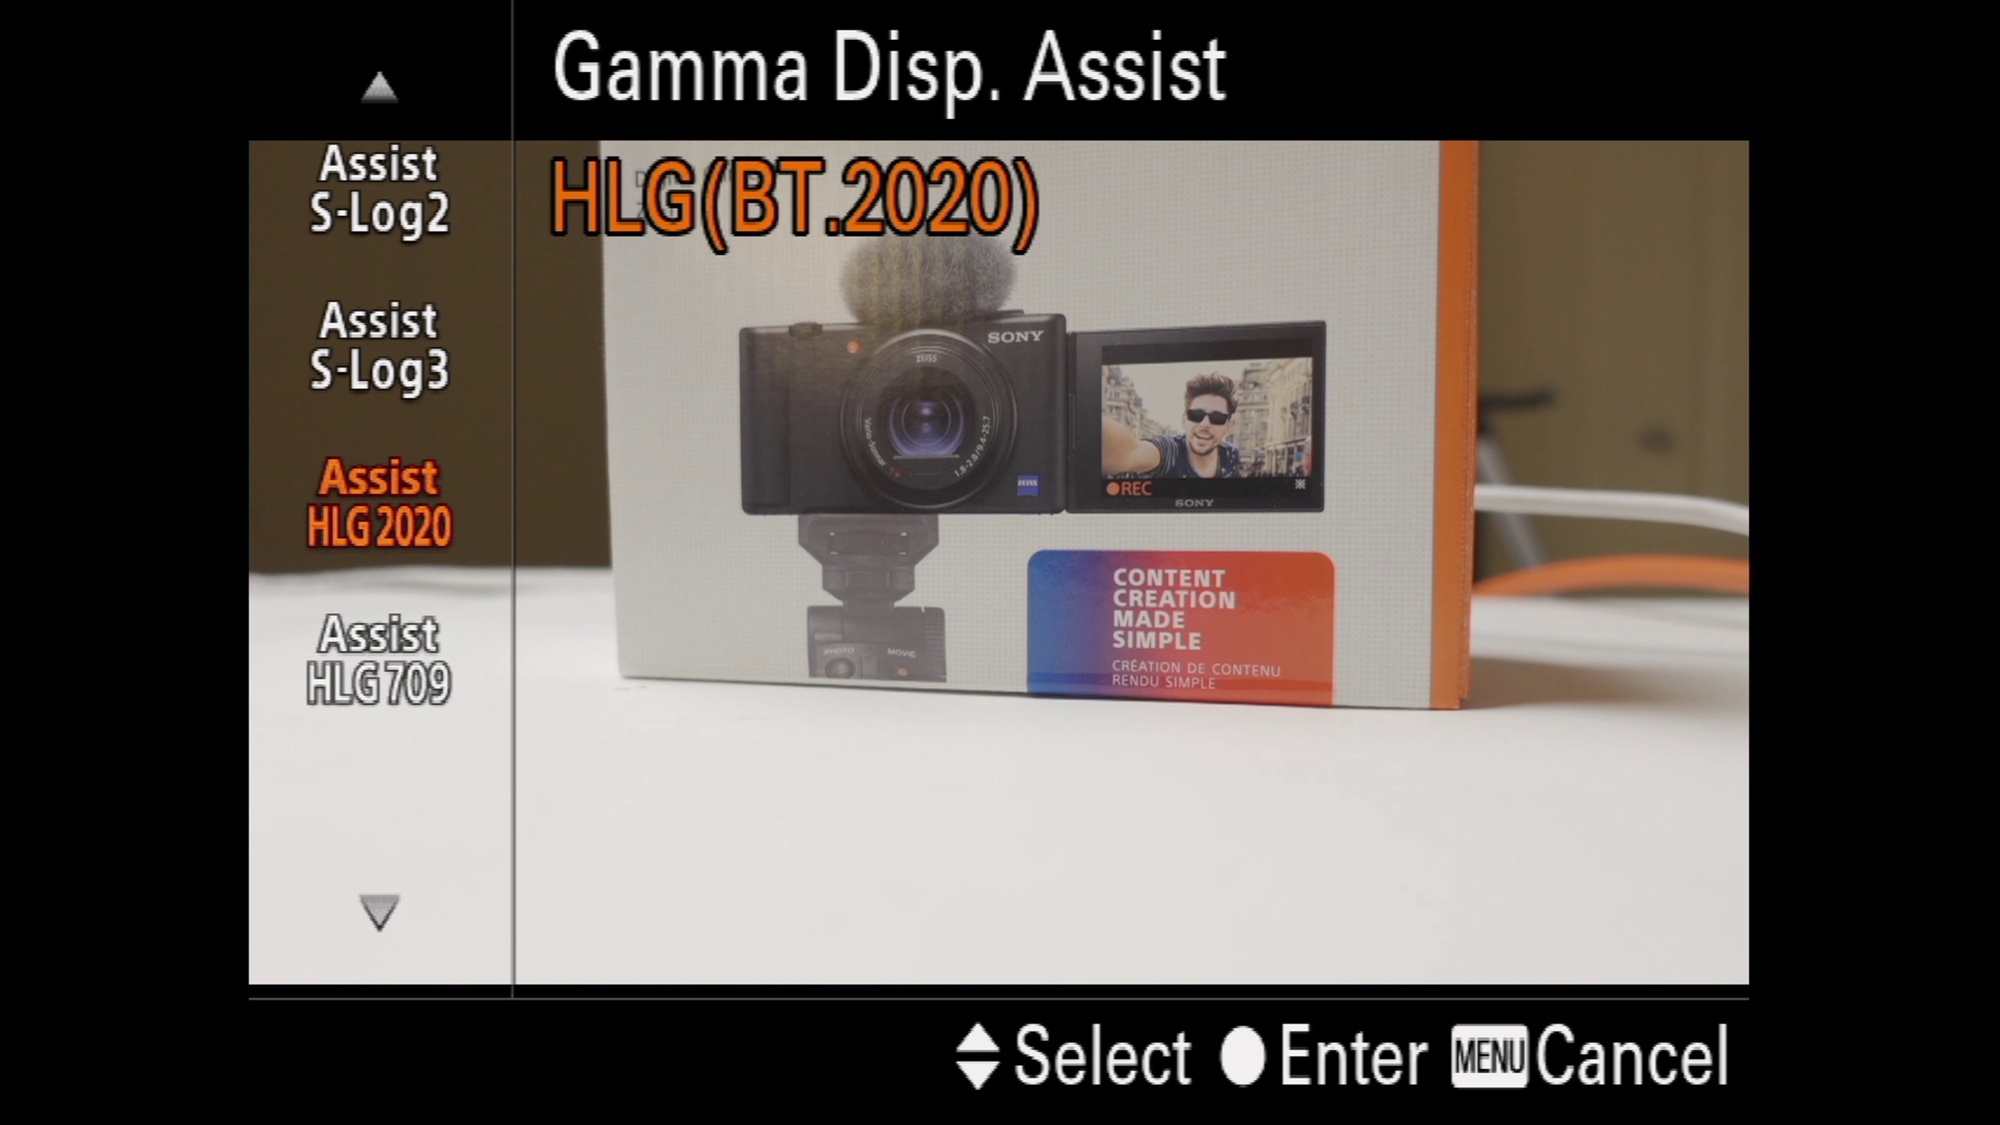
And finally, we can set to preview whatever settings we chose for our picture profile, in my case I'm shooting in HLG, so I will choose to preview the HLG profile.
Audio Levels & Audio Settings
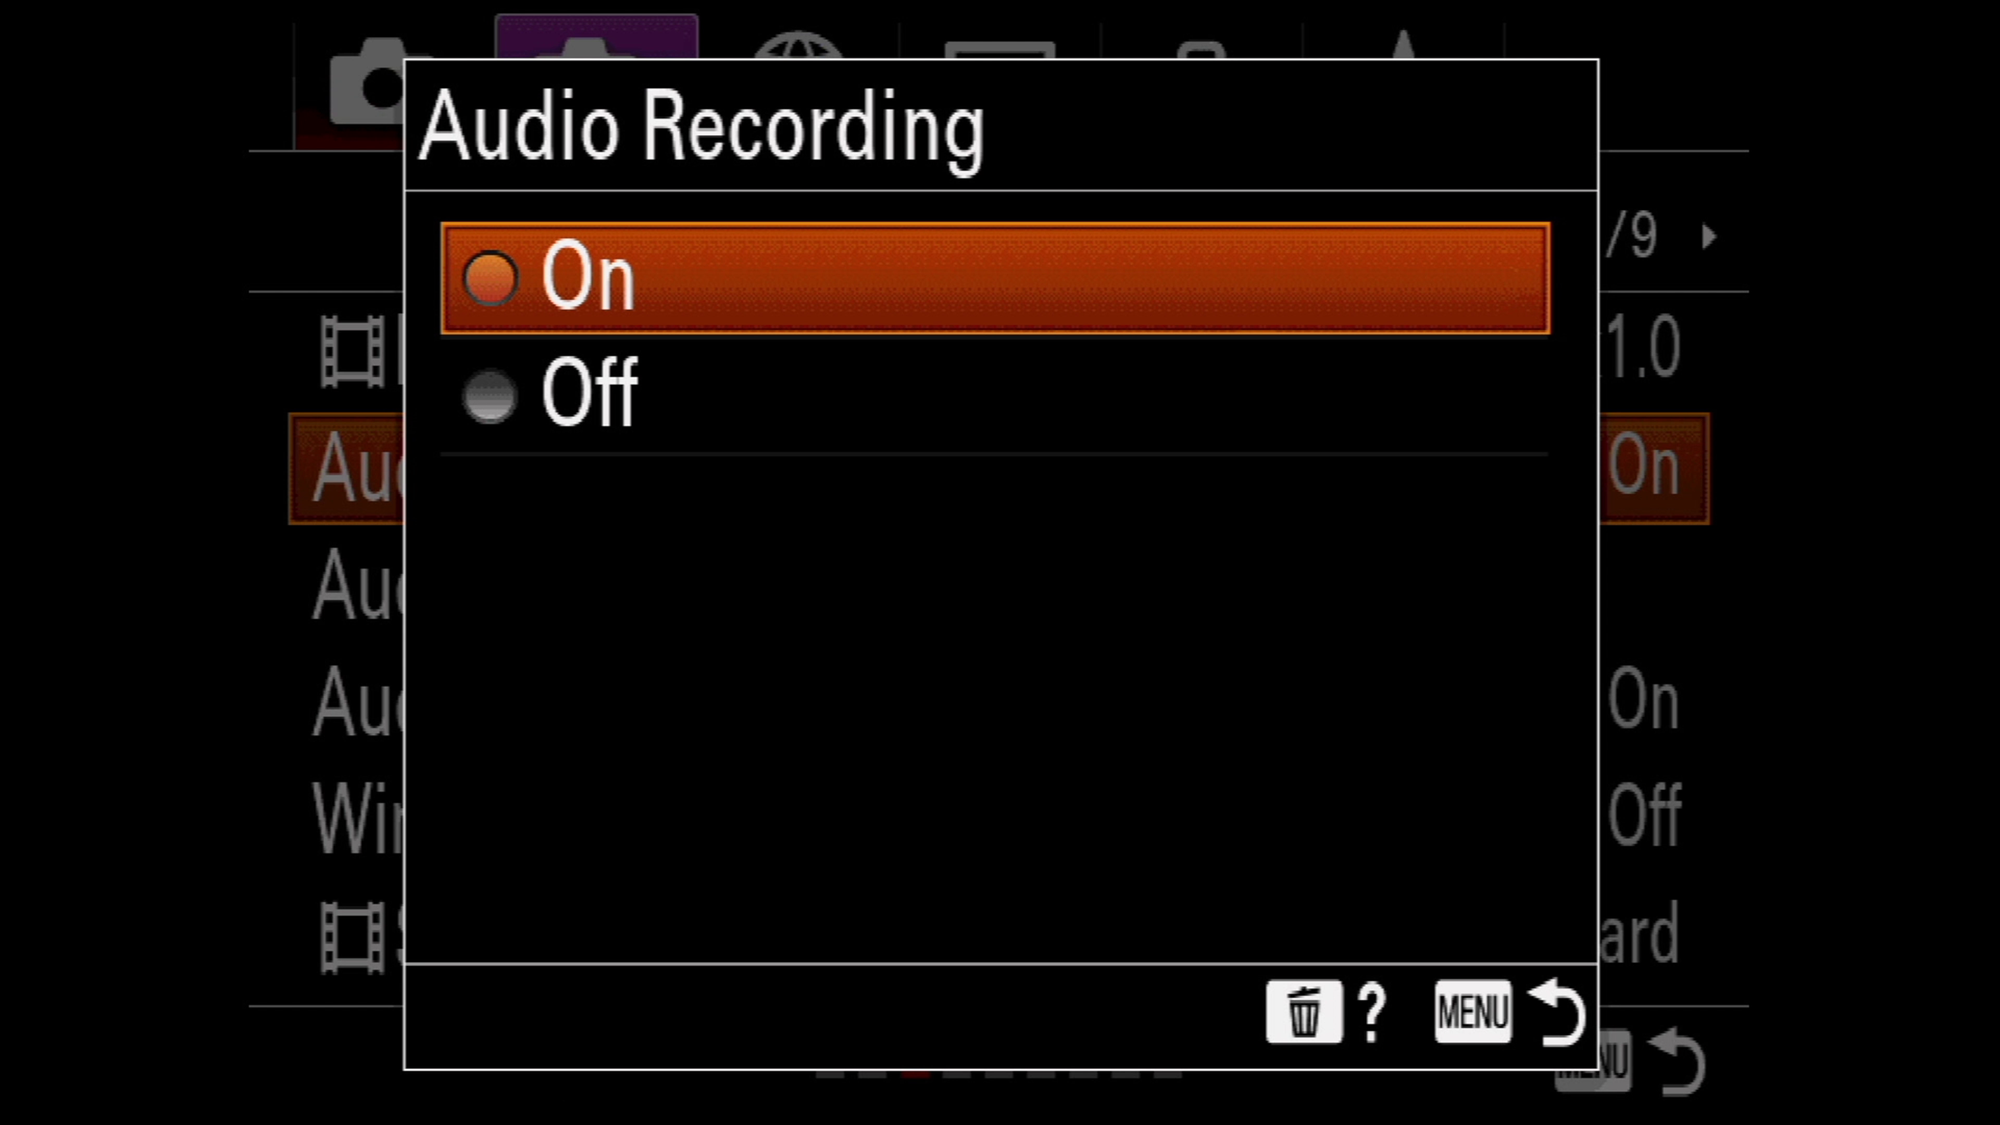
Last but not least, time to set up your audio levels, head to the Movie tab, page #3 and make sure the Audio recording is enabled.
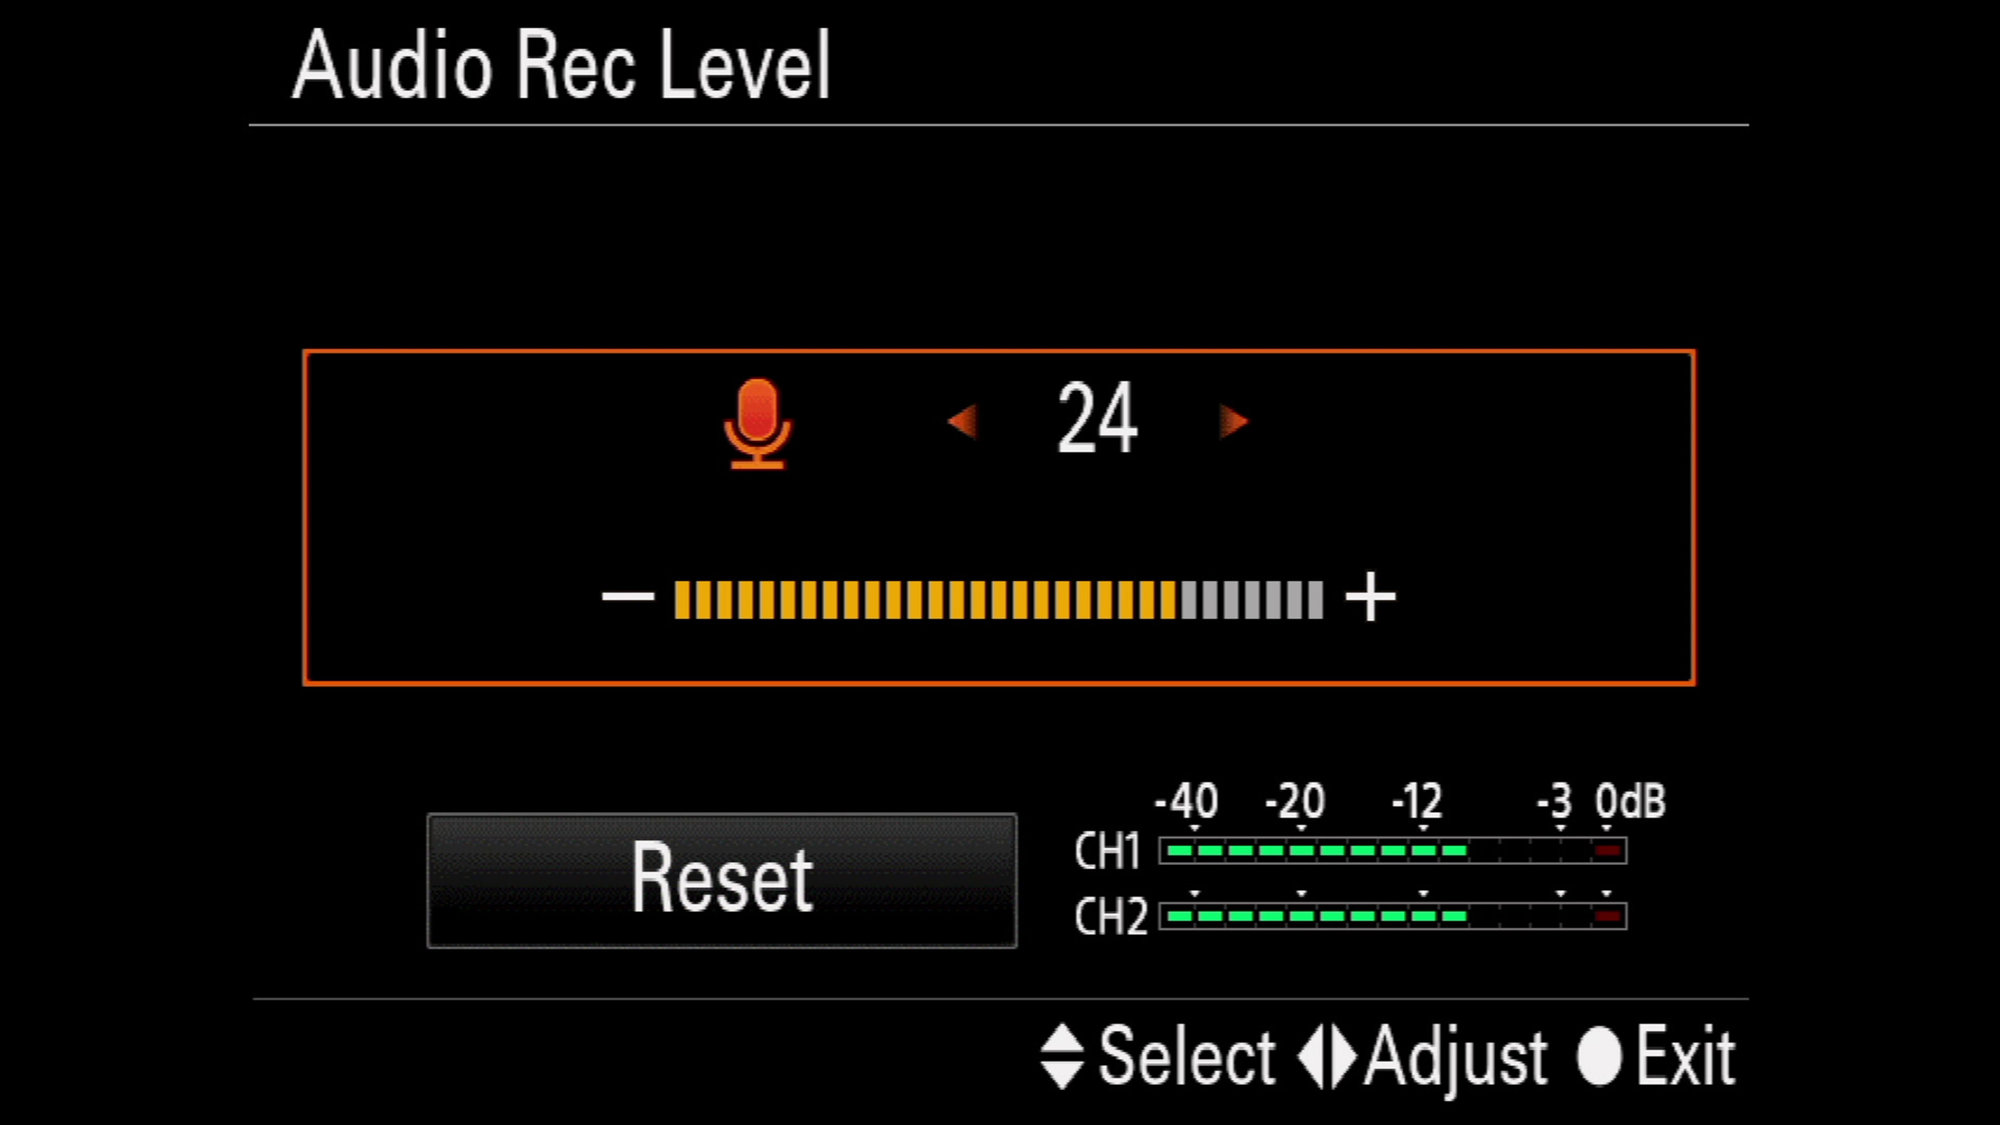
Then move down to adjust your audio levels. Some microphones will have their own audio levels, so you want to adjust that first.
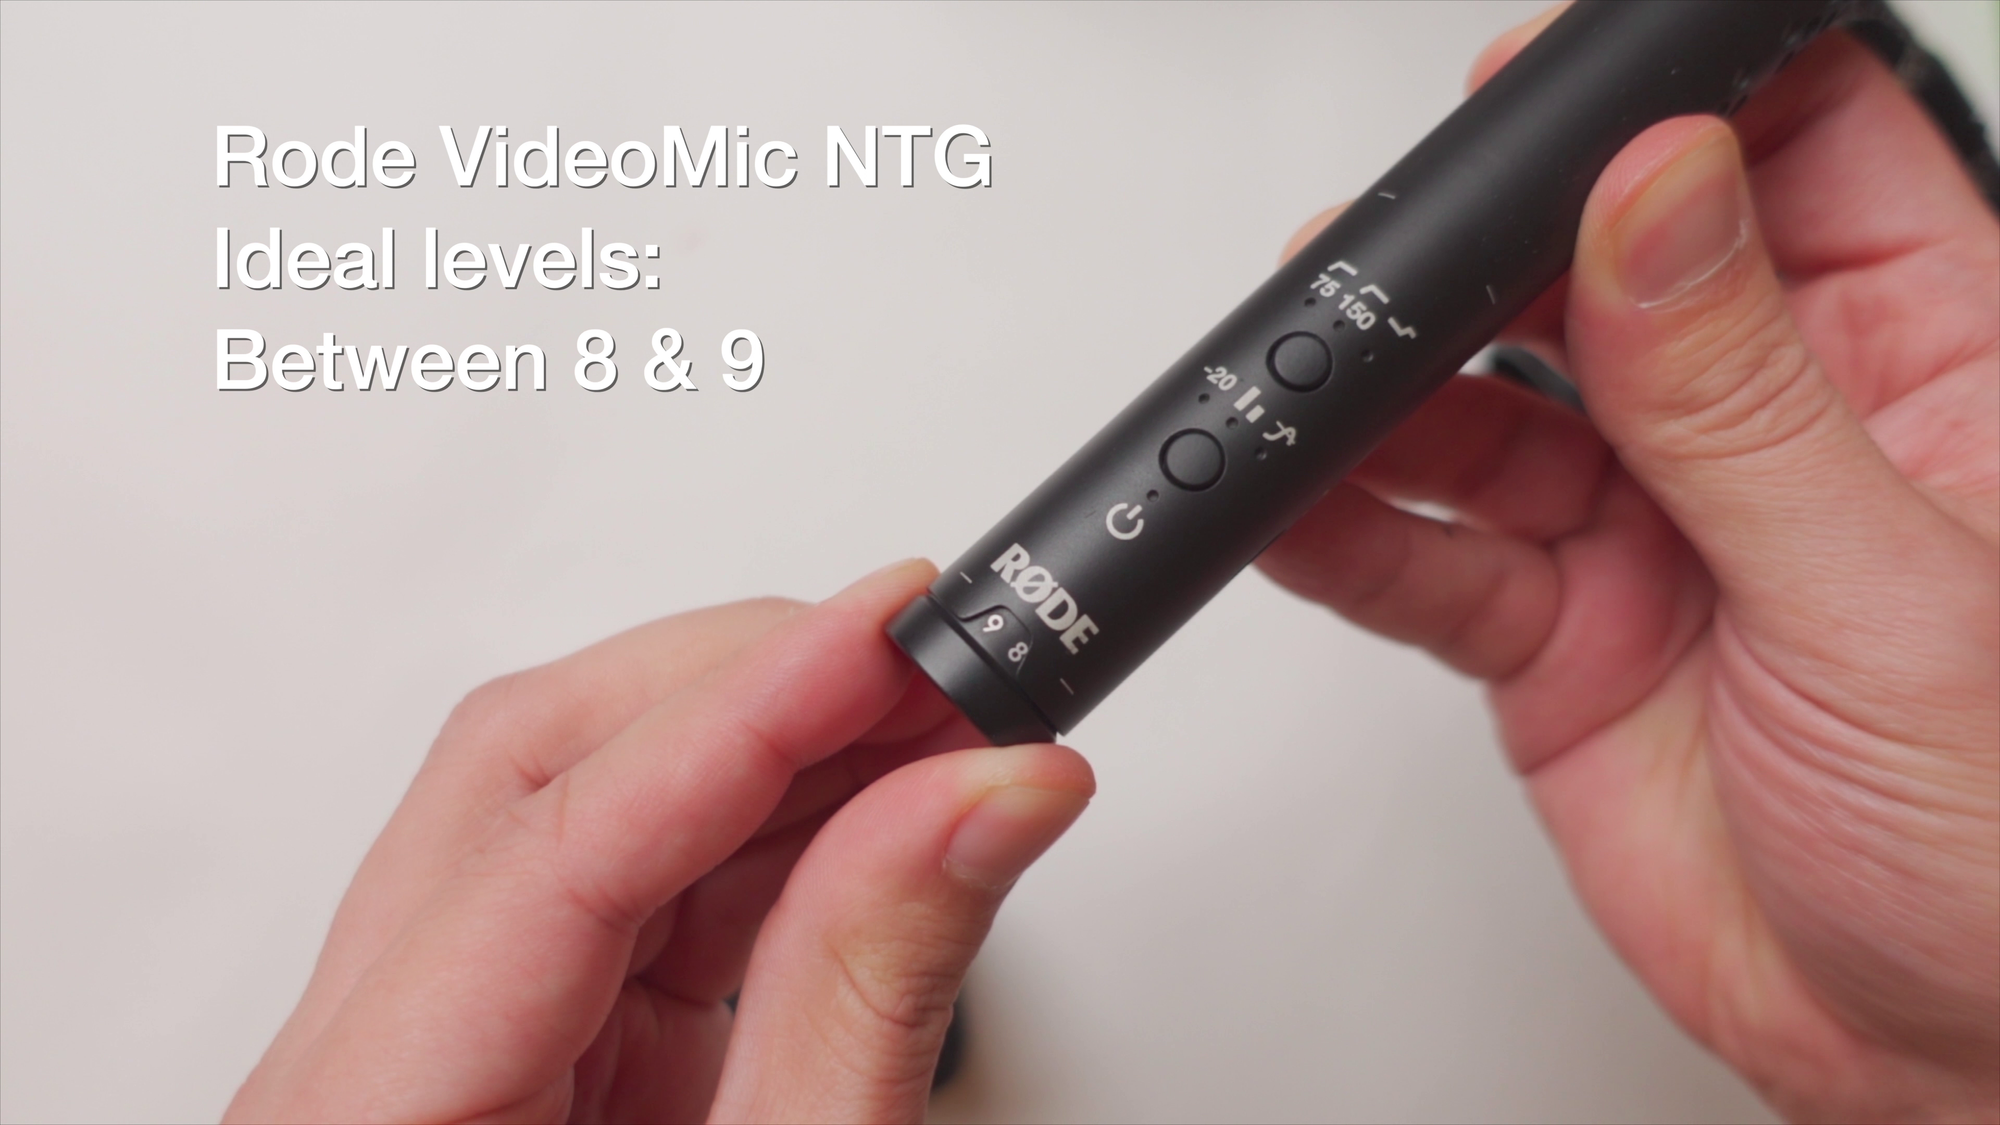
But we also need to adjust the camera gain and internal levels as well. Make sure the green level peaks between -12 and -6 decibels.
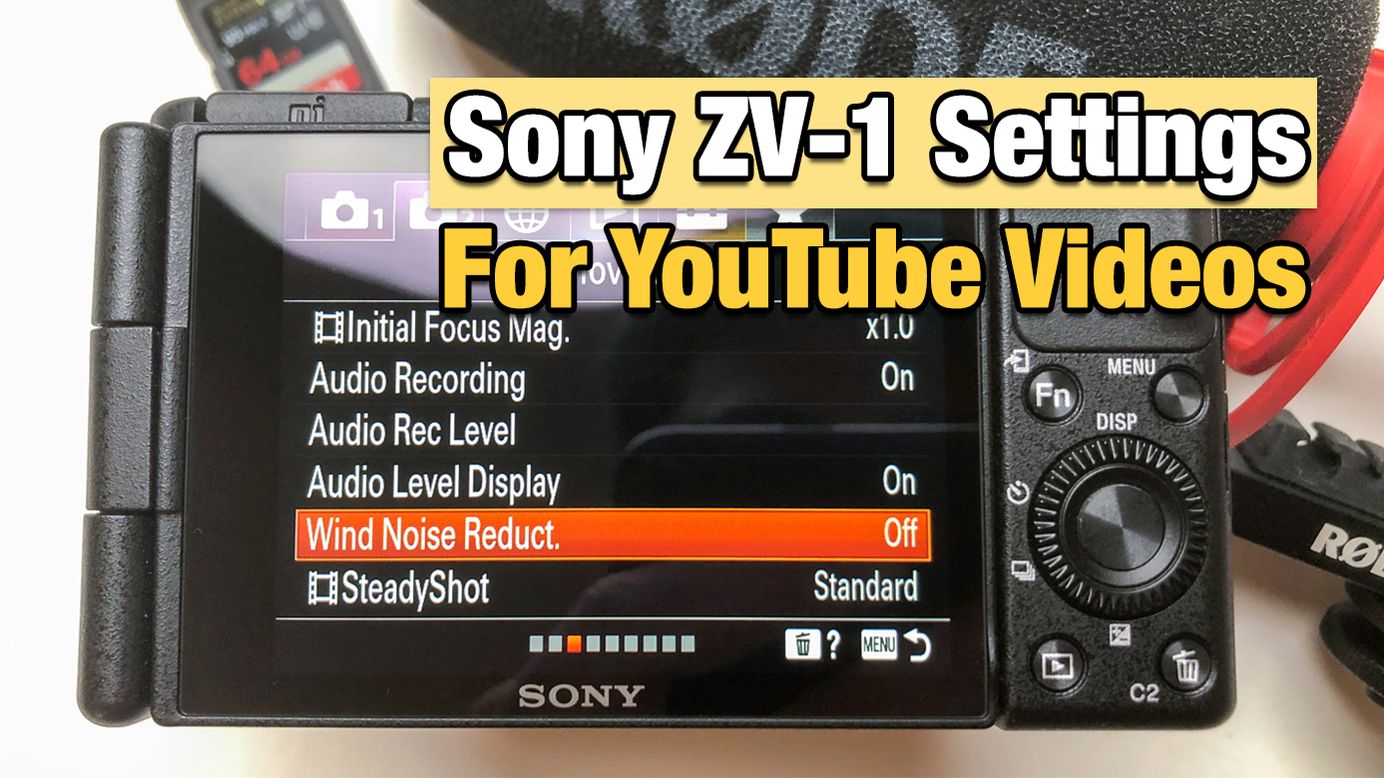
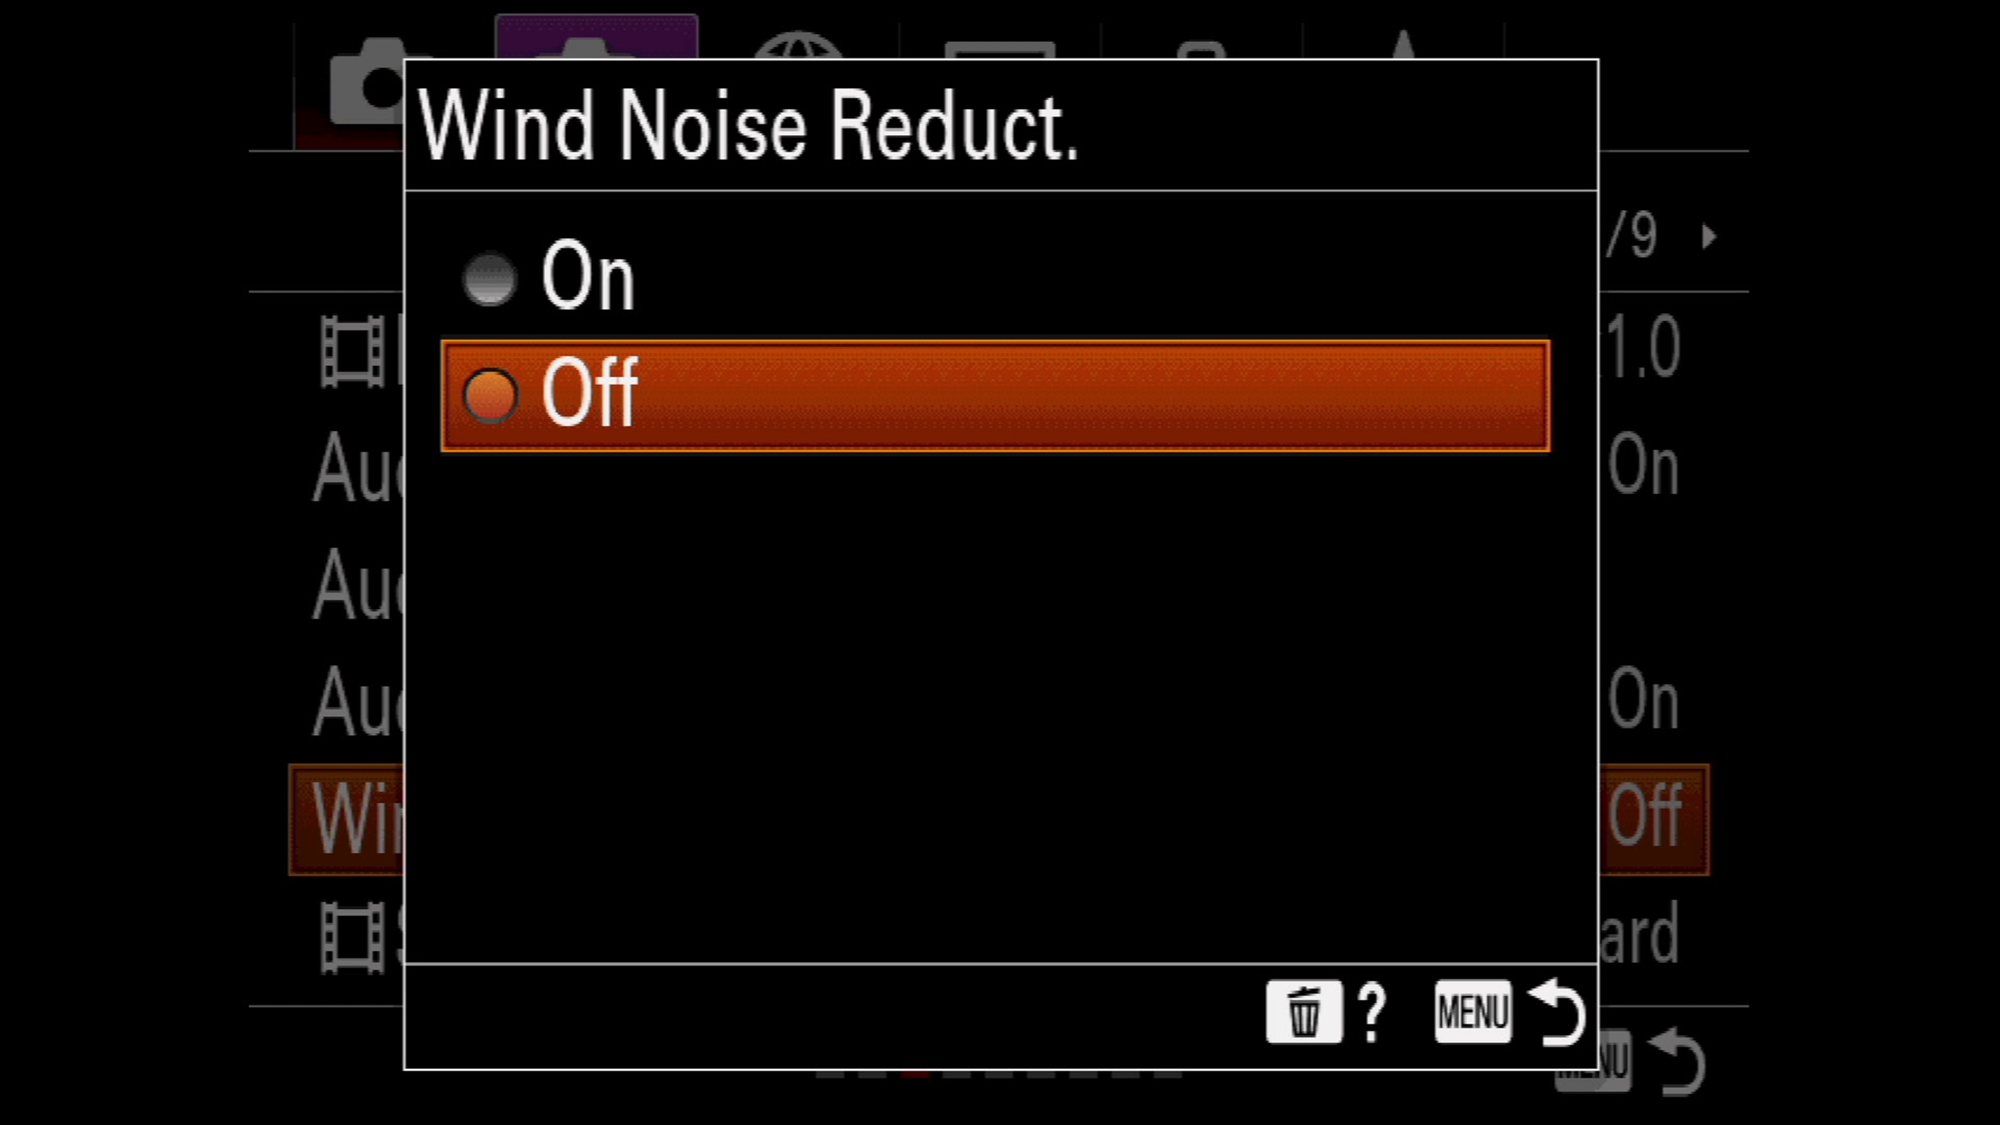
Enable the audio display, that way you can see the levels in real-time and know if your audio is peaking or not. And make sure wind noise reduction is set to off.
So that is how I set up my Sony ZV-1 for scenarios like this one, talking head, YouTube videos, and controlled environments as well.
For the full piece, watch the full YouTube video, right here:


