Sony ZV-1 As A Webcam, Streaming & Live Conferencing
Use your YouTube camera as a webcam.
Table of Contents
This camera can be a high-quality webcam, you can use it with your favourite streaming applications like OBS, Zoom, Face time and streaming in general. If you’re wondering how to set it up and what are steps required to do that, then this post is for you.
Before we start, I have made a couple of videos about this camera:
- A general video overview, talking about the features, specs and how I use it as my main YouTube camera.
- An in-depth guide on how to set it up and how to update the firmware to the latest version, which is needed to use it as a webcam, So check those videos out first.
The process of researching and learning more about streaming led me down the rabbit hole of settings and menus, so I’m simplifying everything I’ve learned and making a short post about everything you need to know regarding the Sony ZV-1, Let’s get started.
Software Needed & Settings
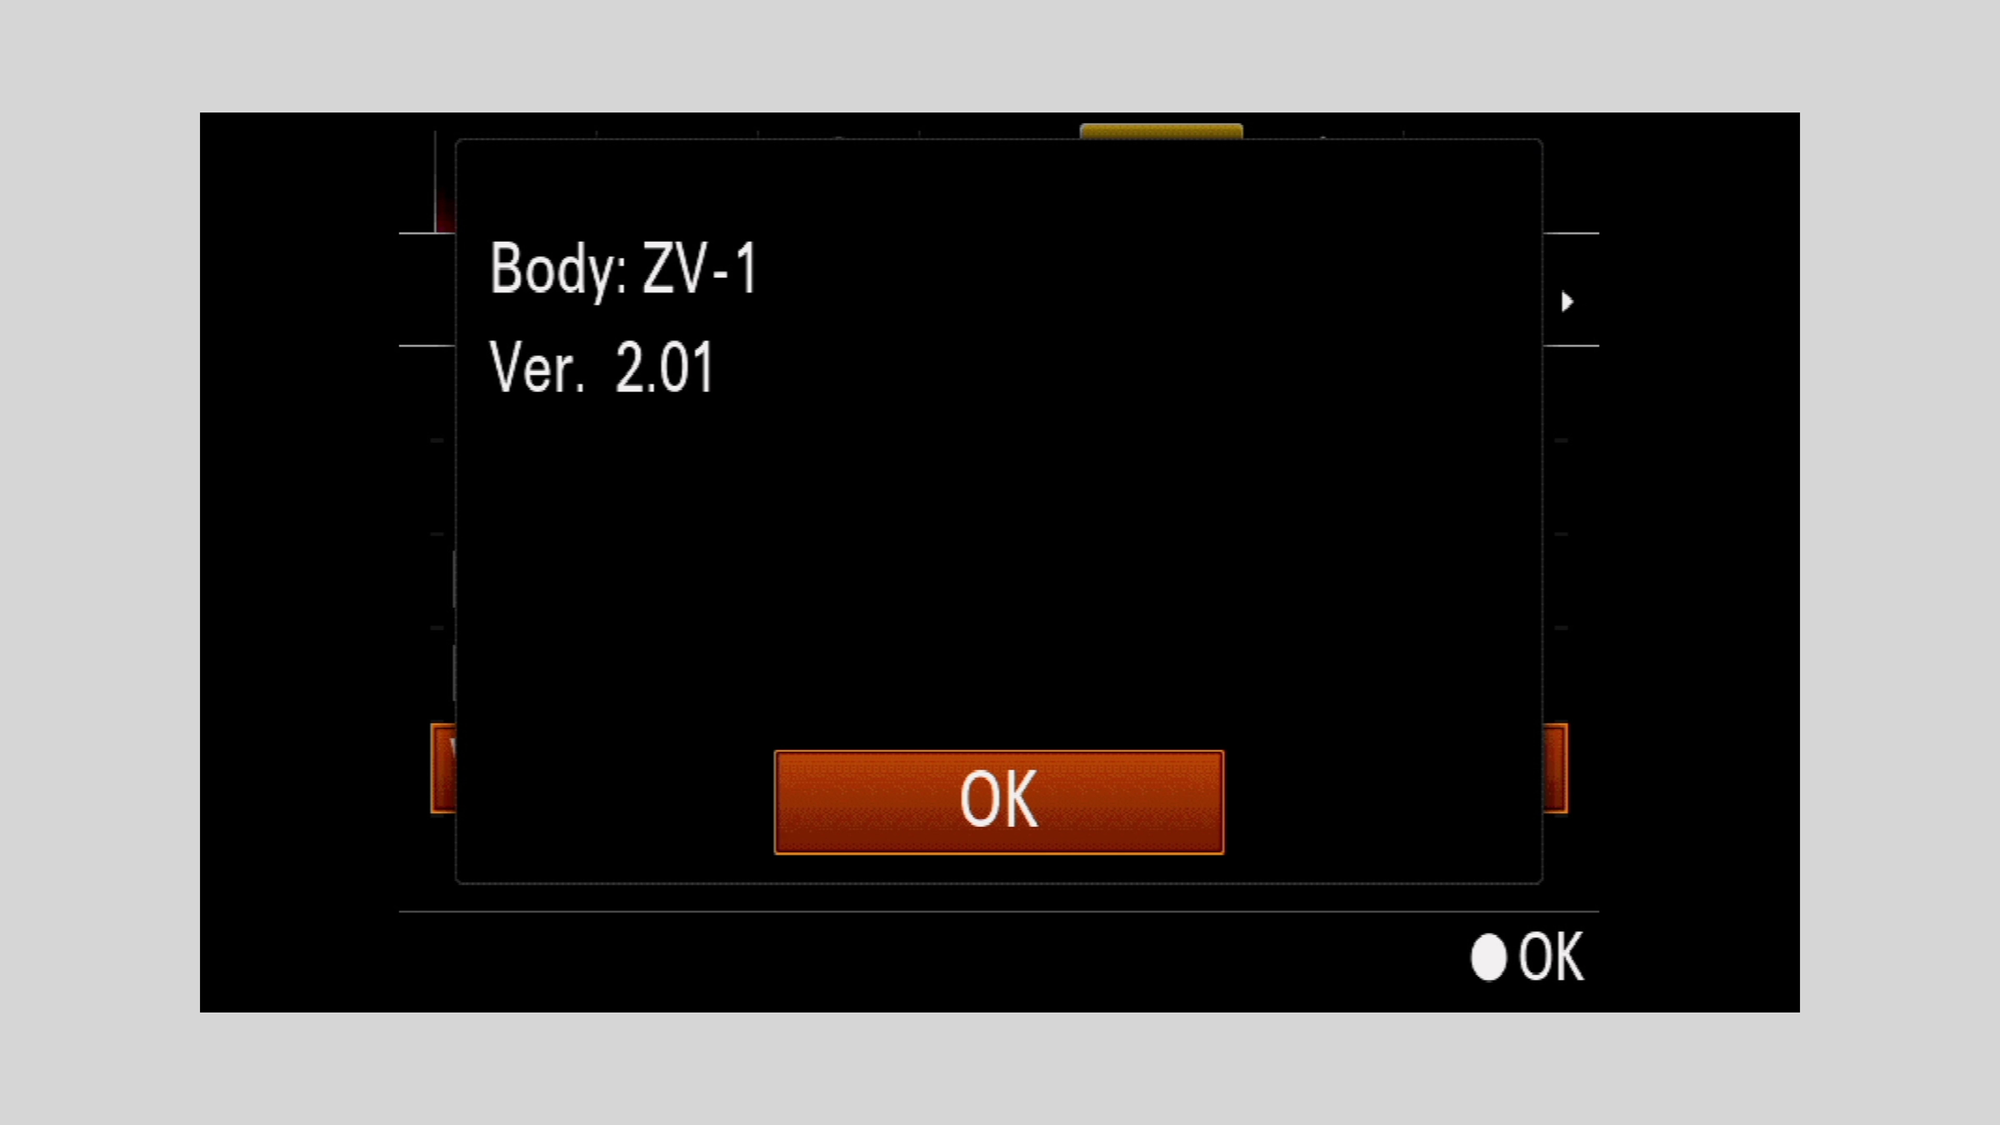
This whole process requires firmware version 2.01. Before we jump into the camera settings, we have to make sure that we have the latest firmware and imaging edge software installed.
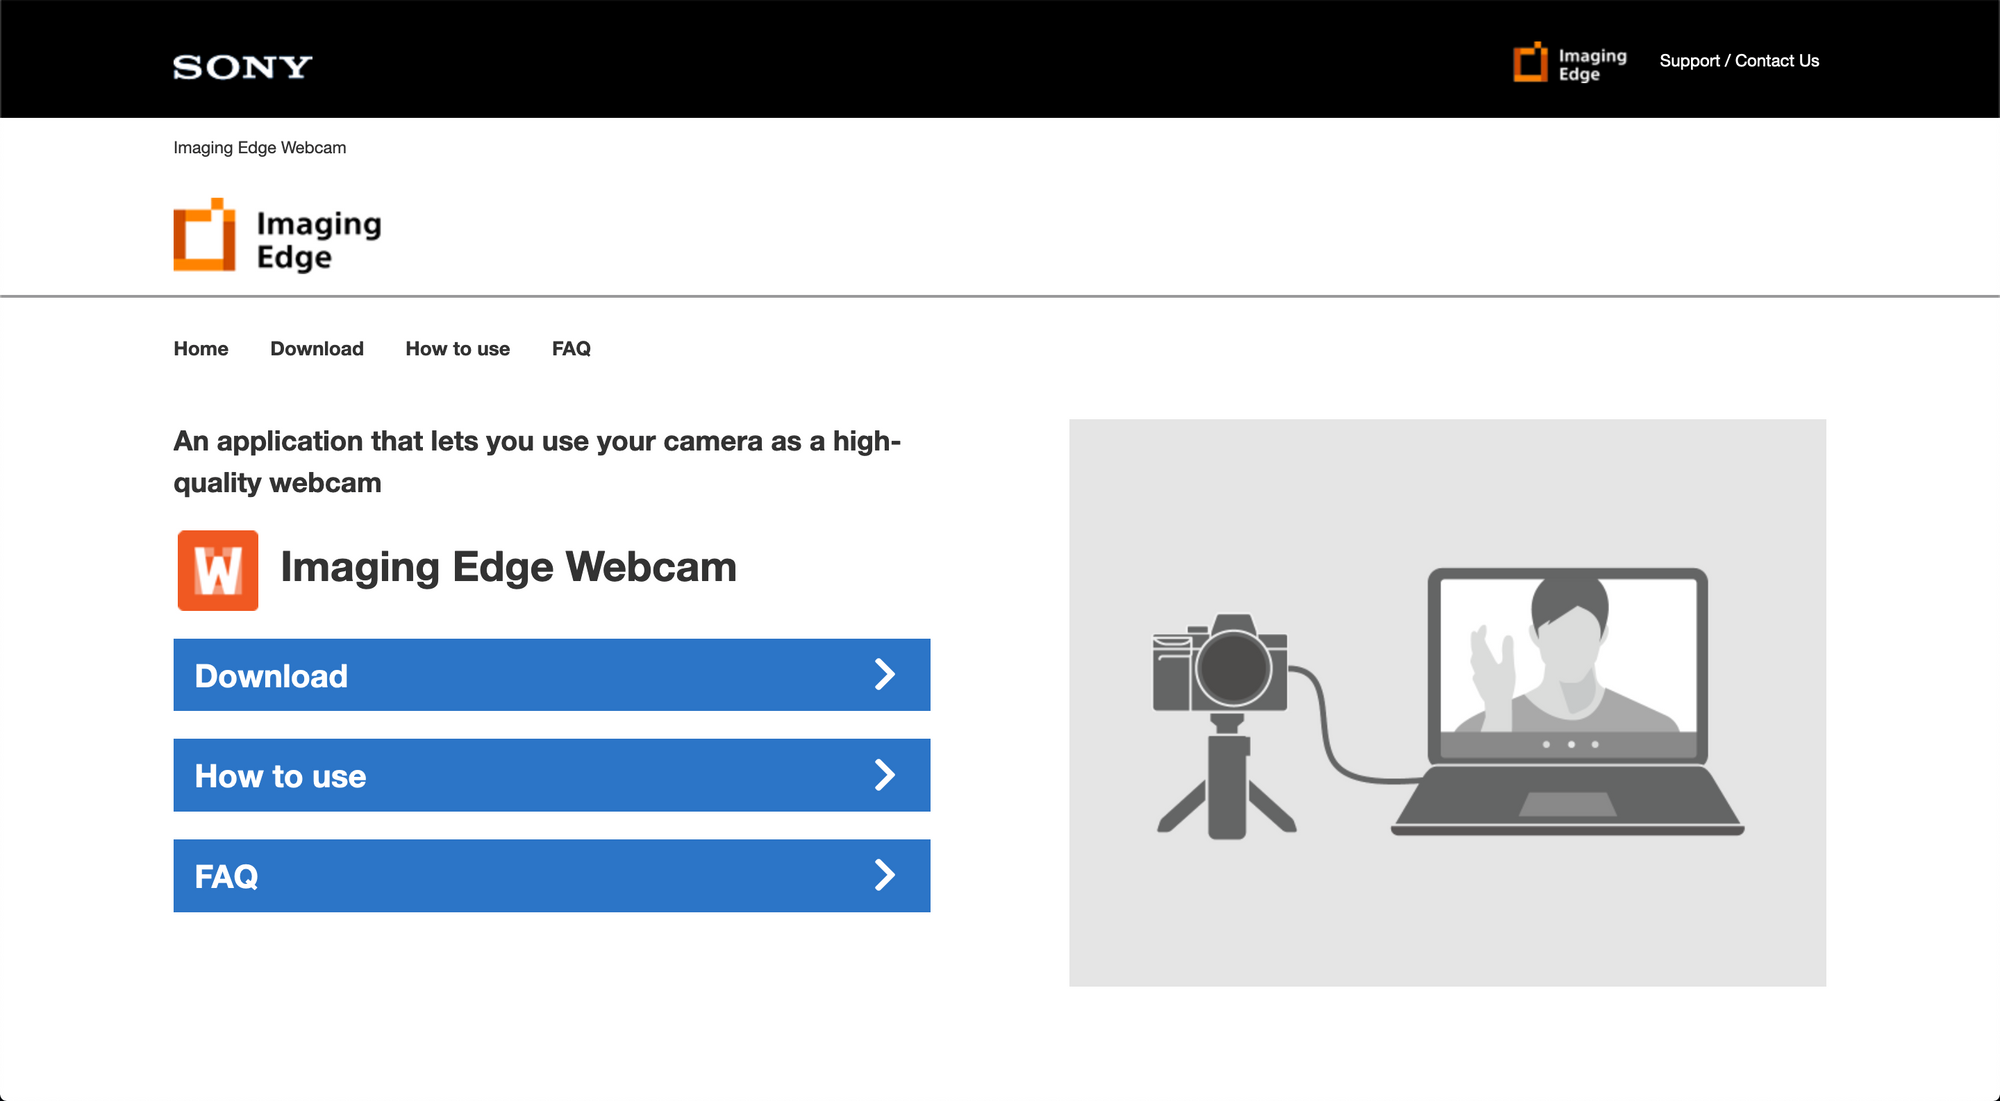
This is the Imaging Edge Webcam software needed for the streaming process, once you've updated your camera to version 2.01, then download and install the Imaging Edge webcam software, link down below:

In-Camera Settings
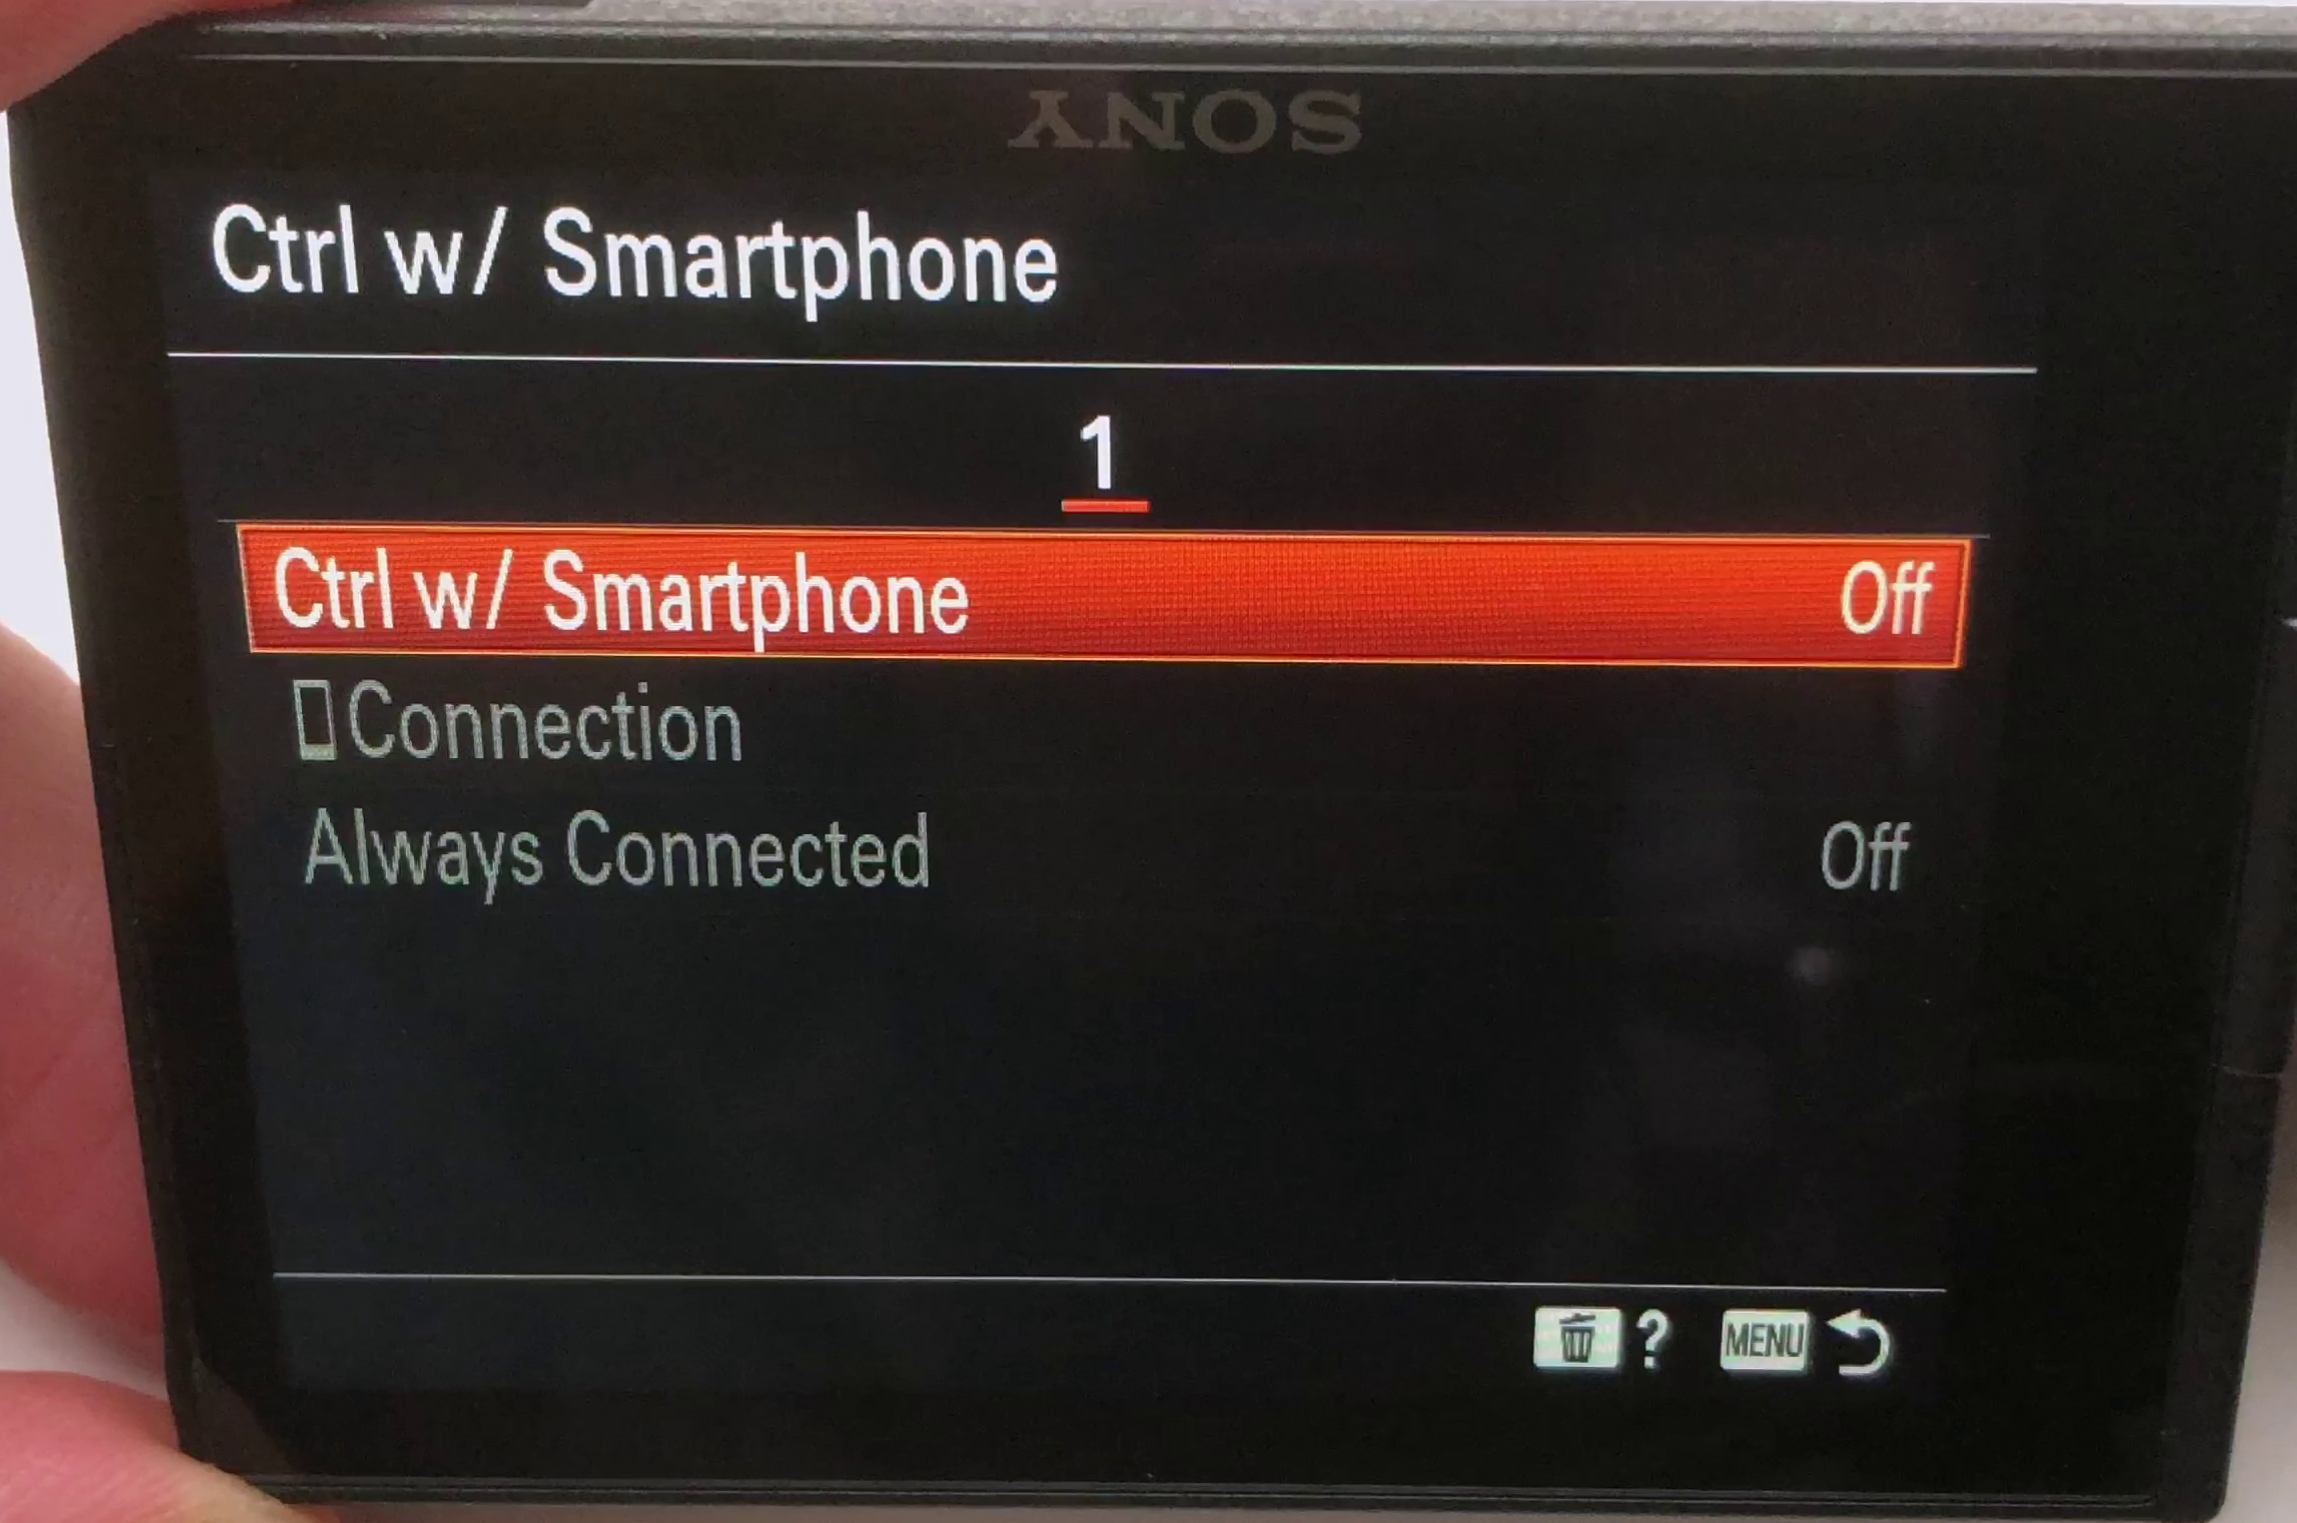
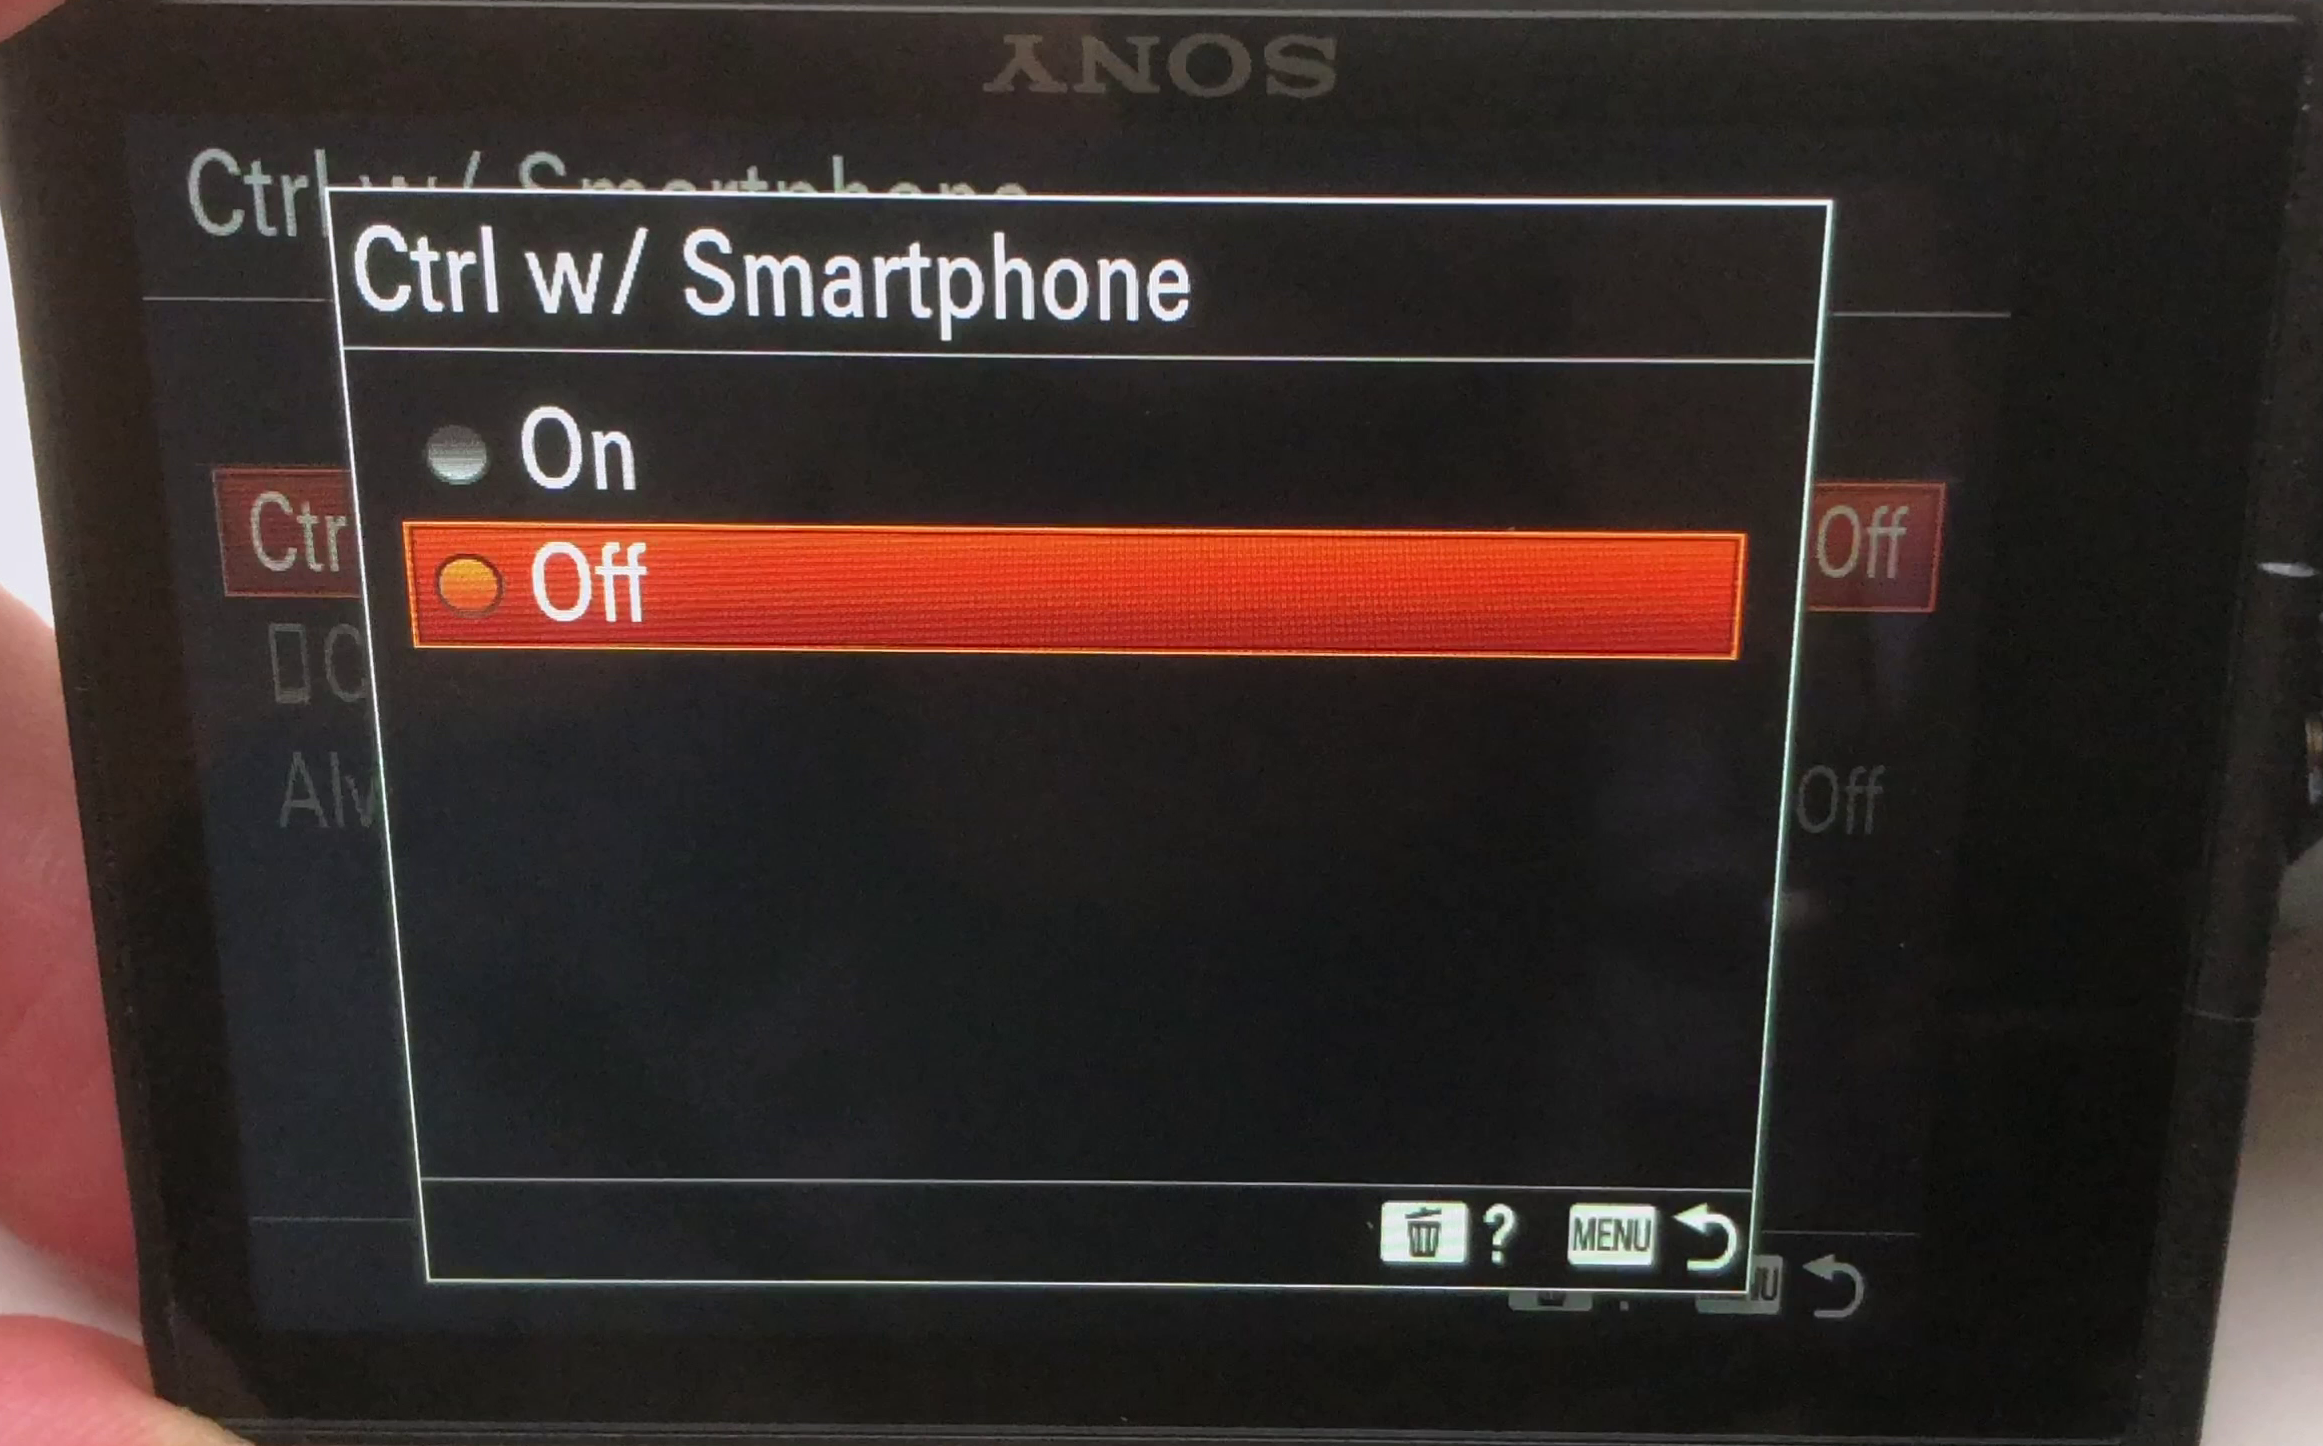
The first thing we need to do is head to the Network tab, page number 1, scroll down to the Control With Smartphone setting, and make sure it's set to off or disabled.
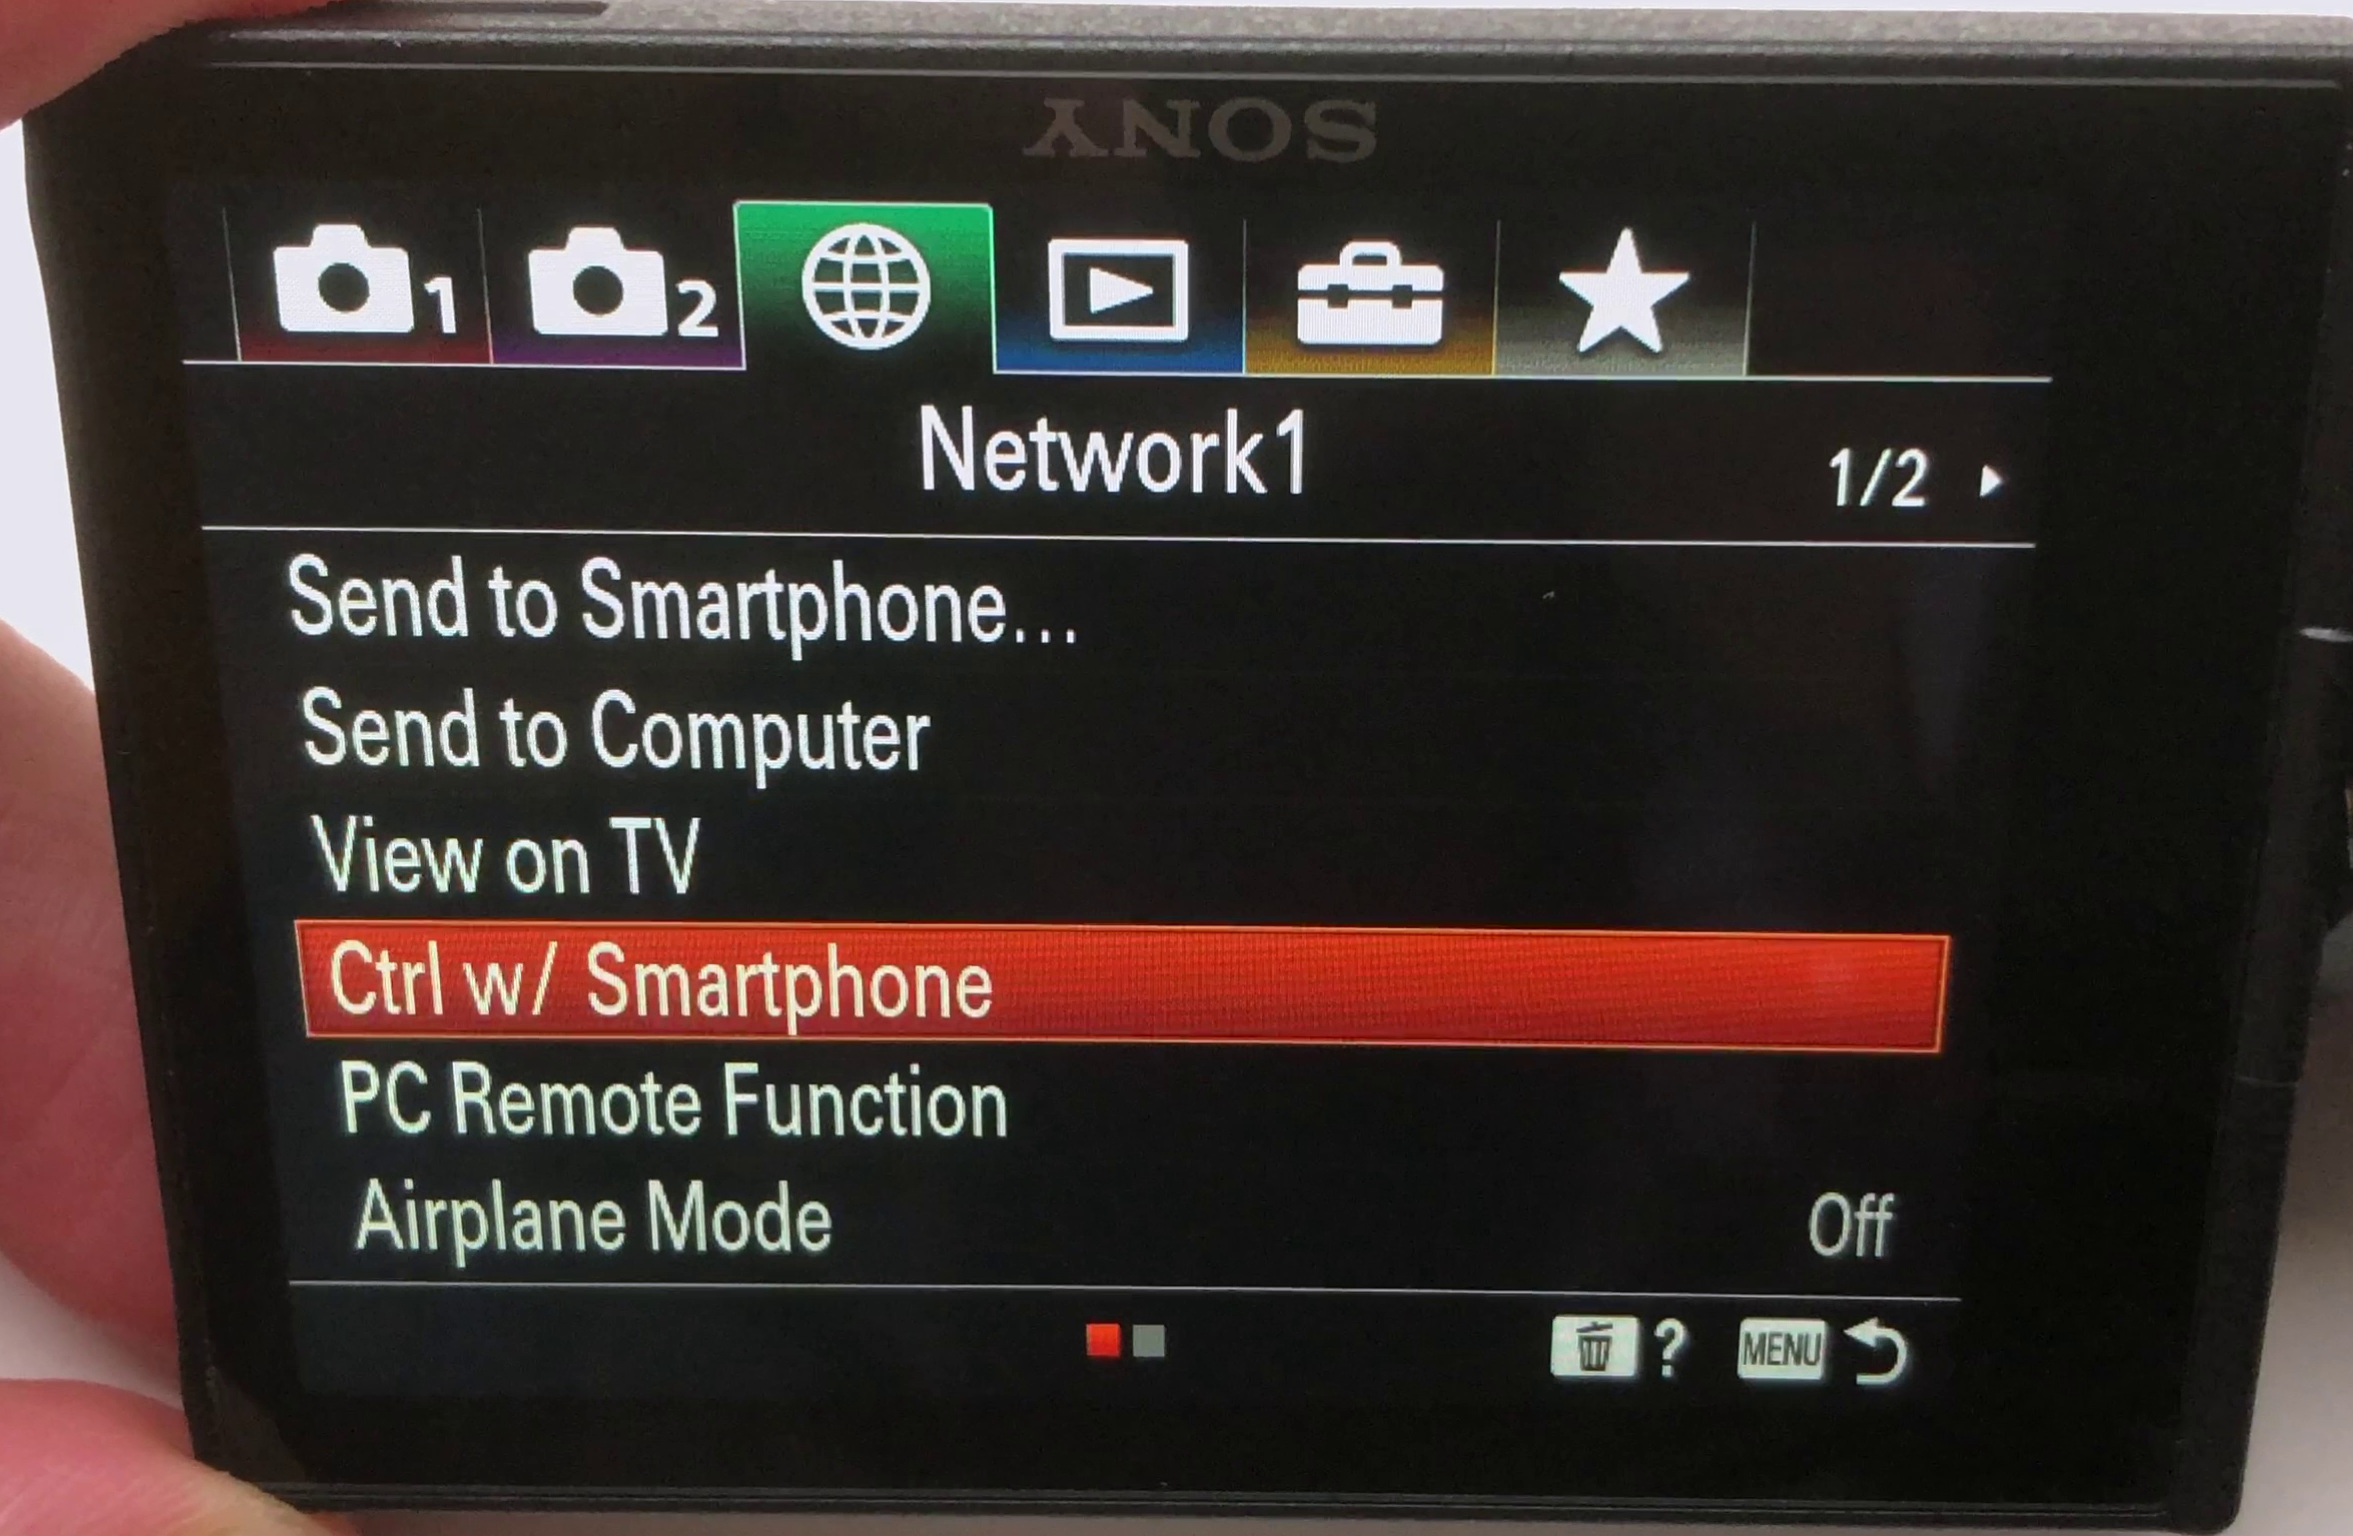
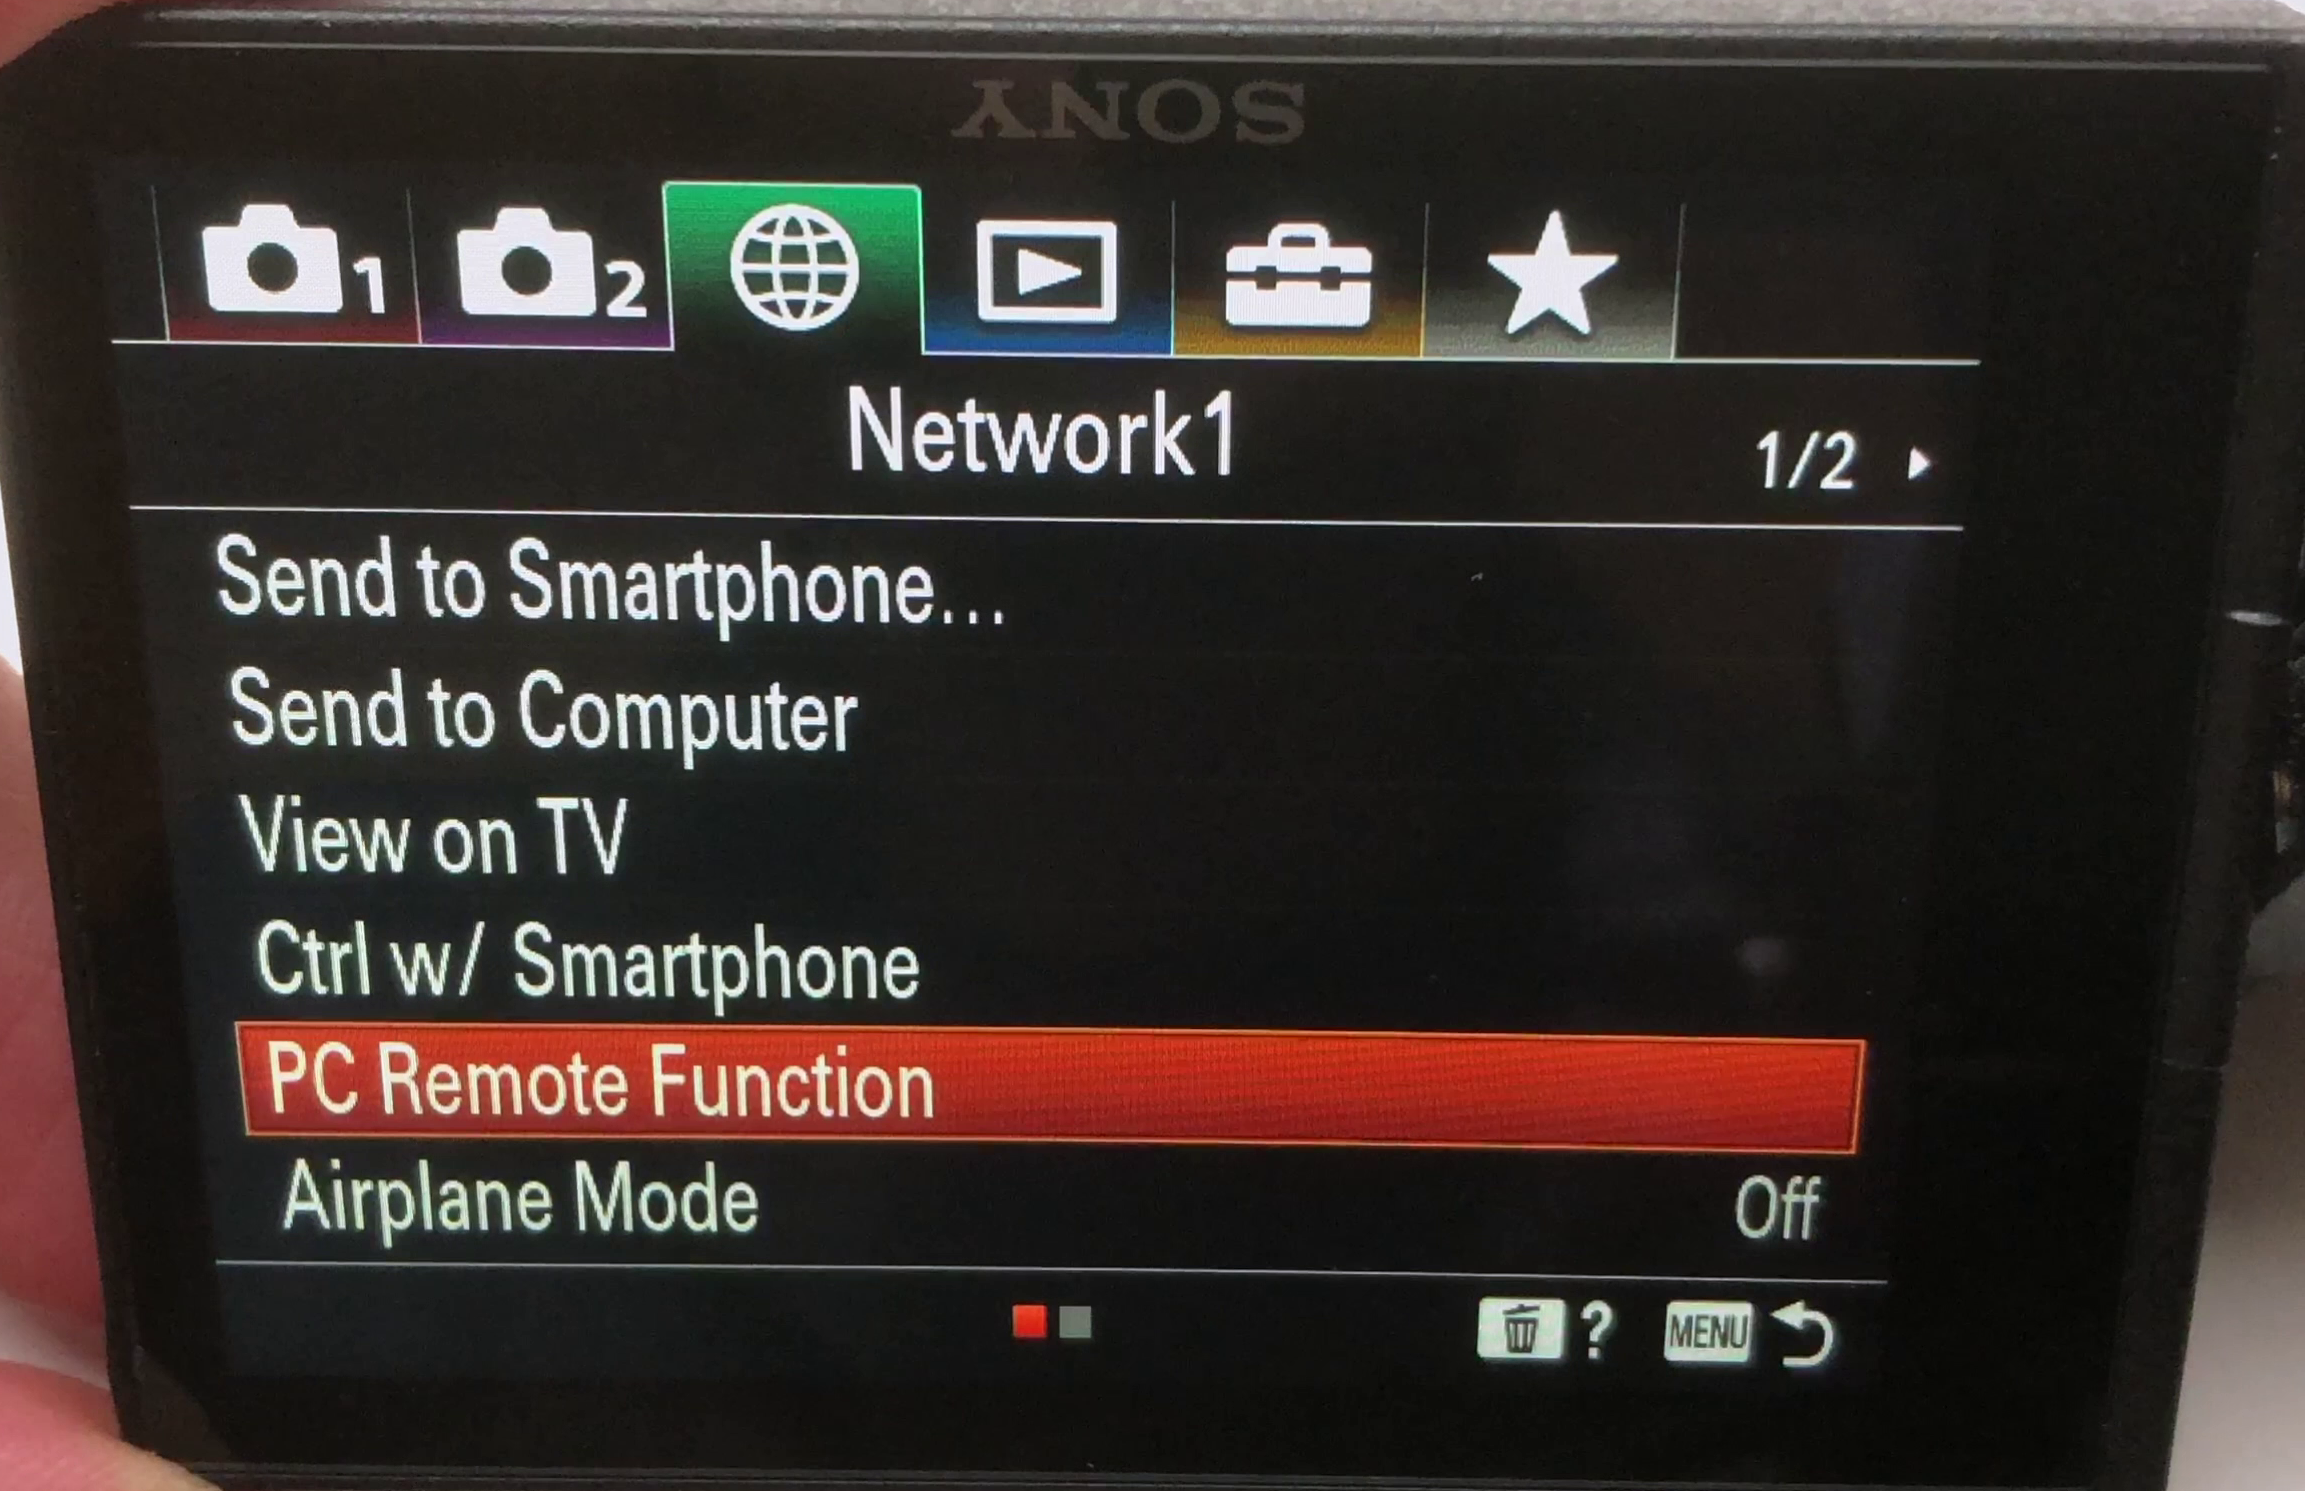
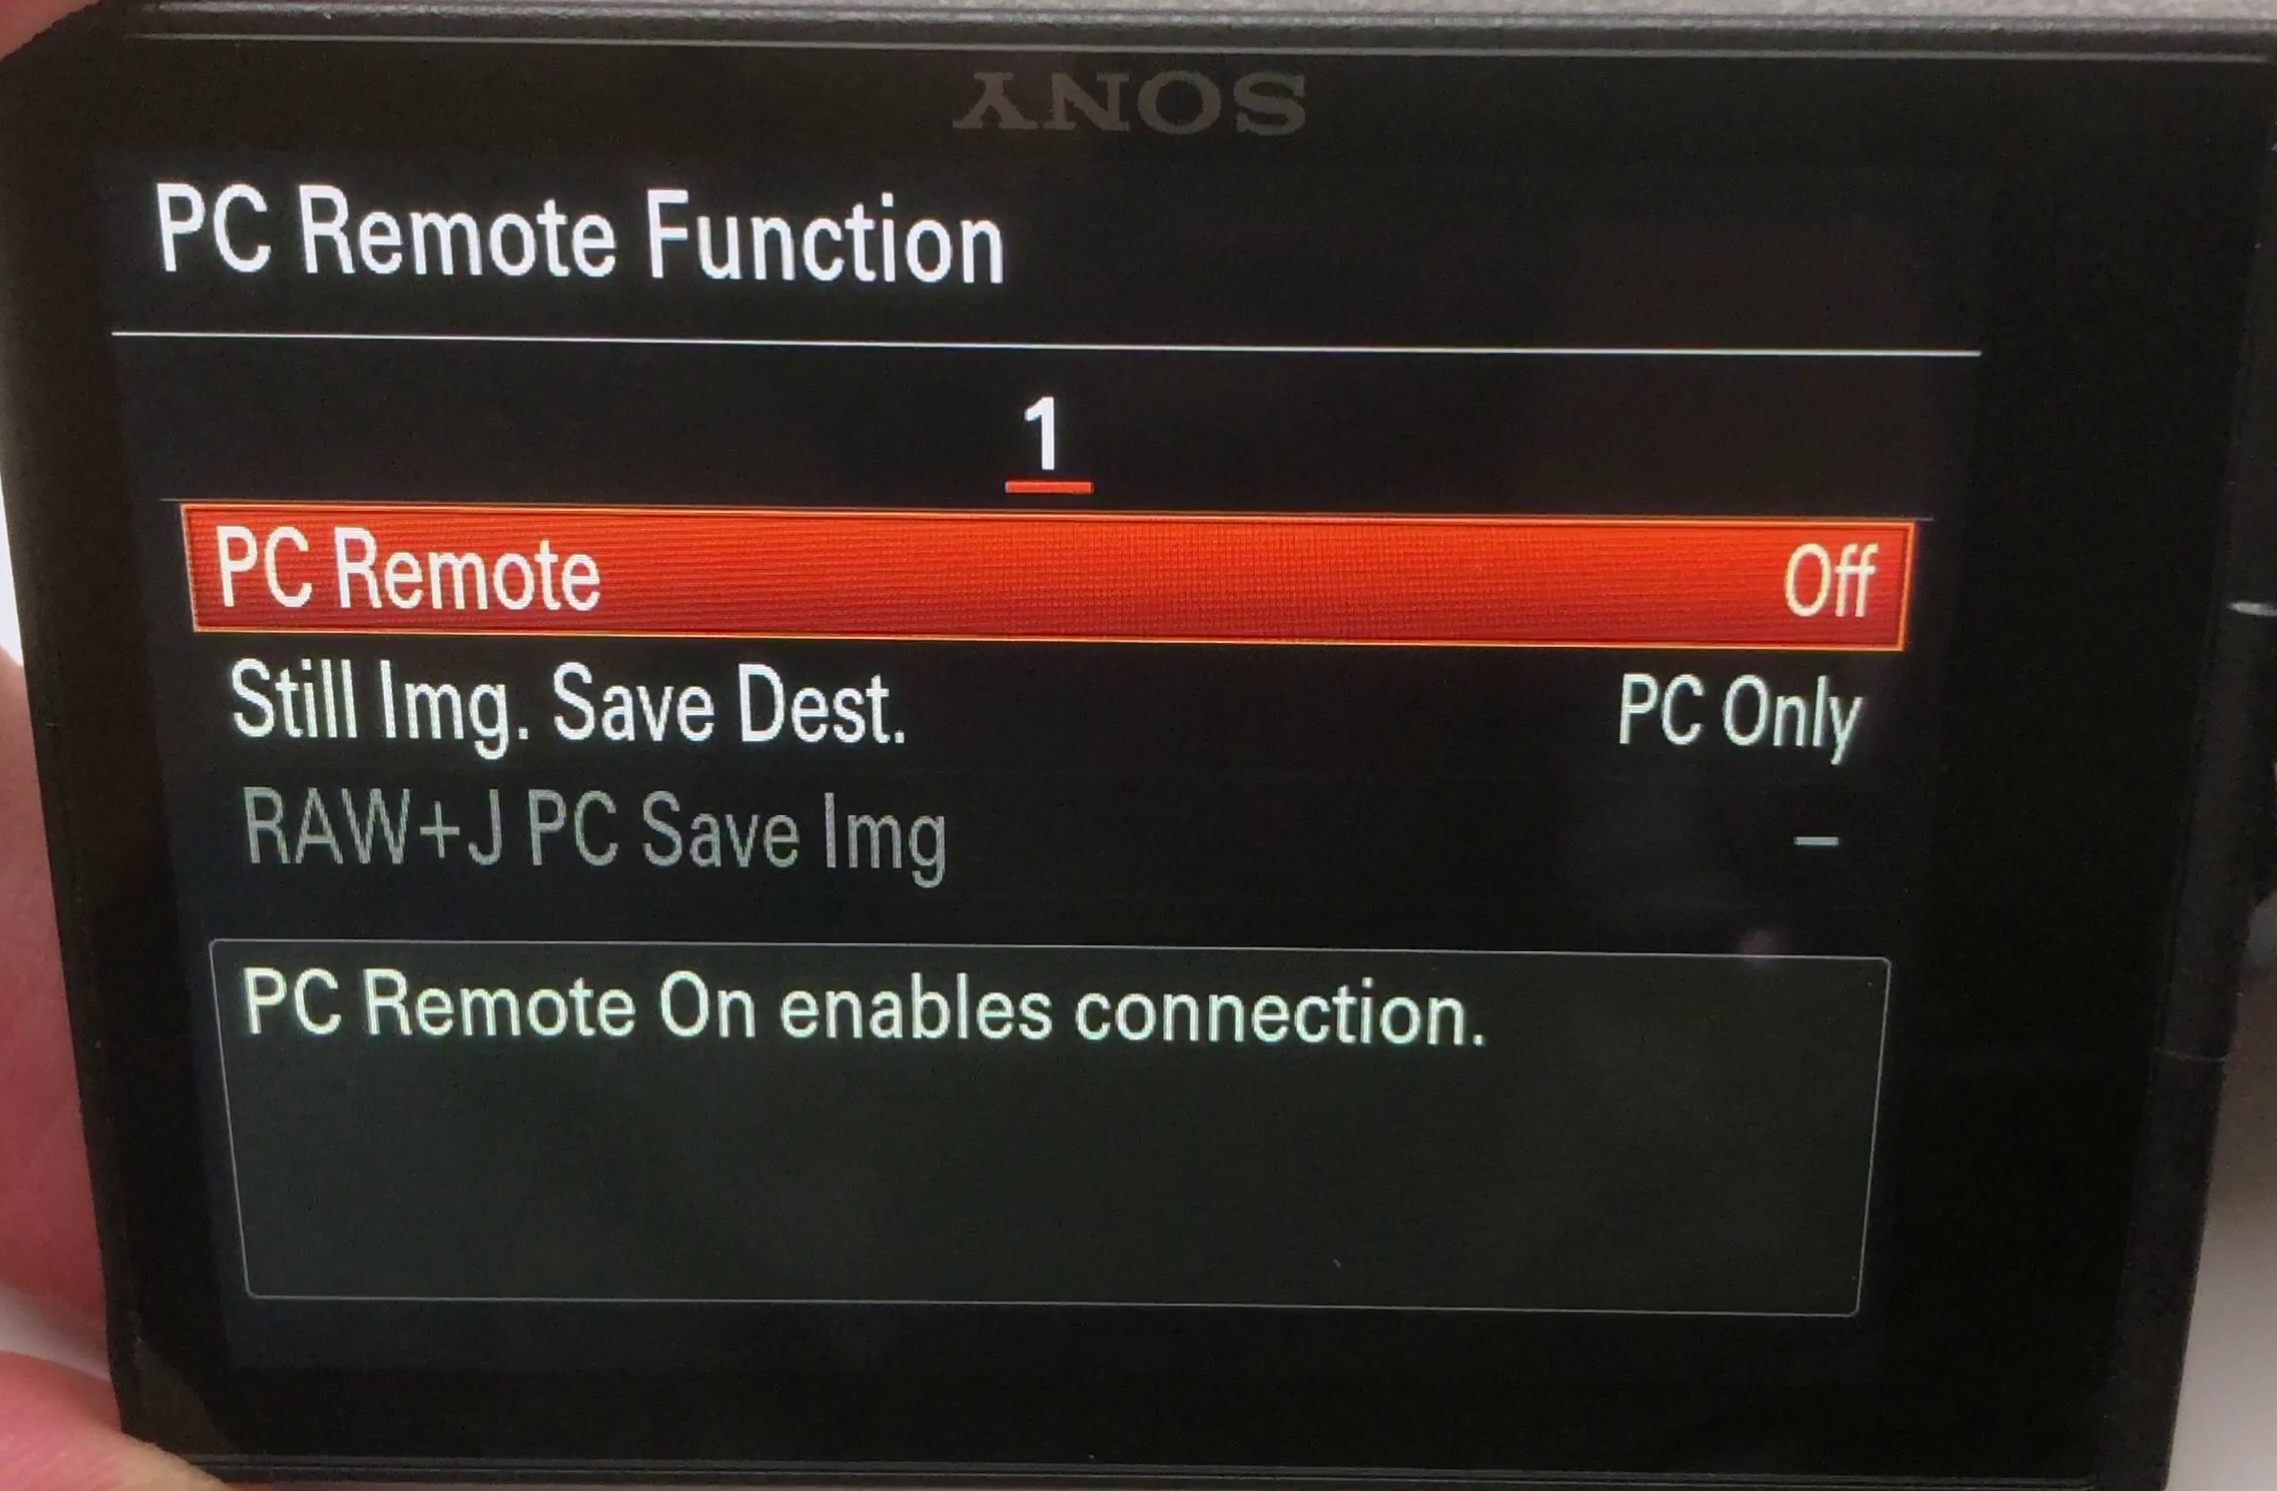
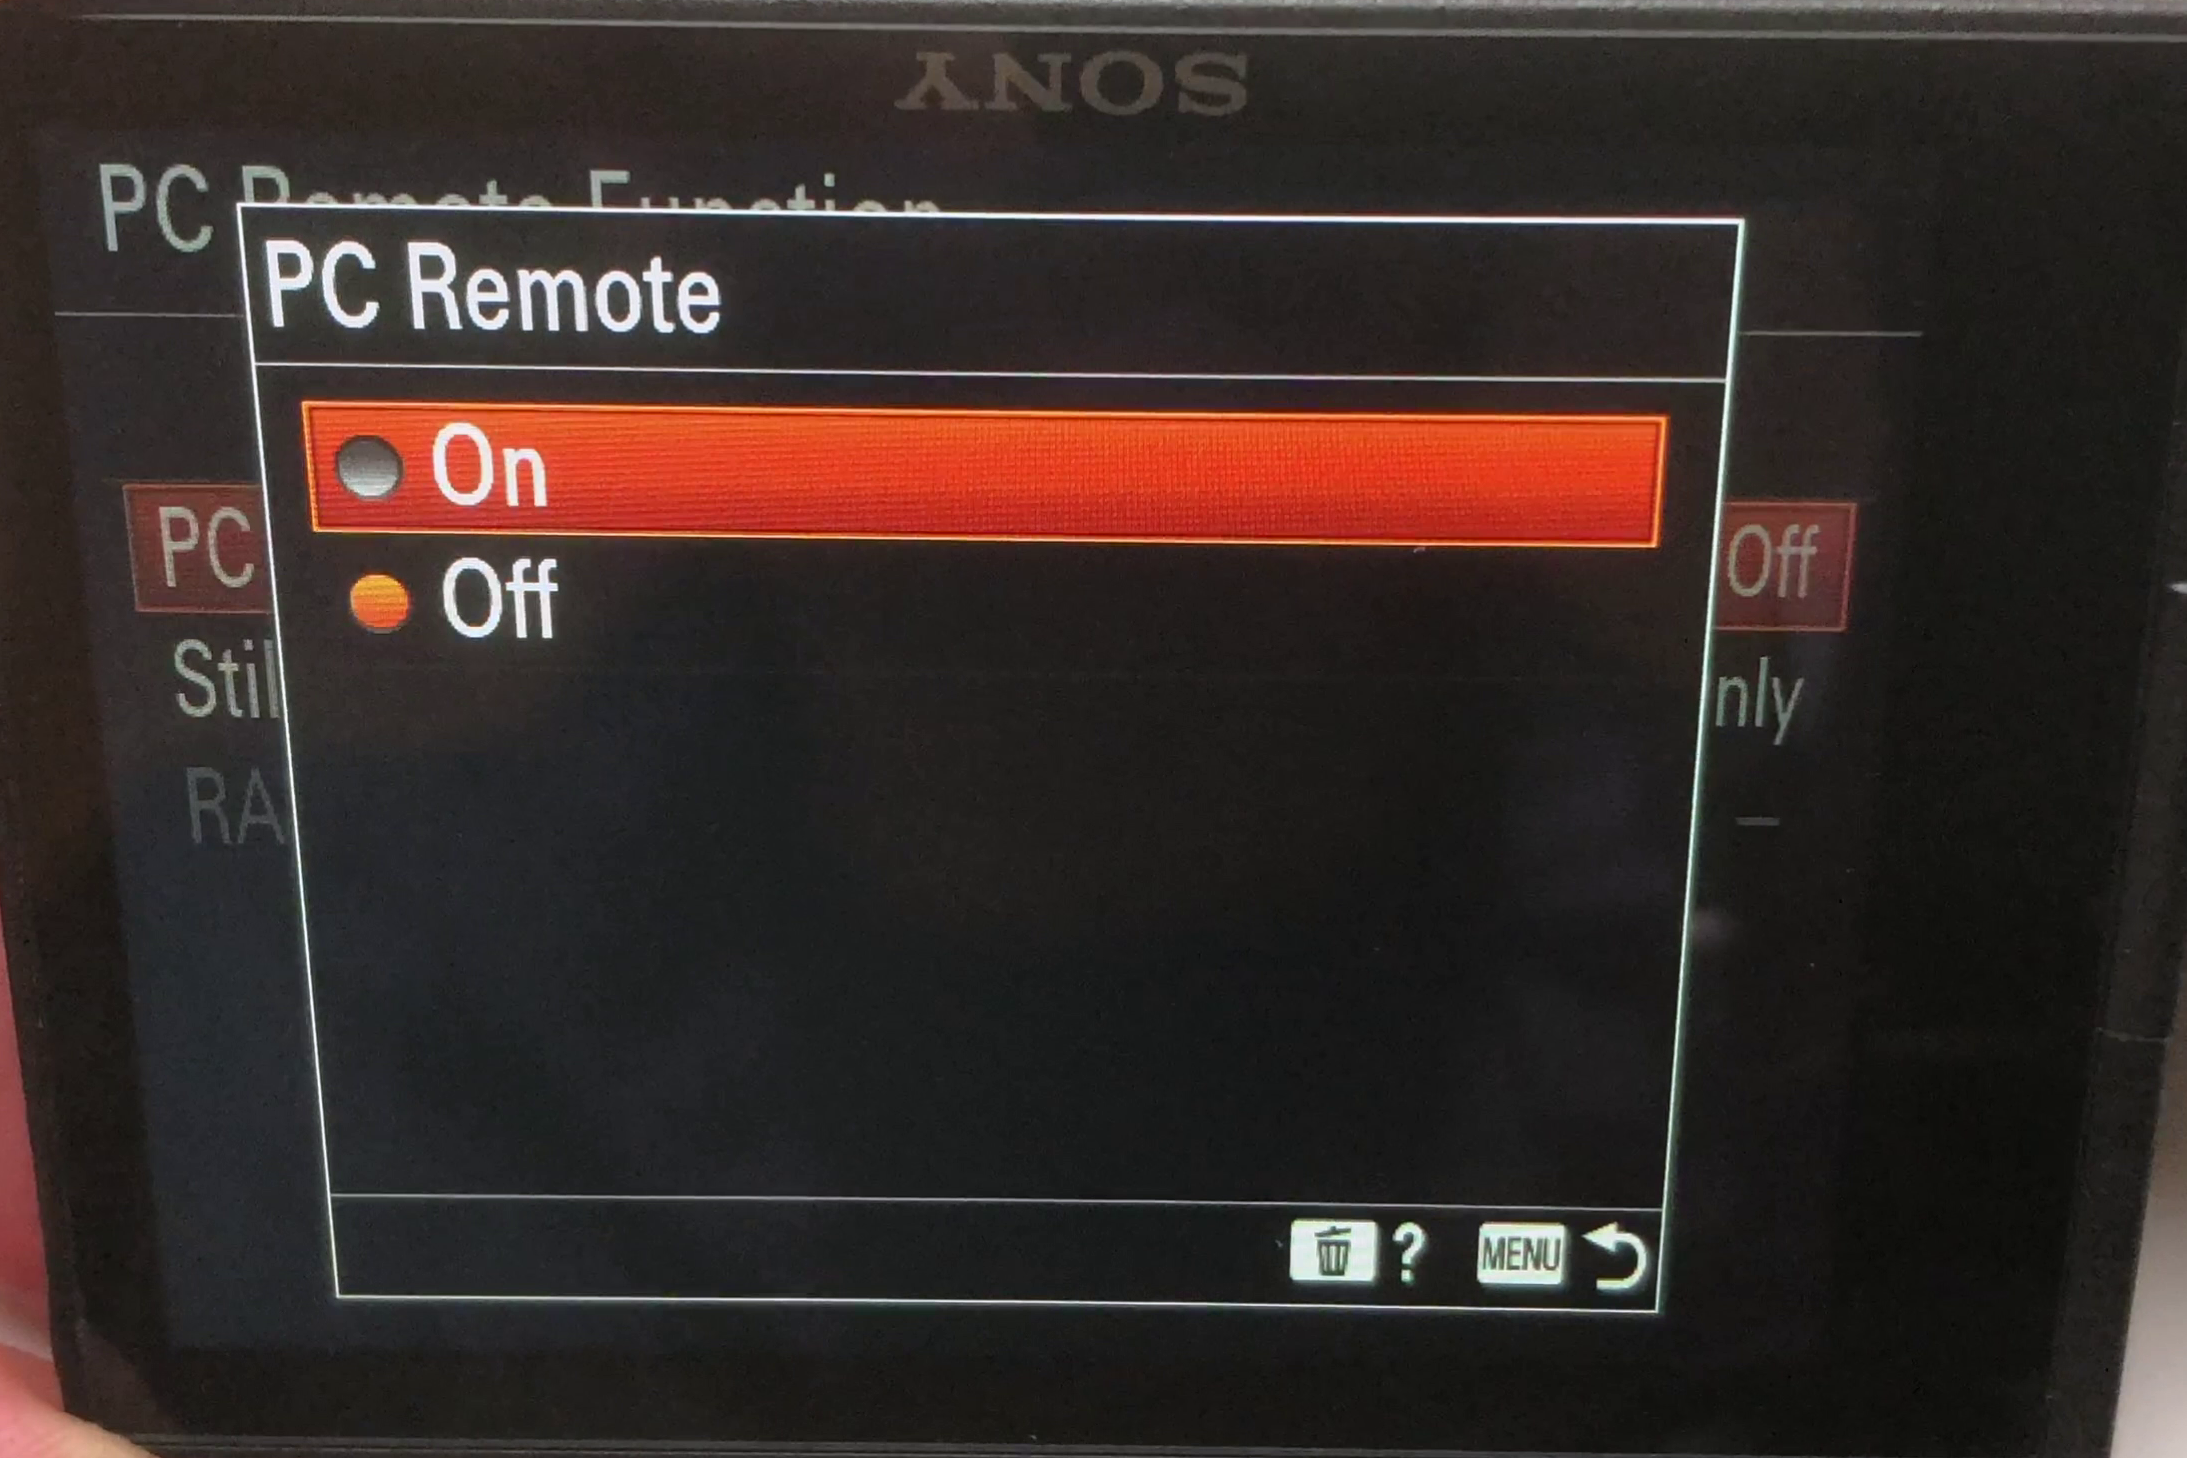
Next, Scroll one setting down to the PC Remote Function, and make that setting is on, or enabled.
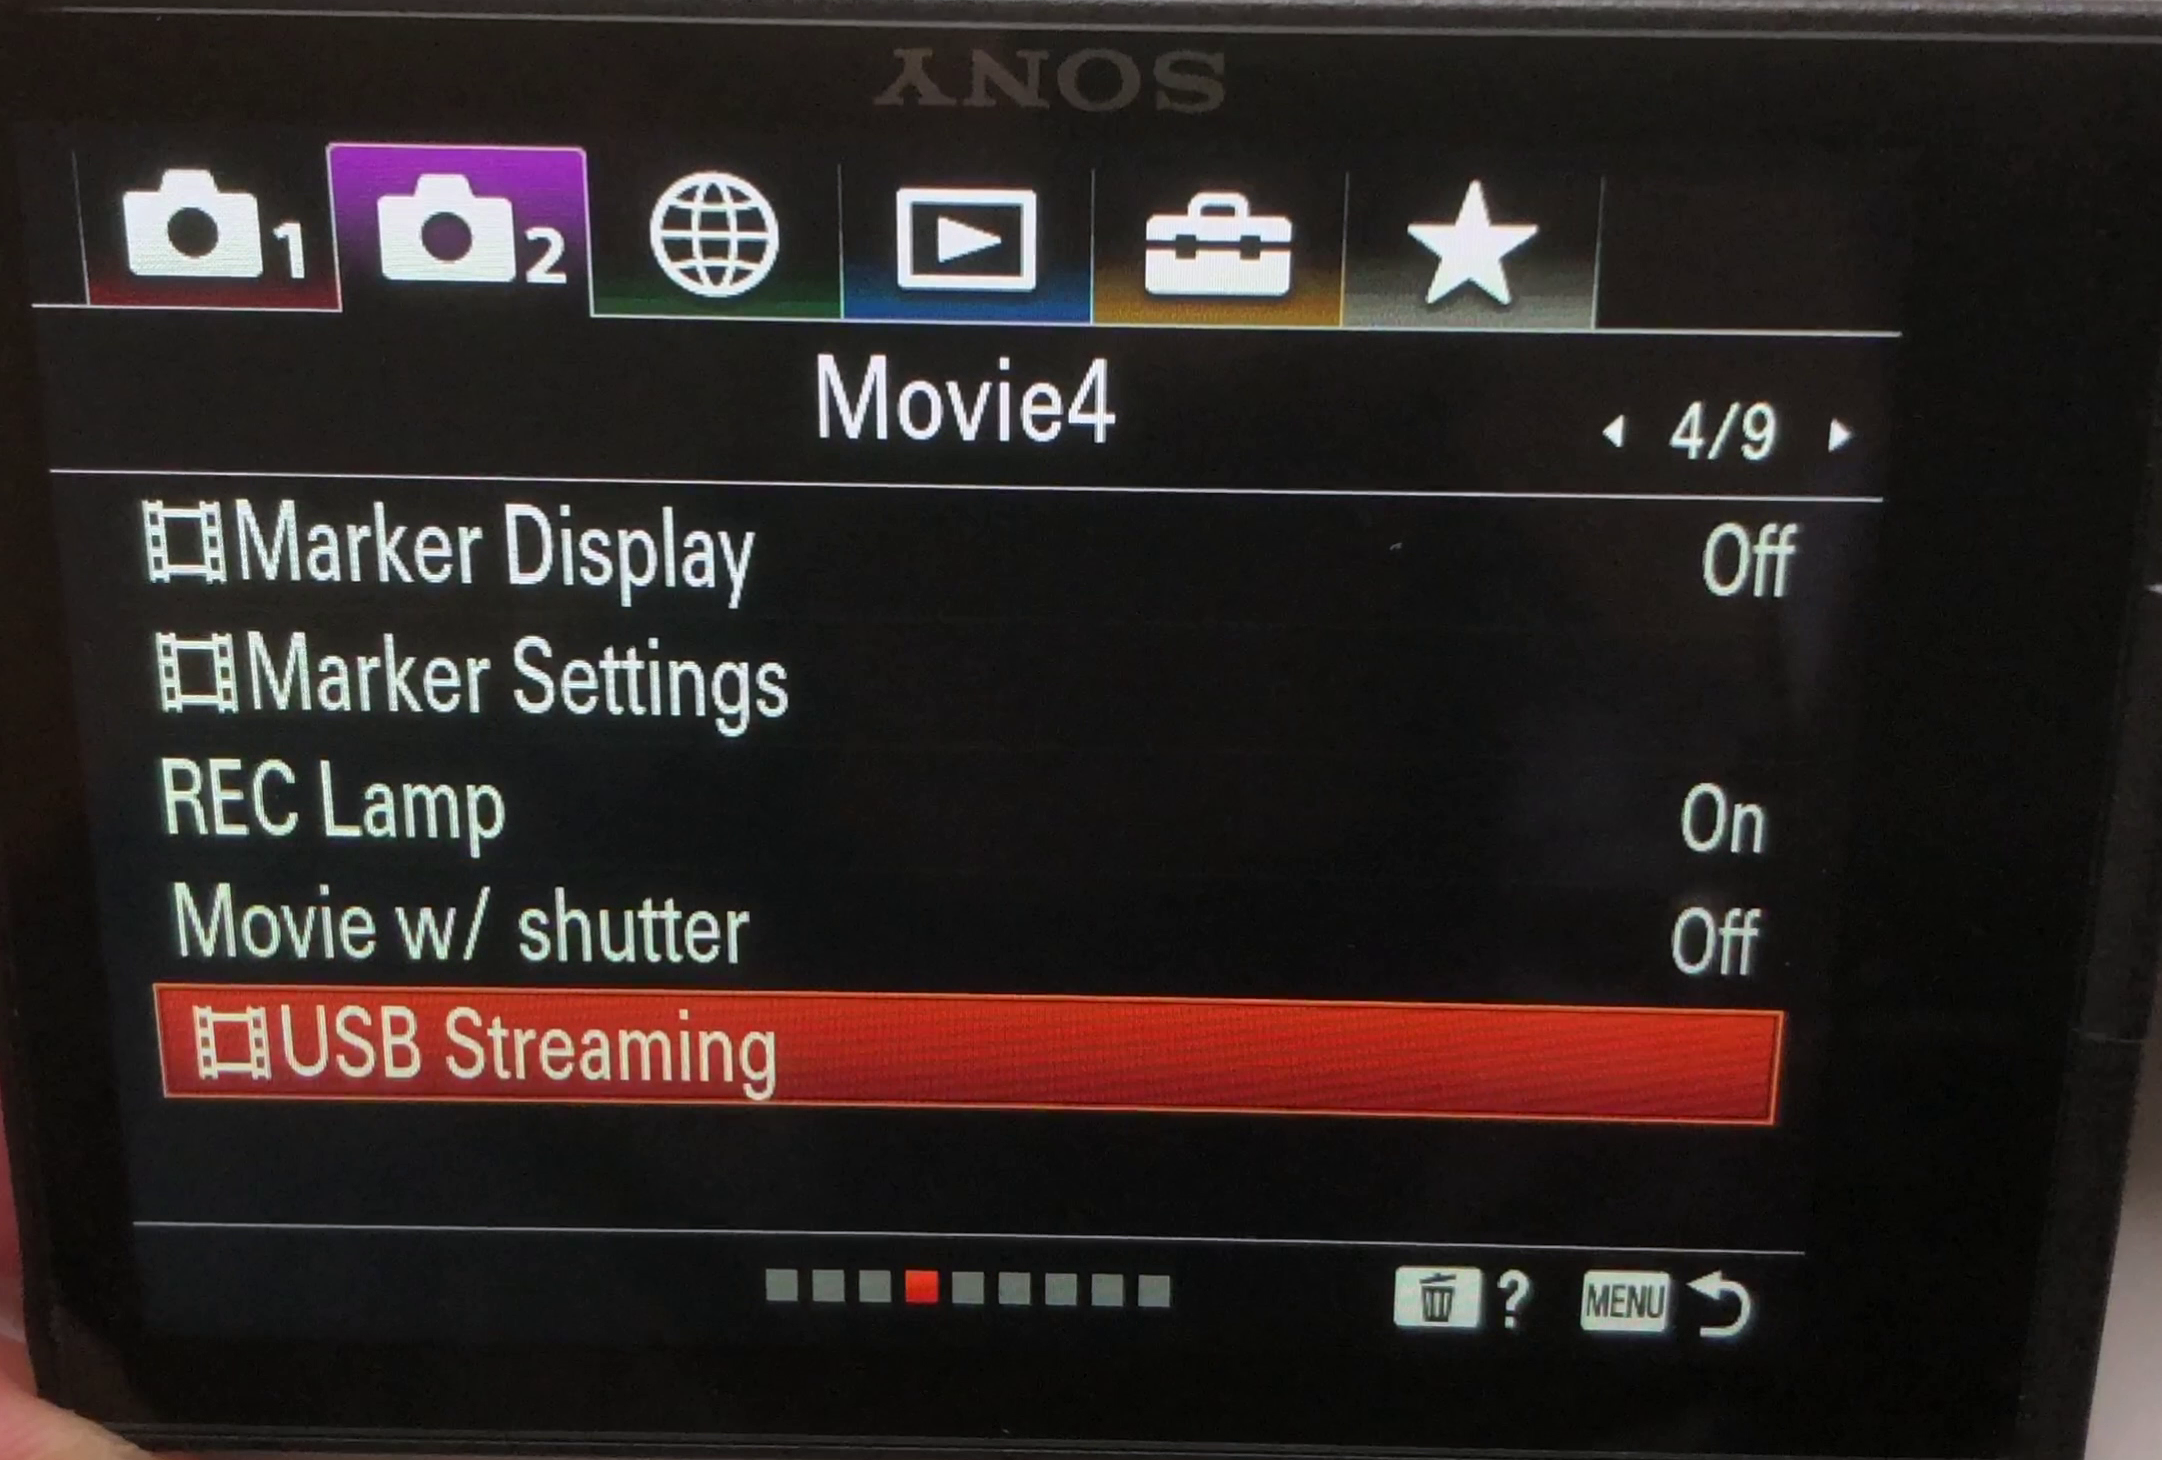
Last but not least, head over to the Movie tab, page number 4 and scroll down to the USB Streaming setting, and enable it.

Now that the setting is enabled, the camera will prompt you to connect it t your computer with the provided USB cable, and we can keep going.
PC / MacOS Settings
I’ll be using the Sony ZV-1 as a webcam, and my rode video mic NTG as a microphone, all we have to do now is just plug them in via USB to your computer.
OBS
Let’s start with OBS, in this case, I can create a new scene, let’s name it Sony, then add a video capture device, let’s name it the Z-V1, and choose the correct device, and it will give the option to choose the resolution.
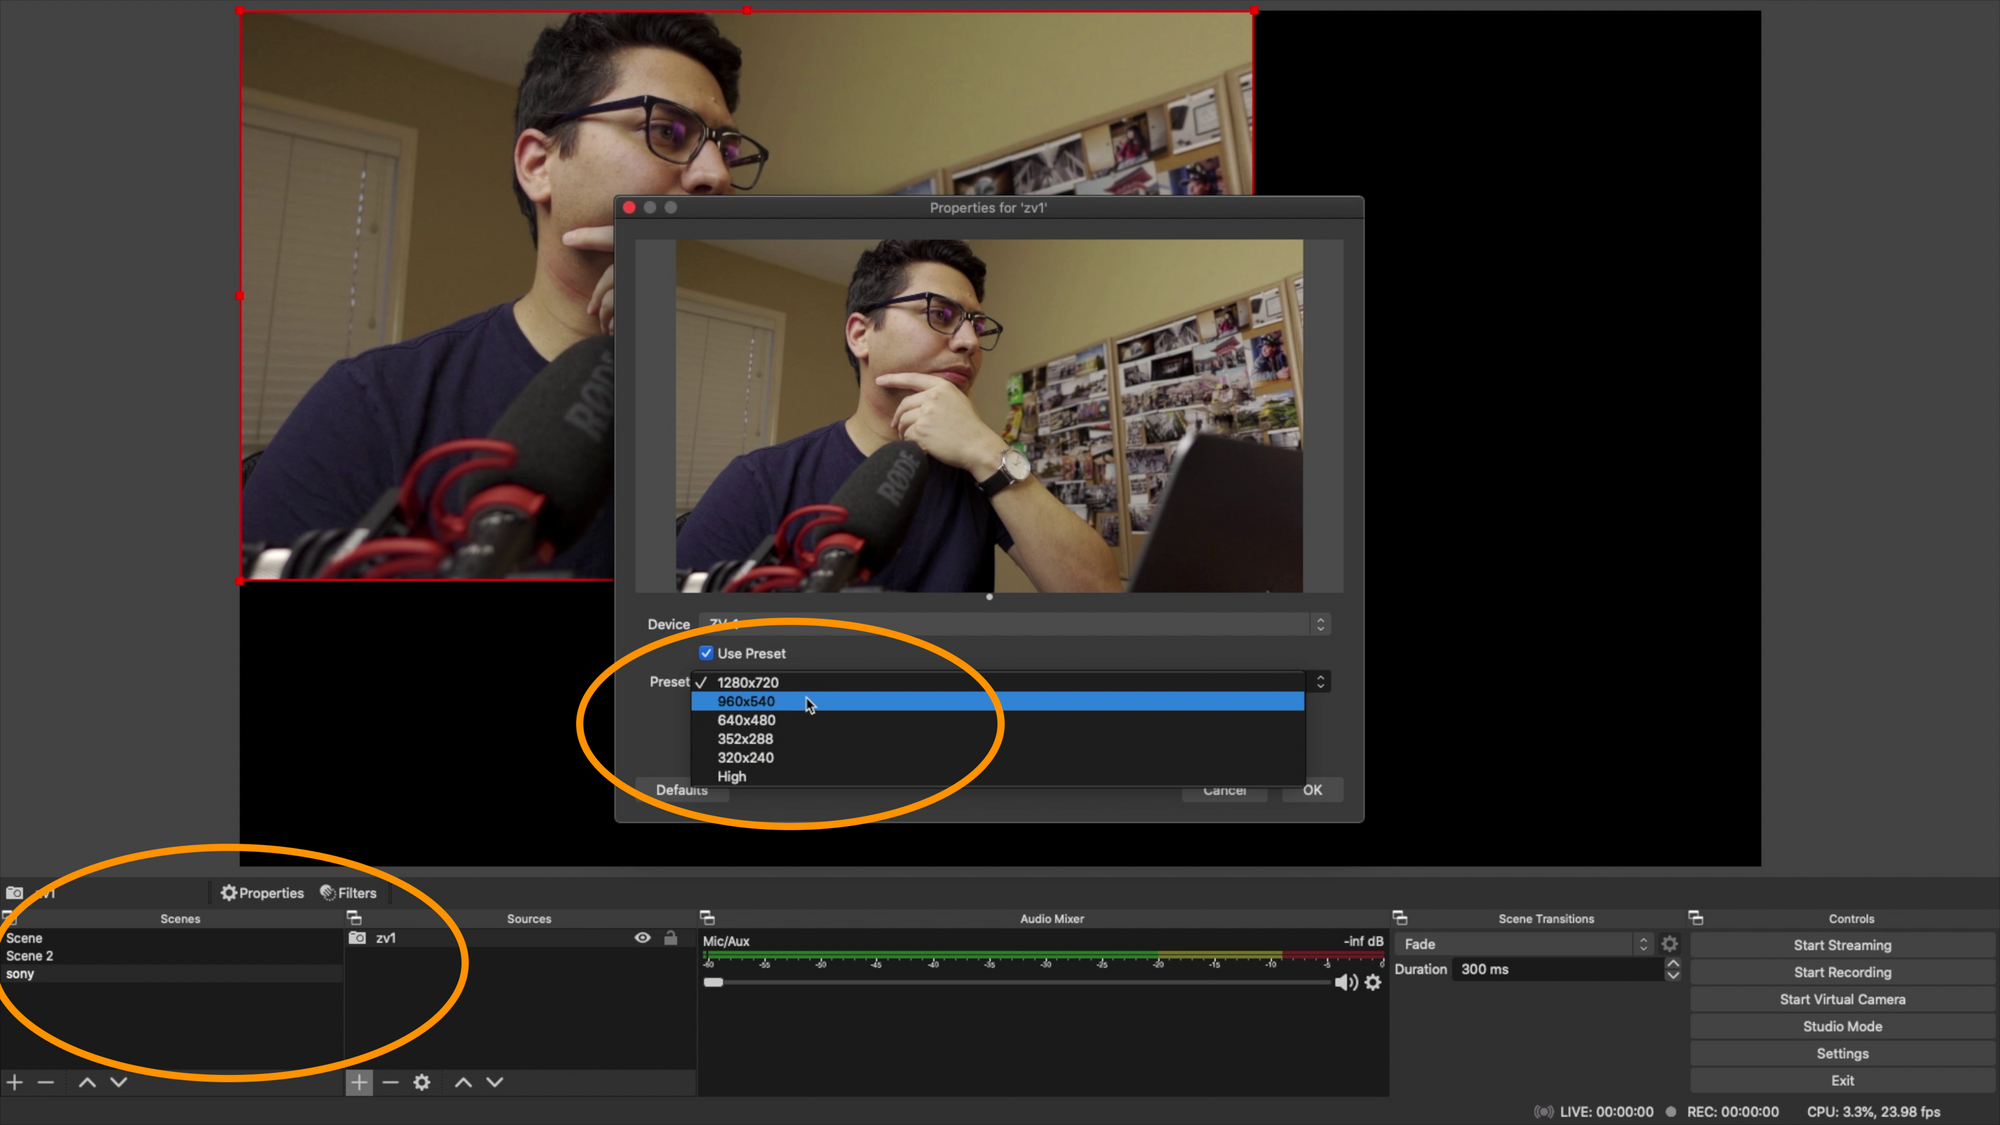
However, with this camera, the webcam function is limited to 720p, so that’s the highest resolution we can select. Hit okay, and you should be good to go.
Then is the sources menu, add another device, but this time an audio input capture, name it what you want, in this case, it’s my rode NTG. Hit okay, select the audio device, and hit okay.

Now you have the microphone levels right here in real-time, and you can adjust the values here, or manually in the actual microphone as well.
YouTube Video
For the rest of the settings and tips, watch my full guide where I show you step-by-step how to do it, linked down below:


